Upgrading your operating system shouldn't feel like a guessing game. If you're moving your workstation to Windows 11 Pro, you need an exact roadmap that skips the fluff and gets straight to the technical requirements, activation paths, and installation workflow.
Whether you're transitioning from Windows 10 Pro or upgrading from Windows 11 Home, this guide walks you through every technical checkpoint. You'll learn how to verify your hardware, bypass common installation hurdles, and secure your system without data loss.
Understanding Windows 11 Pro Hardware Requirements
Microsoft enforces strict hardware parameters for Windows 11 Pro. Before you touch an installer or click a download button, you must verify that your CPU, motherboard firmware, and security chips match the baseline specifications.
Processor and Memory Baselines
Your machine needs a compatible 64-bit processor clocked at 1 GHz or faster, featuring 2 or more cores. Intel processors generally need to be 8th generation or newer, while AMD processors require Zen 2 architecture or later. Memory-wise, you need a minimum of 4 GB of RAM, though 8 GB or higher is practically required for smooth multitasking in professional environments. Storage demands at least 64 GB of available drive space, keeping in mind that feature updates will require additional breathing room over time.
Security and Firmware Prerequisites
Unlike previous operating systems, Windows 11 Pro mandates specific security hardware embedded on your motherboard. You must have UEFI firmware enabled instead of Legacy BIOS, along with Secure Boot capability. Furthermore, your motherboard must feature a Trusted Platform Module (TPM) version 2.0 chip. You can check your status quickly by pressing the Windows key, typing tpm.msc, and verifying that the specification version reads 2.0.
Pre-Installation Preparation and Data Safety
Skipping preparation steps risks data corruption, driver conflicts, or failed installations that loop infinitely. Professional IT setups always begin with full local and cloud backups.
Backing Up Critical Workloads
While in-place upgrades preserve user files and installed applications, partition tables can occasionally fail during major OS transitions. Export your browser profiles, copy your active project directories to an external solid-state drive, and sync your primary documents to Microsoft OneDrive or an alternative secure cloud provider.
Verifying Activation Status
Before starting the upgrade, confirm that your current installation is properly activated with a digital license linked to your account. Go to Settings > System > Activation to verify your status. If you're upgrading from Windows 11 Home to Pro, you'll need a valid Pro product key or a digital license purchased directly from the Microsoft Store to unlock enterprise-grade features like BitLocker device encryption and Hyper-V virtualization.
Step-by-Step Installation Workflow
You can upgrade to Windows 11 Pro through several official methods depending on your current system state. The cleanest path for most users is utilizing the built-in update utility or deploying a bootable media creation tool.
Method One: Direct In-Place Upgrade via Windows Update
If your machine currently runs Windows 10 Pro and meets all compatibility metrics, the operating system will often queue the upgrade natively.
- Open your system settings by pressing the Windows key and I simultaneously.
- Select Windows Update from the left-hand navigation menu.
- Click on the Check for updates button to scan for available packages.
- Locate the feature update banner for Windows 11 and click Download and install.
- Allow the system to download the package, then follow the on-screen prompts to schedule a restart.
Method Two: Using the Installation Assistant
For machines that qualify for Windows 11 but haven't received the automatic prompt through standard update channels, you can force the process using official tools.
- Navigate to the official Microsoft Software Downloads portal.
- Download the Windows 11 Installation Assistant utility.
- Right-click the downloaded executable file and select Run as administrator.
- Review the license terms and click Accept and Install.
- Let the assistant download the files in the background while you continue working. Once prompted, save your open projects and choose Restart Now.
Post-Installation Configuration and Driver Updates
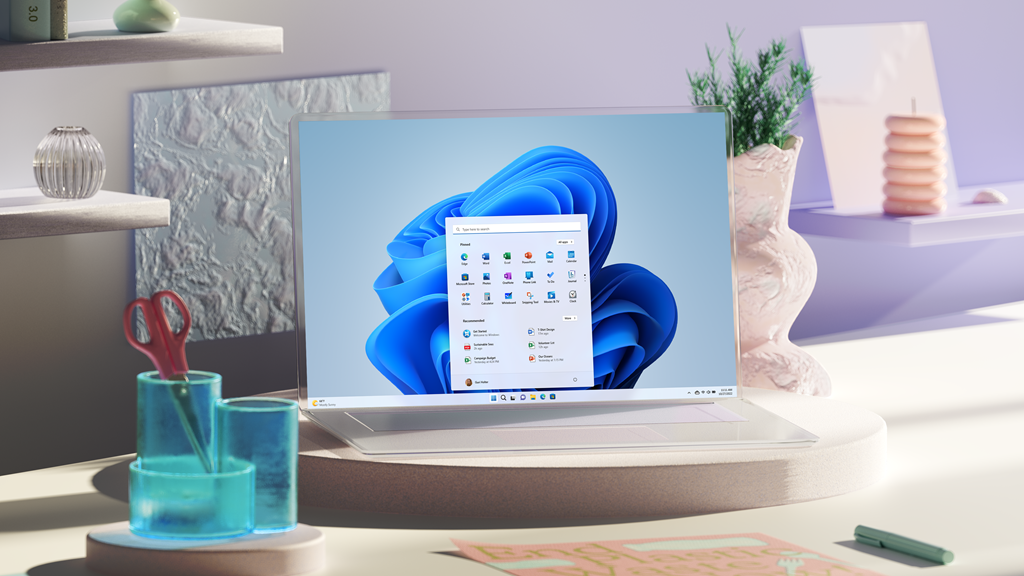
Once your system reboots into your new desktop environment, you'll notice a refreshed interface, centered taskbar, and updated context menus. Don't jump straight into heavy workloads just yet.
Refreshing Device Drivers
Operating system upgrades often overwrite generic drivers onto specialized hardware components. Visit your motherboard manufacturer's support site or run the dedicated application for your graphics card (such as NVIDIA GeForce Experience or AMD Software) to install the latest display, chipset, and network drivers.
Configuring Professional Security Features
With Windows 11 Pro active, you gain access to advanced management utilities. Open your settings and verify that Device Encryption or BitLocker is enabled on your primary drive to protect your files against physical theft. If you run virtual machines for development or testing, open Turn Windows features on or off via the Control Panel and enable Hyper-V and Windows Sandbox.
Frequently Asked Questions
Will I lose my installed applications when upgrading to Windows 11 Pro?
If you perform an in-place upgrade from Windows 10 Pro or Windows 11 Home using the standard installer, your desktop apps, games, and personal files will remain intact. However, a clean installation using a bootable USB drive will completely wipe the target drive.
Can I downgrade back to Windows 10 if my software isn't compatible?
Yes, Microsoft provides a 10-day grace period where you can roll back to your previous operating system without losing data. Navigate to Settings > System > Recovery and click the Go back button if you encounter persistent software conflicts.
What happens if my PC has TPM 1.2 instead of TPM 2.0?
Official support requires TPM 2.0. While registry workarounds exist to bypass this check on unsupported hardware, Microsoft does not guarantee security updates or stability for machines that fail to meet baseline hardware specifications.
Do I need to buy a brand new license key to move from Home to Pro?
If your hardware shipped with Windows Home embedded in the BIOS, you cannot simply flip a switch. You must purchase a Pro upgrade license from the Microsoft Store or input a valid retail product key to unlock Pro features.