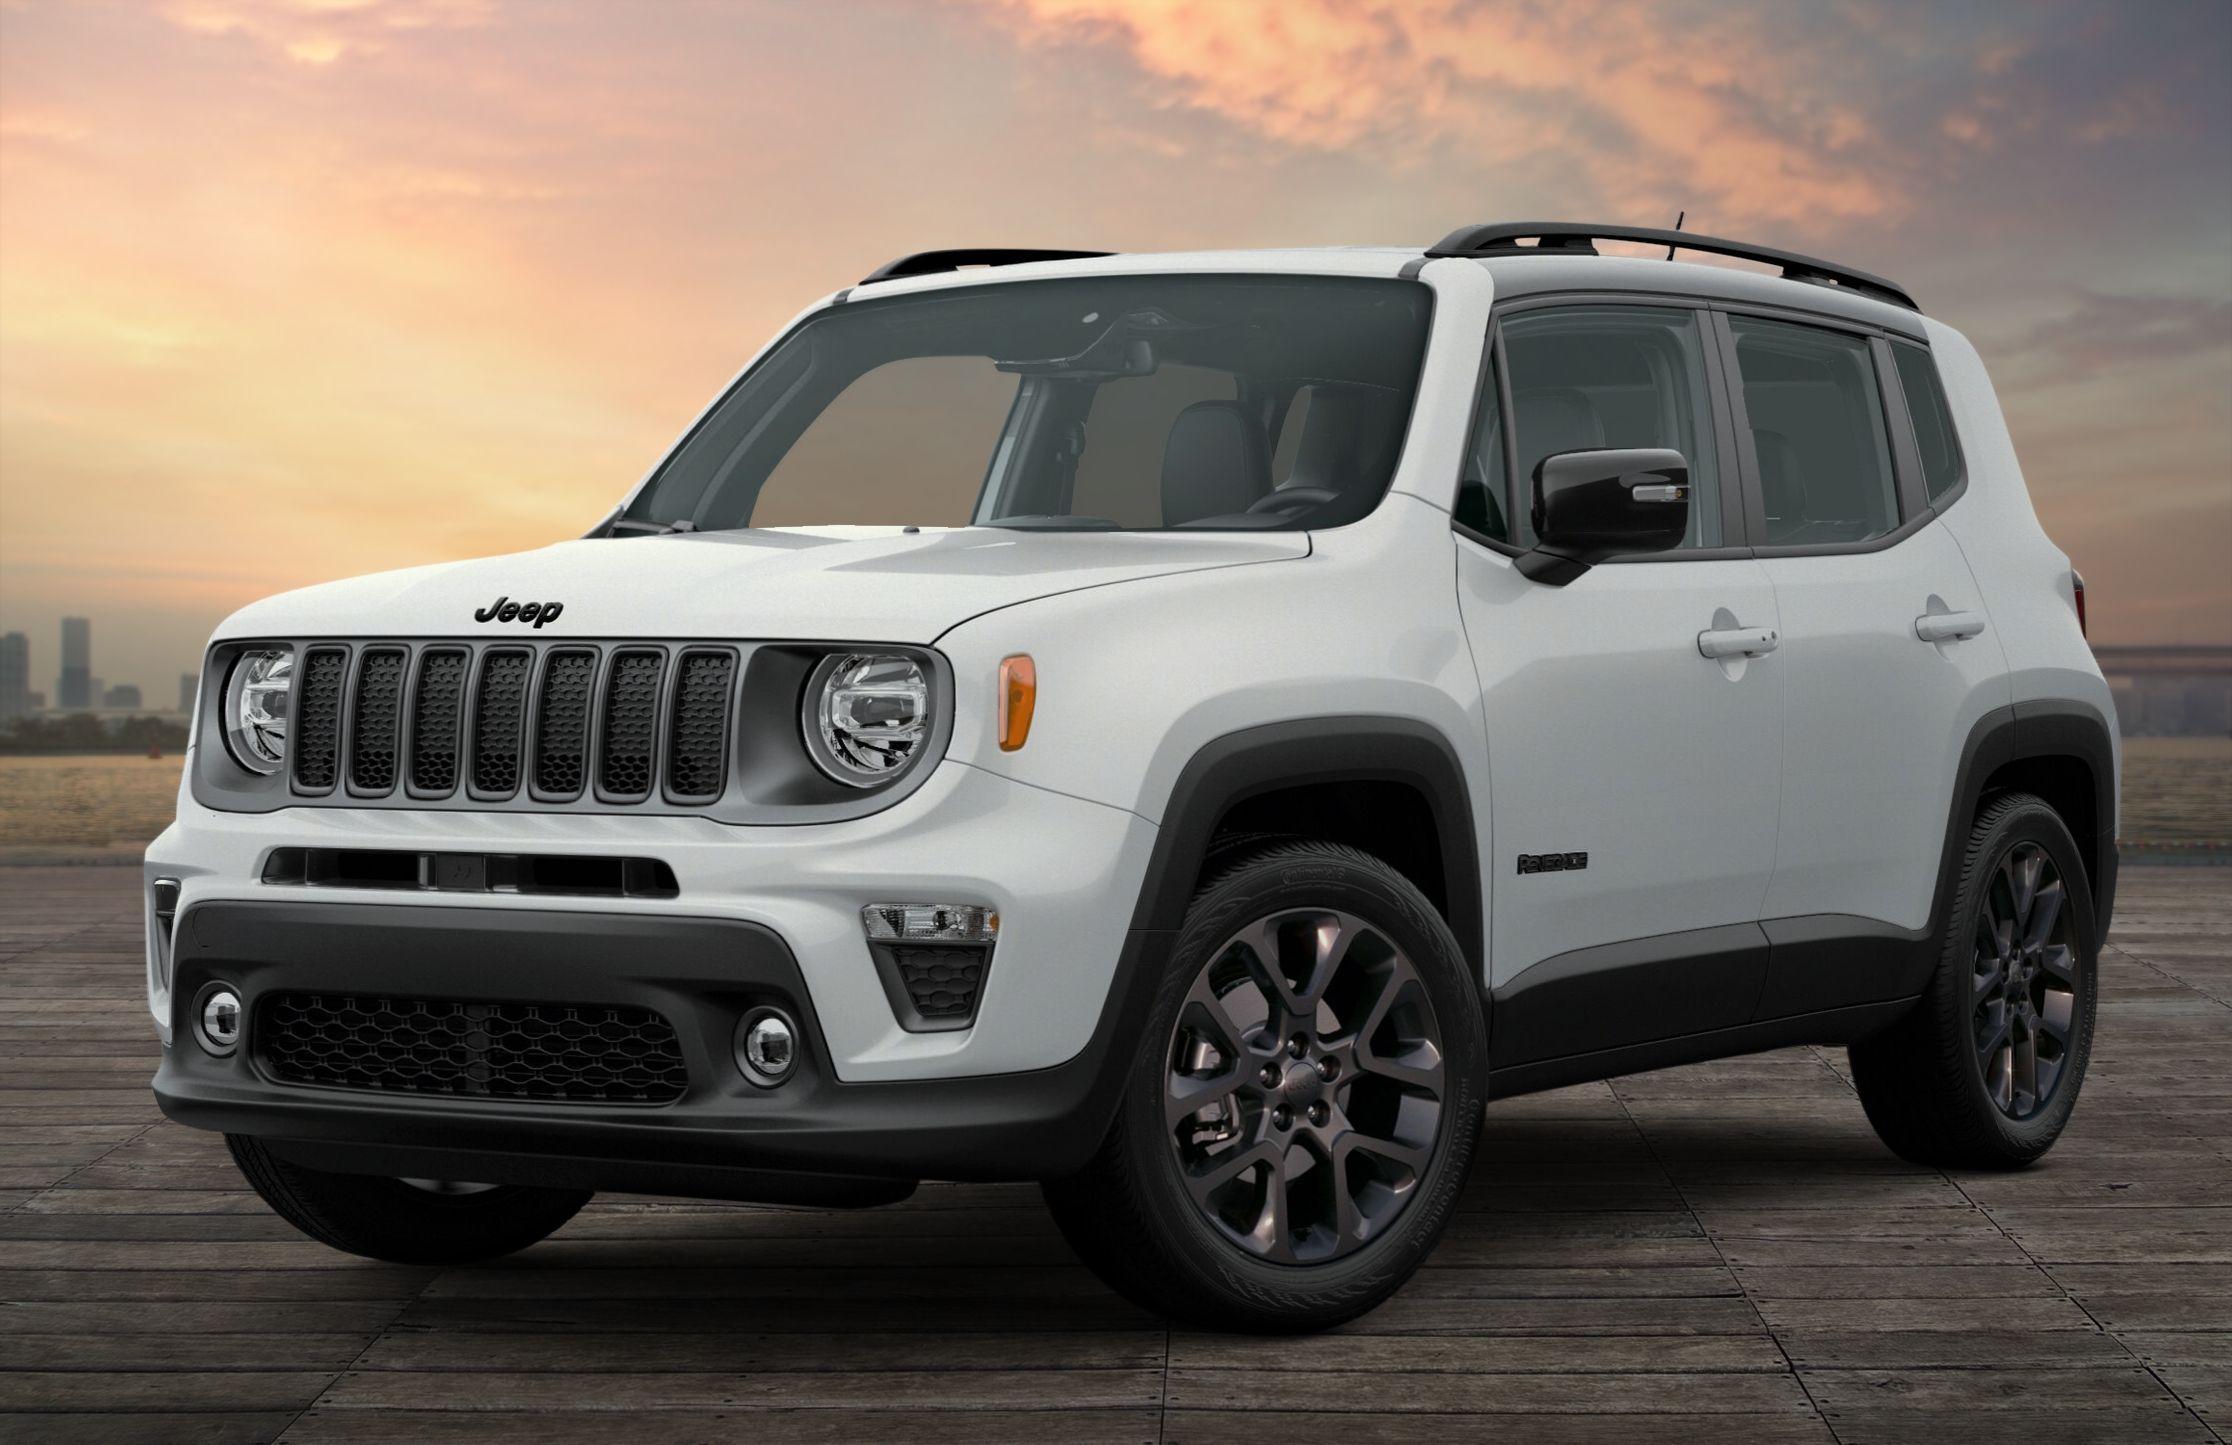
Choosing a Jeep Liberty lift kit transforms a standard commuter SUV into a capable off-road machine with clearance for larger tires. Whether you drive a first-generation KJ (2002–2007) or a second-generation KK (2008–2012), installing a suspension lift requires matching your choice of hardware to your actual driving habits and maintenance budget.
If you want immediate ground clearance for trail obstacles and room for 31-inch tires, a complete 2.5-inch suspension lift is the gold standard. Spacer kits offer a budget-friendly route for appearance, but full coil and shock replacements deliver actual ride improvements on rough terrain.
Understanding Your Lift Kit Options
Selecting the right hardware depends on how high you want to go and how much you want to spend. Jeep Liberty models use an independent front suspension (IFS) with struts and a solid rear axle with coil springs. This design places specific physical limits on how much you can lift the vehicle without expensive drivetrain modifications.
- Spacer Lifts: These budget kits use polyurethane or steel spacers placed on top of your factory front struts and rear coil springs. They retain your factory ride quality and cost the least, but they do nothing to improve suspension travel or load capacity.
- Full Suspension Lifts: These kits replace your stock springs and shocks with matched, longer components. A 2.5-inch to 3-inch suspension lift increases real ground clearance, improves articulation over rocks, and handles extra weight from gear or steel bumpers.
- Upper Control Arm Upgrades: The independent front suspension on a Jeep Liberty puts severe angles on the stock upper control arms once you exceed 2 inches of lift. Quality kits include aftermarket upper control arms with corrected ball-joint angles to prevent binding and premature wear.
Pre-Installation Preparation and Tools
Proper preparation prevents broken bolts and endless trips to the auto parts store halfway through the job. Give yourself a full weekend if you are working in a home garage.
Gather these essential tools before starting:
- A sturdy hydraulic floor jack and heavy-duty jack stands
- A spring compressor (rent or buy a certified heavy-duty unit)
- Metric socket and wrench sets (specifically 12mm, 15mm, 18mm, 19mm, 21mm, and 24mm)
- A torque wrench capable of measuring up to 150 ft-lbs
- Penetrating oil (such as PB Blaster) applied to all rusted suspension bolts 24 hours in advance
- A breaker bar for stubborn factory hardware
Park your Jeep on a flat, concrete surface, chock the rear wheels securely, and disconnect the negative battery cable.
Step-by-Step Installation Process
Installing a lift kit on an independent front suspension vehicle demands patience and strict attention to safety torque specs.
Front Suspension Installation
- Lift the front end of the vehicle using a hydraulic jack and secure it safely on heavy-duty jack stands under the frame rails. Remove both front wheels.
- Support the lower control arm with your floor jack to keep the spring tension under control while you work.
- Disconnect the sway bar link and unbolt the tie rod end from the steering knuckle if your specific kit instructions require extra clearance to drop the lower control arm.
- Remove the upper mounting nuts that secure the strut assembly to the inner fender well.
- Remove the lower strut clevis pinch bolt and the lower mounting bolt connecting the clevis to the lower control arm. Lower the floor jack carefully to extract the entire strut assembly.
- Mount the strut assembly into a wall-mounted or heavy-duty bench spring compressor. Compress the coil spring safely until tension is off the top plate.
- Remove the top strut nut, take off the factory top plate, and install your new lift spacer or replacement coil spring according to your kit manufacturer's guidelines.
- Reassemble the strut, tighten the top nut to factory specifications, and reinstall the assembly back into the vehicle. Torque all upper and lower fasteners to spec, but leave final control arm bushing bolts loose until the vehicle is back on the ground.
Rear Suspension Installation
- Raise the rear axle using a floor jack and support the vehicle frame with jack stands. Let the axle hang safely while supported by the jack.
- Unbolt the lower mounts of both rear shocks. Keep the factory hardware unless your kit provides new bolts.
- Slowly lower the rear axle until the factory coil springs lose tension and become loose in their perches. Remove the old springs and rubber isolators.
- Install any required bump-stop extensions and insert your new lift springs along with the original or supplied isolators.
- Raise the rear axle back up slowly to seat the new springs securely into their upper and lower perches.
- Install your new rear shocks and tighten all mounting bolts.
Post-Installation Adjustments and Alignment
Once the Jeep sits back on its own weight, torque all suspension components to the manufacturer's exact specifications. Leaving control arm bolts loose during tightening and torquing them only after the vehicle rests on flat ground prevents premature bushing tearing.
You must schedule a professional front-end wheel alignment immediately. Lifting a Jeep Liberty changes the front geometry, throwing off toe and camber angles. Skipping this step leads to rapid tire cupping and dangerous steering wander on the highway.
Frequently Asked Questions
Will a lift kit hurt my Jeep Liberty fuel economy?
Expect a minor drop of 1 to 2 miles per gallon. Adding a lift increases aerodynamic drag, and if you pair the lift with heavier all-terrain or mud-terrain tires, the extra rotational mass forces the engine to work harder.
What is the largest tire size I can fit with a 2.5-inch lift?
Most Jeep Liberty owners run 245/75R16 tires (roughly 30.5 inches) on a 2.5-inch lift without severe rubbing. Anything larger often requires minor trimming of the inner plastic fender liners or switching to wheels with a different backspacing.
Do I need to replace my driveshaft after a 3-inch lift?
For lifts staying at 2.5 or 3 inches, the factory driveshafts usually survive without immediate modification. However, higher lifts put stress on CV joints and universal joints, which can introduce vibrations that require a differential drop kit or custom driveshaft work.
Can I install a lift kit in my driveway?
Yes, many enthusiasts install spacer lifts and basic suspension kits in a home garage with basic hand tools and a spring compressor. If you lack heavy jack stands or mechanical experience, paying a professional shop to handle the installation is a safer alternative.