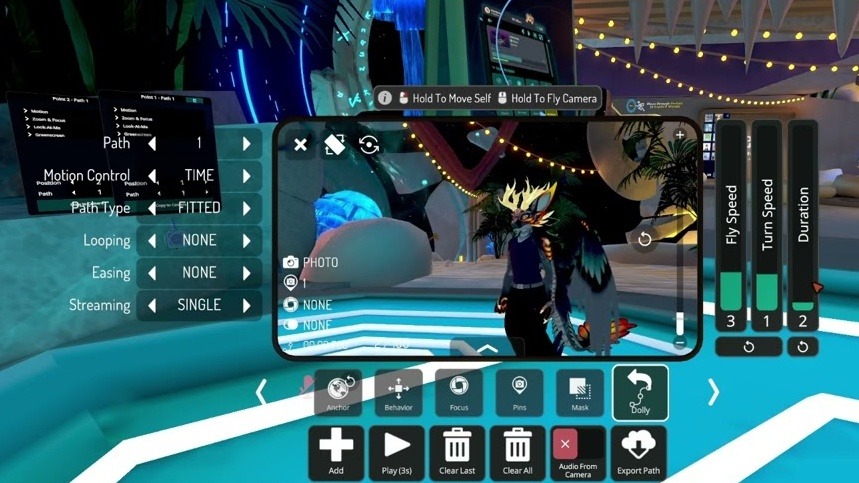
Customizing virtual avatars with distinct regional or historical aesthetics transforms social virtual reality experiences. In VRChat, styling an avatar with specific thematic elements—such as intricate Celtic knots, torcs, tartan accents, and rune-engraved gear—allows users to stand out across crowded public worlds. Building an identity around these traditional patterns requires understanding how modern avatar framework systems handle supplementary geometry, texturing, and performance budgets.
Integrating regional or historical themes into digital gear isn't just about dropping random assets onto a 3D mesh. It involves balancing polygon counts, managing armature weights, and configuring material shaders to ensure smooth rendering. Whether you're configuring items through community-built platforms or adapting assets inside Unity, optimizing your digital wardrobe keeps your frame rates stable while maintaining high visual fidelity.
Understanding VRChat Accessory Frameworks
Modern avatar customization relies heavily on structured modular slots and asset management tools. Creators often utilize platforms like Booth to source specialized props, armaments, and ornamental elements built specifically for virtual avatars. When dealing with complex motifs like Celtic stonework, braided metal, or woven textiles, you need to know how these objects interface with your base model.
Traditional approaches required manual bone-weight painting and parent-constraint rigging inside Unity for every single item. Recent updates to virtual social platforms introduce native cosmetic management tools that let users attach and scale props directly through menu interfaces. However, complex custom assets—such as heavy bronze torcs, ceremonial blades, or elaborate circlets—still frequently demand manual placement to prevent clipping through clothing or body meshes.
Key Technical Considerations
- Polygon Budget: High-detail Celtic knotwork features dense geometry curves. Keep individual prop poly counts low to avoid pushing your avatar into "Very Poor" performance ranks.
- Shader Compatibility: Many creator assets rely on custom shaders like Poiyomi or lilToon. Ensure your material settings match your base model to prevent lighting glitches.
- PhysBone Integration: Dangling charms, cloaks, and braided hair ornaments need proper physics setup so they sway naturally as you move through virtual environments.
Sourcing and Preparing Celtic Asset Files
Finding clean, optimized assets is the first practical hurdle. Generic medieval packs often look out of place compared to authentic early-medieval or La Tène artistic styles. Look for assets featuring characteristic geometric interlace patterns, triskeles, and stylized animal motifs.
When you download FBX files or Unity packages from independent creators, inspect the folder structure carefully. You'll typically find a prefab, a material folder, and one or more texture maps (Albedo, Normal, Metallic, Roughness).
Step-by-Step Import Checklist
- Extract and Organize: Create a dedicated subfolder in your Unity project directory for your new assets rather than dumping everything into the root assets folder.
- Check Material Links: If textures appear bright pink upon import, your materials have lost their shader references. Reassign them to your preferred shader (such as lilToon) manually.
- Scale and Position: Drag the prefab into your scene as a child of your avatar armature. Align pieces like torcs to the neck bone or circlets to the head bone using precise transform values.
- Test Joint Movement: Pose your avatar in Unity's Scene view and rotate the joints to ensure rigid props don't pierce through shoulders or jaws.
Rigging and Attaching Custom Props
If you're attaching non-native props that lack automatic bone weighting, you must parent them correctly within the hierarchy. For instance, a Celtic sword scabbard should be parented directly to the hips or spine bone depending on where it rests.
Avoid assigning too many independent dynamic bones to intricate accessories. Too many colliders and PhysBone components will degrade performance for everyone in a crowded instance. Instead, weight simpler pieces directly to a single static bone where possible, reserving physics components only for flowing fabric or hanging pendants.
Common Customization Mistakes
Creators eager to showcase detailed historical or stylistic themes often fall into common traps that ruin the final result.
- Ignoring Performance Ranks: Slapping five high-poly bronze shields and ornate broadswords onto a single avatar instantly drops your rank to "Poor" or "Very Poor," causing other users to hide your avatar.
- Overusing Normal Maps for Depth: While normal maps simulate intricate carving without adding geometry, extreme height values can distort lighting under dark world shaders.
- Neglecting Quest Optimization: If you want your styled avatar to be visible to mobile and standalone headset users, you must build a separate fallback version with simplified materials and zero complex physics components.
Frequently Asked Questions
Can I use native cosmetic slots for complex custom assets?
Native cosmetic systems work well for basic standardized props, but intricate, custom-rigged elements with specific material setups usually require direct Unity integration via custom avatar descriptors.
How do I prevent my custom jewelry from clipping into my avatar's neck?
Ensure the item is parented to the correct armature bone (such as Neck or Chest). If clipping persists during extreme head turns, you may need to add small corrective blendshapes or adjust the scale slightly.
What is the best way to optimize heavy texture maps?
Compress your texture maps to 2K or 1K resolution depending on the size of the accessory. Unused roughness or metallic channels should be packed into a single texture mask to save memory.
Do custom accessories affect full-body tracking calibration?
Poorly anchored props that alter your mesh center of mass or add unwanted colliders can occasionally interfere with full-body tracking calibration nodes. Keep accessory colliders disabled unless interaction is required.



