Learning the ukulele shouldn't feel like deciphering an ancient text. When you pick up the instrument for the first time, your fingers might feel clumsy against nylon strings, and fretting diagrams can look like alien blueprints. But you don't need a music theory degree or months of tedious finger exercises to start playing real songs. With just a handful of foundational ukulele chords for beginners, you can unlock hundreds of popular tracks within your very first practice session.
The secret to playing fast isn't natural talent; it's efficiency. By focusing exclusively on shapes that share common fingerings or appear together in thousands of chord progressions, you bypass the fluff and dive straight into making music. This guide walks you through the absolute essential chord shapes, shows you how to transition between them without stopping, and highlights the physical mechanics that separate smooth playing from buzzing frustration.
Anatomy of the Ukulele Fretboard
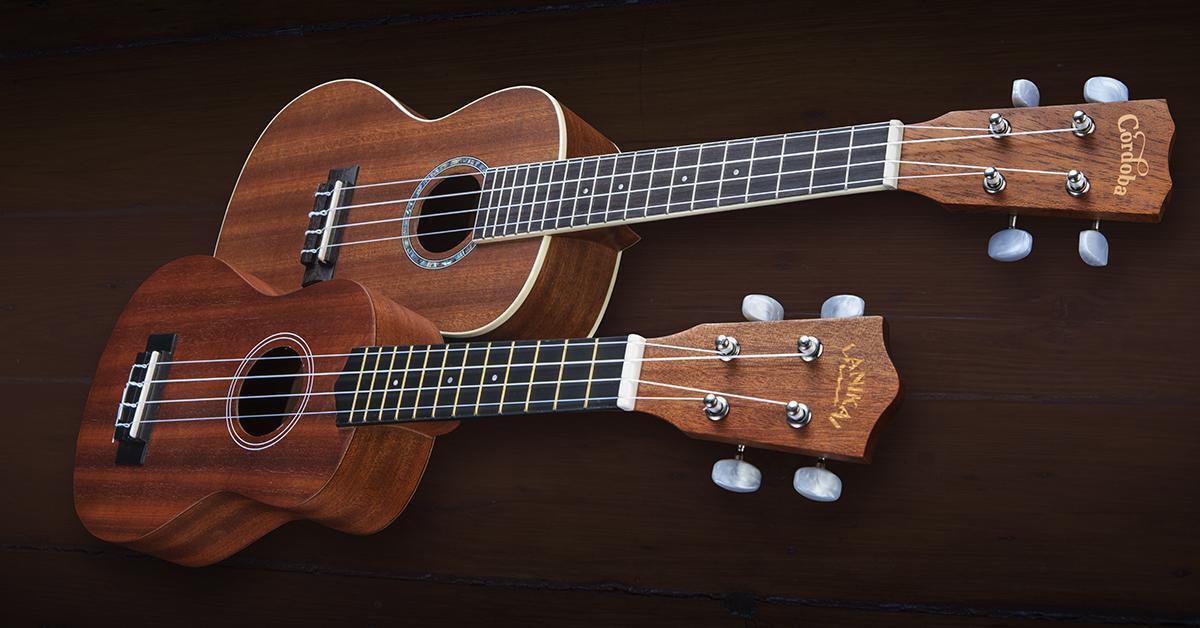
Before your fingers touch the strings, you need a basic mental map of where your hands are going. A standard soprano, concert, or tenor ukulele is tuned to G-C-E-A, reading from the top string (closest to your chin) to the bottom string (closest to your toes). This re-entrant tuning means the lowest-sounding string is actually the second one down, giving the instrument its characteristic bright, cheerful voice.
Frets are the metal strips embedded along the neck. When people talk about "fret 2," they mean the space directly behind the second metal wire, closer to the headstock.
- The Headstock: The top end where the tuning pegs live.
- The Nut: The white or black ridge where the strings leave the headstock and enter the neck.
- The Frets: The metal bars that divide the fingerboard into semitones.
- The Soundhole: The opening in the body that projects your acoustic volume.
When reading chord diagrams, imagine you are looking at your ukulele's neck while holding it upright facing you. The vertical lines represent strings (from left to right: G, C, E, A), and the horizontal lines represent frets. Dots indicate where to place your fingertips, and numbers inside or near those dots tell you which finger to use.
The Big Four Beginner Chords
If you master four specific shapes, you instantly gain the keys to the kingdom. Thousands of pop, folk, and rock songs use variations of these exact shapes. Let's break them down one by one, focusing on hand placement and common pitfalls.
The C Major Chord
The C major chord is universally the first chord every player learns because it requires only a single finger and occupies the lowest fret zone.
To play C, place your ring finger on the third fret of the bottom string (the A string, closest to your floor). Keep your other fingers relaxed and slightly curved above the fretboard. Strum all four strings down with your thumb or index finger.
- Common mistake: Flattening your ring finger so it accidentally touches the E string right above it, causing a muted thud instead of a clear chime.
- Fix: Curve your knuckle upward, pressing the string squarely with the very tip of your fingerpad.
The A Minor Chord
Next up is the A minor chord, which sounds slightly moody and provides a fantastic emotional contrast to the bright C major.
Place your middle finger on the second fret of the top string (the G string, closest to your ceiling). Leave the C, E, and A strings open. Strum all four strings.
- Common mistake: Reaching too far across the neck with an awkward wrist angle.
- Fix: Drop your elbow slightly closer to your ribs, allowing your wrist to curve naturally so your middle finger approaches the G string from above rather than the side.
The F Major Chord
The F major chord introduces your index finger and middle finger working together across two different frets and strings. It's the first chord that usually makes beginners pause, but it builds vital finger independence.
Place your index finger on the first fret of the E string. Place your middle finger on the second fret of the G string. Leave the C and A strings open. Strum all four strings.
- Common mistake: The open A string buzzing because the fleshy part of your middle finger is brushing against it.
- Fix: Point your index finger more toward the headstock and arch your middle finger steeply, creating a clear tunnel for the open strings to ring underneath.
The G Major Chord
The G major chord is a staple of upbeat acoustic music. It uses three fingers in a triangle-like shape, making it the most complex chord in this foundational quartet.
Place your index finger on the second fret of the C string. Place your middle finger on the second fret of the A string. Place your ring finger on the third fret of the E string. The top G string is left open. Strum all four strings.
- Common mistake: Crowding the second fret, causing your fingers to collide and mute adjacent strings.
- Fix: Stagger your fingers slightly. Let your index finger sit toward the back of the second fret space while your middle finger claims the front half.
Mastering Smooth Chord Transitions
Knowing individual shapes is only half the battle. Real music requires moving between them fluidly without breaking the rhythm. When beginners try to switch chords, they typically stop strumming, lift all fingers off the fretboard, hunt for the new shape, and resume. This creates choppy, interrupted sound.
To bridge the gap, practice the pivot and anchor technique. Look for fingers that stay on the same fret or string when moving from one chord to another. For example, when moving from A minor to F major, your middle finger is already on the second fret of the G string—you don't need to lift it at all. You simply drop your index finger onto the first fret of the E string while keeping your middle finger locked in place.
- Isolate the transition: Practice switching back and forth between just two chords, such as C and A minor, for sixty seconds straight. Set a metronome to a slow tempo, like 60 beats per minute, and change chords on every fourth beat.
- Hover and drop: As you finish your final strum of a chord, start lifting your fingers while simultaneously moving your hand toward the next shape. Aim to land all required fingers on the new frets simultaneously rather than one by one.
- Keep strumming through mistakes: If your transition is messy, don't stop the rhythm of your right hand. Keep the beat moving while your fingers catch up. Perfection comes after rhythm, never before.
Essential Strumming Patterns to Keep Time
A chord without rhythm is just a collection of notes. Once your fingers can hold down shapes cleanly, layer in a simple strumming pattern to give your playing life.
Start with a steady down-strum beat. Count out loud: "One, two, three, four," and strike all four strings downward on each count using the nail of your index finger on the way down, and the fleshy pad of your thumb on the way up.
Once steady down-strums feel automatic, introduce the classic down, down, up, up, down, up pattern.
- Down (beat one)
- Down (beat two)
- Up (and of two)
- Up (and of three)
- Down (beat four)
- Up (and of four)
Keep your wrist loose, like you're shaking water off your hand. Strumming shouldn't come from your shoulder or elbow; it should originate entirely from a relaxed, fluid wrist rotation.
Common Beginner Pitfalls and How to Fix Them
Even with the right diagrams, physical hurdles can slow down your progress. Recognizing these common traps helps you course-correct before bad habits set in.
- Squeezing too hard: Beginners often think crushing the strings against the fretboard creates a better sound. In reality, excessive thumb pressure pushes the strings out of tune and exhausts your forearm muscles. Use just enough pressure to make the string touch the fret wire cleanly.
- Buzzing strings: If a note sounds like a muted buzz, your finger is usually sitting on top of the metal fret wire rather than directly behind it, or your finger angle is too flat. Shift your fingertip closer to the headstock side of the fret space.
- Ignoring posture: Slouching over your ukulele on a soft couch forces your wrists into awkward angles. Sit upright in a chair without armrests, hold the instrument snugly against your torso with your right forearm, and keep the neck tilted slightly upward rather than pointing straight down toward the floor.
To explore more structured exercises and instrument care tips, check out the official National Association for Music Education guidelines on instrumental practice, or read acoustic design insights from Smithsonian Folkways to understand how string tension and wood resonance affect your tone.
Frequently Asked Questions
How long does it take to learn basic ukulele chords?
Most people can memorize the C, Am, F, and G shapes within two to three days of focused, twenty-minute practice sessions. Building the muscle memory to switch between them smoothly usually takes about two weeks of consistent daily playing.
Do I need to trim my left-hand fingernails?
Yes. If your fingernails on your fretting hand are too long, they will hit the wooden fretboard before your fingertips can press the strings down squarely. This causes slipping, buzzing, and muted notes. Keep the nails on your left hand clipped short.
Which ukulele size is best for absolute beginners?
A concert ukulele is generally considered the best all-around starting size. It is slightly larger than a soprano, making it more comfortable for adult hand sizes while retaining the classic bright ukulele tone and standard re-entrant tuning.
Can I play guitar chords on a ukulele?
While guitar chord shapes use different fingerings due to the ukulele's unique tuning and interval structure, the underlying music theory is identical. However, direct chord transpositions require learning ukulele-specific shapes rather than trying to play guitar chord inversions.