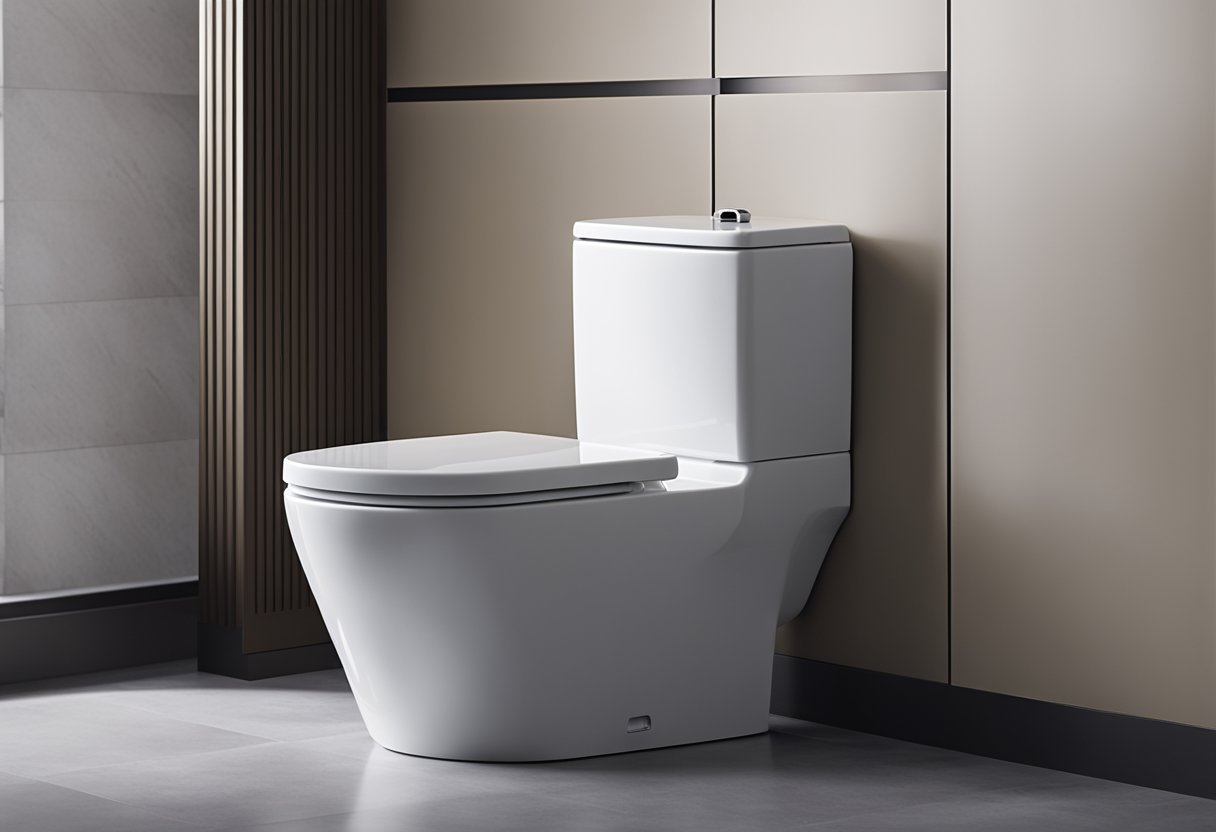
A faulty fill valve wastes gallons of water daily, running constantly or failing to shut off at the correct water level. Replacing it takes about thirty minutes with basic hand tools and stops annoying tank hissing once and for all.
When your toilet tank keeps running or fills sluggishly, the issue usually points straight to a worn-out toilet fill valve. Old ballcock assemblies and degraded rubber seals lose their elasticity over time, causing the water level to creep past the overflow tube. Modern fluidmaster-style diaphragm fill valves swap in easily, offering adjustable height and reliable shut-off mechanisms that lower monthly water bills.
Symptoms of a Failing Fill Valve
Recognizing early warning signs prevents unexpected water damage and costly utility bills.
- Constant running water: If you hear a faint hissing sound long after a flush, water is trickling into the overflow pipe because the valve isn't sealing shut.
- Slow tank refilling: When it takes several minutes for the tank to fill back to its waterline, mineral scale has likely clogged the internal ports.
- Incorrect water level: Water sitting too far below the top of the overflow tube leads to weak, ineffective flushes, while water spilling over causes constant waste.
- Intermittent clicking: A valve that rapidly clicks or chatters as it struggles to shut off indicates internal diaphragm failure.
According to the U.S. Environmental Protection Agency (EPA), household leaks can waste nearly 10,000 gallons of water every year, with toilets being a primary culprit. Upgrading an outdated mechanism solves these problems efficiently.
Tools and Materials Required
Gather everything before shutting off the water so you aren't stuck mid-project with a half-drained tank.
- Replacement fill valve (universal models fit most standard two-piece toilets)
- Adjustable wrench or channel-type pliers
- A small bucket or shallow container
- Old towels or rags
- Teflon plumber's tape (optional, as many modern valves use rubber gaskets)
- New water supply line (recommended if your current braided hose is old or frayed)
Step 1: Shut Off the Water and Drain the Tank
Safety and cleanliness come first whenever you disconnect pressurized plumbing lines.
- Locate the shut-off valve on the wall behind or beneath your toilet. Turn it clockwise until it stops firmly. Don't force it if it's stiff; older valves can snap if cranked too hard.
- Flush the toilet and hold the handle down to drain as much water from the tank as possible.
- Place your bucket and old towels beneath the tank connection. Use your adjustable wrench to loosen the coupling nut on the water supply line where it attaches to the bottom of the tank.
- Catch any residual trapped water in the bucket as the line drops away.
Step 2: Remove the Old Fill Valve Assembly
With the tank empty and dry, you can extract the aging hardware.
- Reach underneath the toilet tank and unscrew the large plastic mounting nut that secures the base of the fill valve to the tank floor. You may need pliers, but avoid over-tightening or cracking the porcelain.
- Disconnect the thin refill tube from the top of the overflow pipe.
- Pull the old fill valve straight up and out of the tank. It might have a small amount of stagnant water pooled at the base, so lift it steadily to avoid spilling on the floor.
- Clean the porcelain around the mounting hole thoroughly. Mineral deposits, rust, or old rubber residue prevent the new gasket from creating a watertight seal.
Step 3: Install and Adjust the New Fill Valve
Modern replacement valves feature quick-twist height adjustments to fit various tank depths.
- Hold the new fill valve next to your old one to measure the correct height. The top of the valve's cap should sit roughly three inches above the top of the overflow pipe to prevent back-siphonage.
- Twist the body of the modern valve to lock it at the correct height if it uses a twist-lock mechanism.
- Place the large rubber shank washer onto the threaded tailpiece at the bottom of the valve outside the tank, or ensure it's seated inside depending on the brand instructions.
- Lower the fill valve down through the hole in the bottom of the tank.
- Hold the valve steady from inside the tank so the float cup doesn't jam against the tank walls or flush valve chain.
- Thread the plastic mounting nut onto the tailpiece underneath the tank by hand. Tighten it securely, then give it an extra quarter-turn with your wrench. Don't over-tighten, or you risk cracking the ceramic tank.
Step 4: Reconnect Water Lines and Fine-Tune Settings
Once physical installation is complete, test the system carefully.
- Attach your water supply line to the threaded tailpiece underneath the fill valve. Screw the coupling nut on by hand to avoid cross-threading, then snug it down with your wrench.
- Push the flexible refill tube into the clip on the fill valve, and route the other end so it empties directly into the top of the overflow pipe without kinking.
- Open the wall shut-off valve slowly by turning it counterclockwise. Watch the tank fill up to check for any leaks at the bottom connection.
- Adjust the water level screw or clip on the valve until the water stops filling about half an inch below the top of the overflow tube (or at the manufacturer's water line mark inside the tank).
Common Mistakes to Avoid
A few simple oversights can turn a quick fix into a frustrating afternoon. Watch out for these pitfalls:
- Over-tightening plastic nuts: Forcing plastic threads with heavy metal wrenches strips the material and causes hairline cracks in porcelain tanks. Hand-tight plus a quarter-turn is plenty.
- Forgetting the refill tube clip: If you drop the refill tube loose into the tank instead of clipping it to the overflow pipe, your bowl won't refill properly, resulting in a weak flush.
- Pinching the flapper chain: Ensure the new float mechanism or moving parts don't catch on the flapper chain every time the toilet flushes.
- Reusing degraded supply hoses: If your braided supply line has frayed rubber or corroded fittings, replace it immediately rather than risking a major bathroom flood.
Frequently Asked Questions
Can I replace a fill valve without turning off the main house water?
Yes. You only need to turn off the local shut-off valve located directly on the wall behind the toilet. If that valve is broken or leaks when turned, you will need to shut off your home's main water supply before proceeding.
Why is my new toilet fill valve making a loud whining noise?
Whining or whistling usually happens when the house water pressure is too high, or the shut-off valve isn't fully opened. Open the wall valve all the way, or install a pressure-reducing valve if your home pressure exceeds 80 psi.
How often should a toilet fill valve be replaced?
Most quality fill valves last between five and eight years. Hard water with high mineral content causes rubber seals and internal diaphragms to degrade faster, requiring earlier replacement.
Do I need plumber's tape on the fill valve threads?
No. Plastic threaded connections on modern fill valves rely on rubber gaskets to form a watertight seal rather than pipe threads. Adding Teflon tape to the bottom tank shank can actually prevent the rubber gasket from sealing properly.