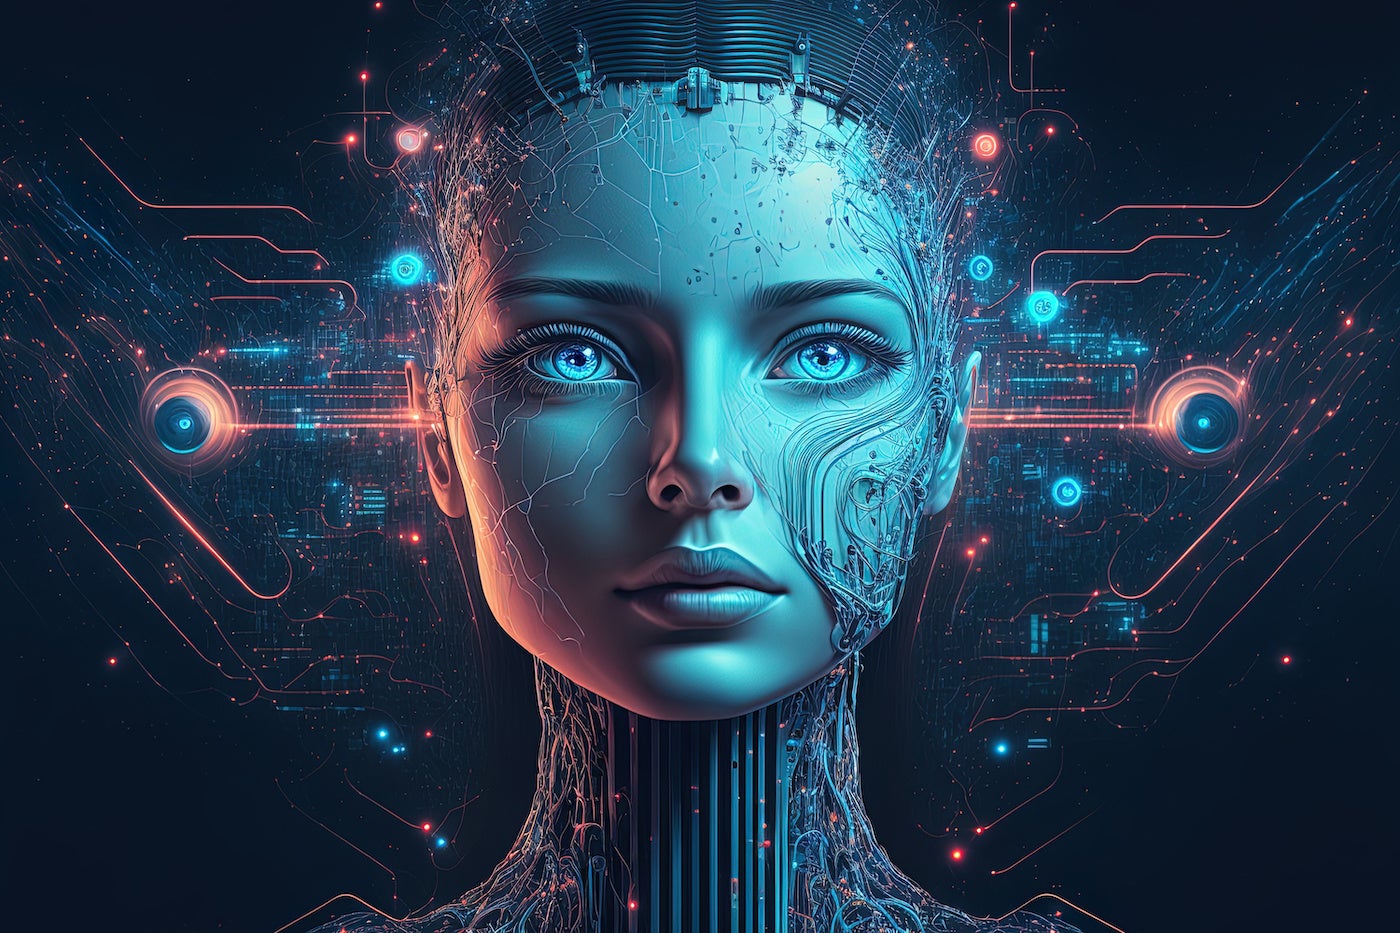
If you've spent any time looking at modern digital art, you've noticed a massive shift away from closed, proprietary platforms toward open weights systems. Stable Diffusion changed the visual design landscape by giving creators direct control over their hardware, models, and outputs. Unlike cloud-locked alternatives that charge per generation and censor specific creative directions, local open-source latent diffusion models let you run complex pipelines right on your desktop.
Getting reliable, high-end results from an open image model requires looking past the basic web interfaces and understanding the core mechanics. This guide breaks down how latent diffusion works under the hood, how to configure a local environment, and how to use advanced extensions like ControlNet to steer your compositions without guessing.
Understanding the Latent Diffusion Engine
Most people type a prompt, click generate, and watch an image appear. Behind that simple action sits a mathematical pipeline designed to save computational power. Traditional diffusion models operate directly on full-size pixel grids, which demands immense graphics memory and processing time.
Stable Diffusion solves this by shifting the heavy lifting into a compressed mathematical space called latent space.
- Compression: An autoencoder compresses your target image dimensions down to a smaller latent representation, reducing data overhead by a factor of sixteen.
- Denoising: The core neural network starts with pure random noise and iteratively strips it away over a series of steps.
- Guiding Text: A text encoder (originally based on OpenAI's CLIP architecture) reads your prompt, turning words into mathematical vectors that steer each denoising step toward your intended concept.
Because this processing happens in a compressed format, consumer graphics cards with modest VRAM can generate detailed images locally in seconds. You aren't sending private prompts or proprietary sketches to a remote server; everything stays on your machine.
Setting Up Your Local Generation Workspace
Running models locally requires a dedicated interface. While command-line scripts work, community-built web interfaces provide the control center needed for serious work. The most widely adopted ecosystem relies on AUTOMATIC1111's WebUI or alternative clients like ComfyUI for node-based workflows.
To run modern checkpoints like SDXL or newer architectures smoothly, check your hardware baseline:
- GPU: An NVIDIA card with at least 8GB to 12GB of VRAM is ideal, though optimized launch flags can squeeze performance out of tighter cards. AMD GPUs run via DirectML or ROCm, but setup requires additional configuration steps.
- System RAM: 16GB minimum ensures smooth model swapping and caching.
- Storage: Solid-state drives are mandatory. Checkpoint files often range from 2GB to 13GB each, and load times drag heavily on traditional hard drives.
Clone the repository or download your manager of choice, install Python along with Git, and run the launch script. Your interface will pull the required dependencies, letting you drop downloaded checkpoint models straight into your local folders.
Advanced Control: Moving Beyond Basic Prompts
Typing descriptive text prompts only gets you so far. When you need specific character poses, architectural layouts, or brand consistency, raw text output often falls short. Professional creators use structural control tools to guide the final render.
Using ControlNet for Structural Guidance
ControlNet injects extra condition layers into your model without altering the core weights. Instead of hoping the model guesses where a character's limbs should go, you feed it a reference map.
- OpenPose: Extracts skeletal frames from a reference photo or stick figure, forcing the generated character to match that exact posture.
- Canny Edge / Lineart: Analyzes line drawings or edge detection maps to preserve precise contours and architectural perspectives.
- Depth Maps: Estimates foreground and background depth, ensuring objects maintain proper spatial relationships during generation.
Fine-Tuning with LoRAs
Training an entire base model requires massive computing clusters and large datasets. Low-Rank Adaptation (LoRA) files offer a lightweight alternative. These small files—usually between 10MB and 200MB—modify specific behavior subsets within the base model. You can download or train a LoRA for a specific clothing style, a rendering medium, or a precise character face, then invoke it using a simple tag in your prompt.
Common Mistakes in Local Generation
Even experienced digital artists run into stumbling blocks when transitioning to local open-source pipelines. Avoiding these common errors saves time and computing resources:
- Ignoring Resolution Constraints: Forcing a base model to generate a 4K image directly from scratch usually results scrambled anatomy or repeating subjects. Generate at native training resolutions (such as 512x512 for older models or 1024x1024 for SDXL), then use latent or tile upscalers to expand the canvas.
- Over-Prompting: Typing a paragraph of conflicting buzzwords ("hyperrealistic, 8k, masterpiece, unreal engine, sharp focus") confuses the text encoder. Clean, descriptive phrases yield much more consistent results.
- Neglecting Negative Prompts: Leaving out negative prompts allows unwanted artifacts, blurry hands, or ugly framing to creep in. A solid baseline negative prompt keeps structural anomalies under control.
- Failing to Manage VRAM: Running high-resolution batches without memory optimization flags (
--medvramor--lowvram) will trigger out-of-memory crashes on consumer cards.
Frequently Asked Questions
Do I need an internet connection to generate art locally?
Once you download the software repository, dependencies, and your preferred model checkpoints, you can run generation completely offline. Your prompts, images, and data never leave your local hardware.
What is the difference between a checkpoint and a LoRA?
A checkpoint is a full model file containing the complete neural network weights required to generate images independently. A LoRA is a small supplementary file that modifies the base model's style, character, or object rendering, and it must always be loaded alongside a base checkpoint.
Why do generated hands and fingers often look distorted?
Hands appear complex in training datasets because they vary wildly in angle, occlusion, and pixel count. Diffusion models struggle with structural anatomy unless guided by specialized extensions, negative prompts, or structural tools like ControlNet.
Can I use locally generated images for commercial projects?
Commercial viability depends entirely on the specific license attached to the base checkpoint model and any LoRAs you use. Many open weights models permit commercial use, but you must verify the licensing terms of each individual checkpoint downloaded from community repositories like Hugging Face.