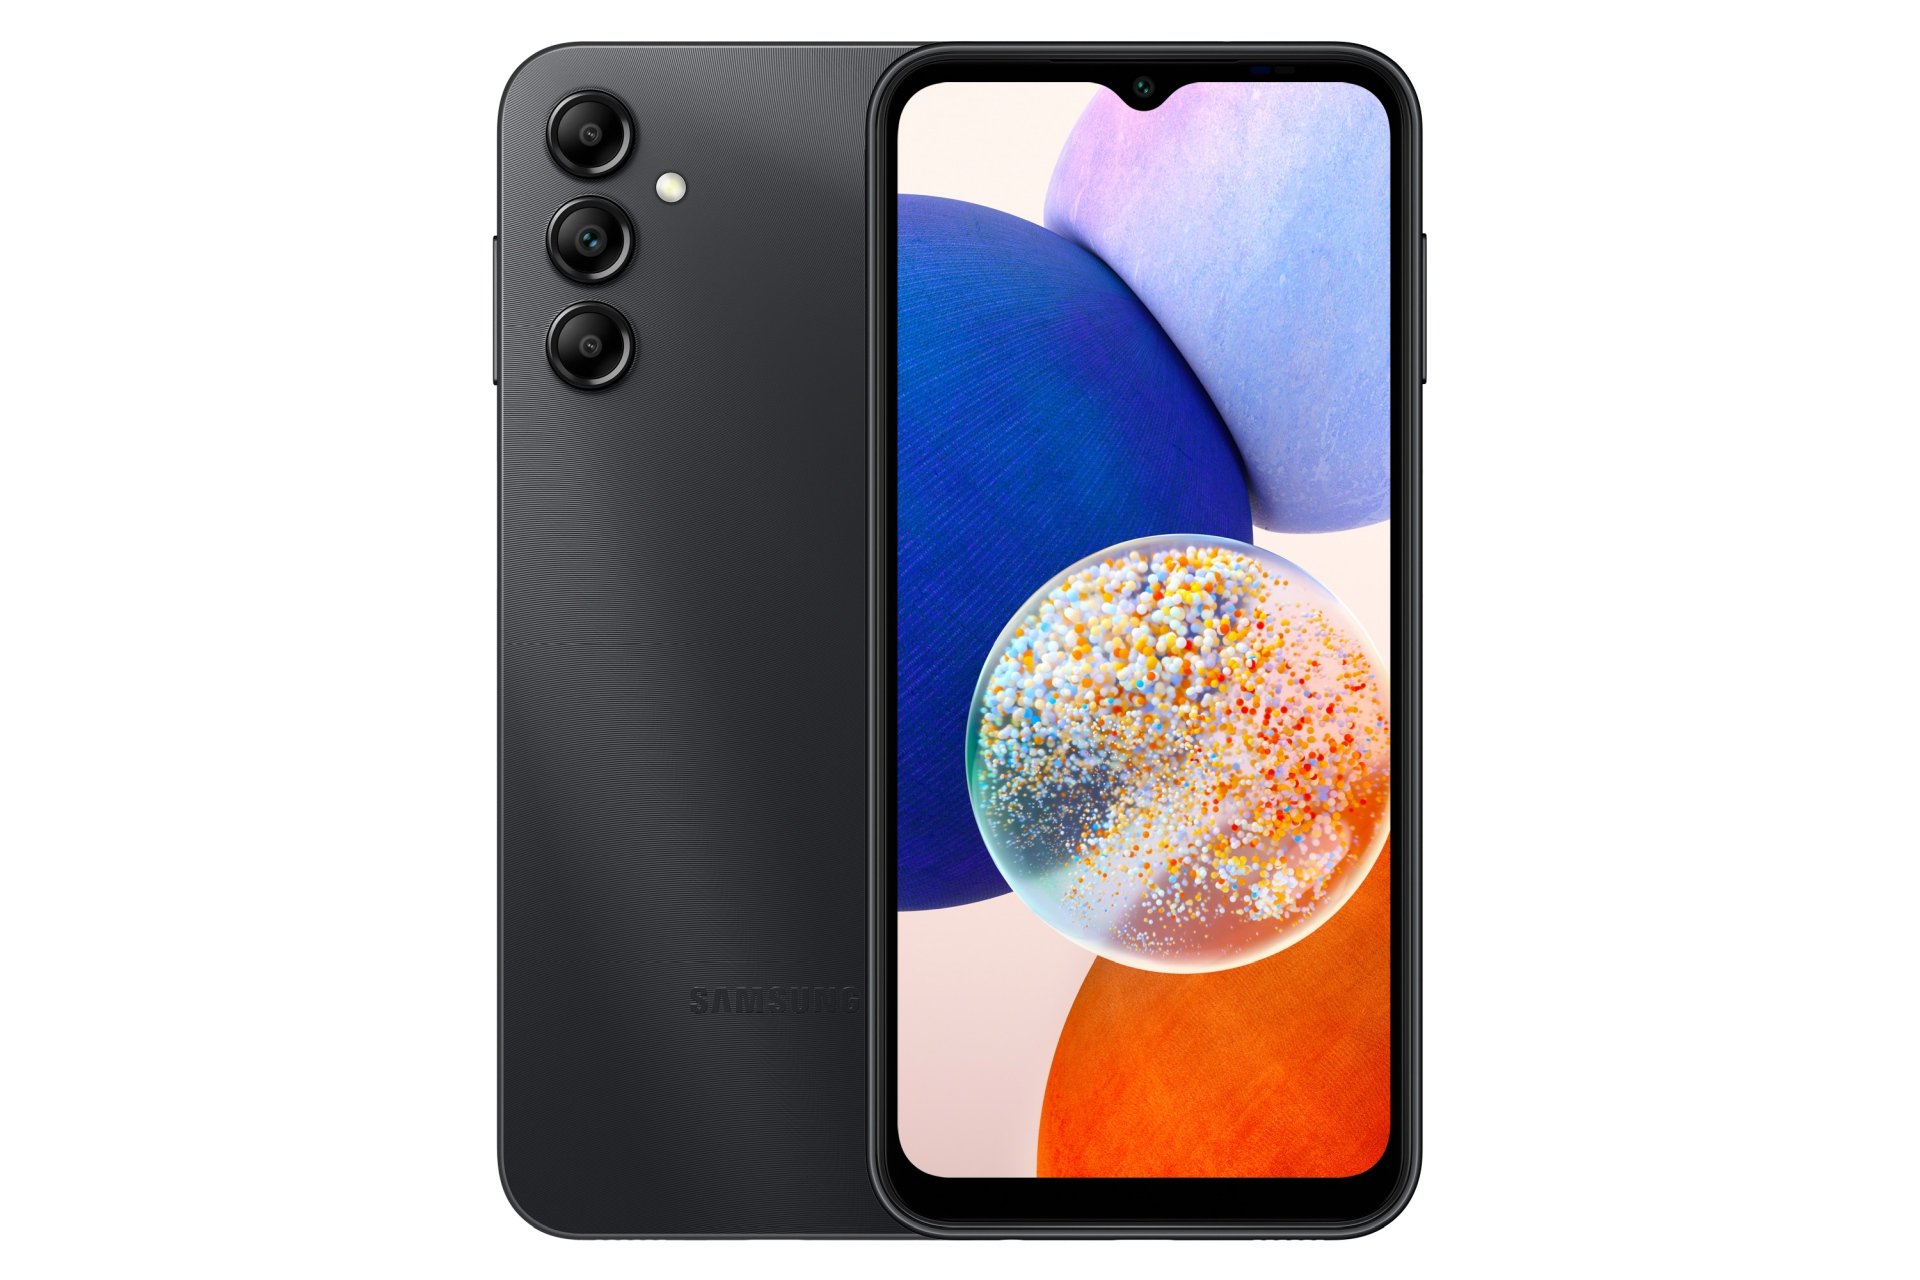
Fixing an aging device like the Samsung Galaxy S2 requires patience, precision, and an understanding of hardware built over a decade ago. While modern smartphones feature glued glass and integrated boards, older models like the Galaxy S2 use modular internal components that make DIY repairs much more approachable for hobbyists.
Whether you're reviving a vintage daily driver or recovering old data from a broken unit, tackling common hardware failures—such as worn batteries or unresponsive charging boards—can extend the usability of your device. This guide walks you through the essential diagnostic steps, necessary tools, and safe disassembly procedures required to fix your phone effectively.
Tools and Workspace Preparation
Before opening any electronic device, preparing your workspace prevents lost components and accidental static damage. Working on older smartphones requires specific, miniature tools that won't strip soft metal screws or crack aging plastic housing.
- Precision screwdriver set: You'll need a standard Phillips #00 and small flathead drivers for internal fasteners.
- Plastic opening picks and spudgers: Avoid metal pry tools to prevent gouging the plastic frame or puncturing delicate ribbon cables.
- Suction cup: Useful for lifting display assemblies or back covers safely.
- Isopropyl alcohol (90% or higher): Essential for cleaning corroded contacts or removing old adhesive residue.
- Anti-static mat or wrist strap: Protects sensitive internal microchips from electrostatic discharge during handling.
Organize your screws on a magnetic mat or partitioned tray as you remove them. Keeping track of screw lengths is critical, as putting a long screw into a short socket can puncture the display panel from behind.
Assessing Common Hardware Faults
Before grabbing your tools, verify the exact nature of the malfunction. Many issues that appear to be catastrophic hardware failures stem from simple contact oxidation or dead cells.
If your device refuses to turn on, plug it into a known-good USB charger for at least thirty minutes. Aging lithium-ion batteries often drop into a deep-discharge state where they won't register immediately. If the phone remains dead, or if it boots only while plugged in, the battery has degraded beyond recovery and needs replacement.
For charging issues, inspect the micro-USB port using a magnifying glass and a wooden toothpick. Lint, pocket debris, and bent pins frequently prevent proper cable connection. If cleaning out debris doesn't restore connectivity, the internal port module has likely worn out and requires swapping.
Disassembling the Device Safely
Unlike modern unibody phones, the Galaxy S2 features a user-removable plastic back cover and a removable battery, making initial access straightforward.
- Power down the device completely and remove the back plastic cover.
- Lift the battery out from its compartment.
- Remove the SIM card and any installed MicroSD cards.
- Unscrew all visible Phillips screws securing the mid-frame housing to the front display assembly.
- Use a plastic spudger to gently release the plastic clips holding the mid-frame in place, working slowly around the perimeter of the phone.
- Lift the mid-frame away to expose the main logic board, camera modules, and interconnect cables.
Take your time unclipping ribbon cables. Pull straight up using plastic tweezers rather than prying at an angle, which can bend the fragile connector pins on the board.
Replacing the Charging Port and Flex Cable
If your diagnosis points to a dead charging port or microphone failure, you must replace the lower sub-board assembly. On this model, the charging port is part of a modular flex cable that also houses the primary microphone and soft-key LEDs.
- Disconnect the antenna cable routing across the lower assembly.
- Unplug the ribbon cable connecting the sub-board to the main logic board.
- Gently peel the flex cable away from the adhesive backing inside the lower frame.
- Position the new replacement flex cable, ensuring the microphone aligns precisely with the acoustic hole on the chassis.
- Reconnect the ribbon cable and secure the antenna wire firmly into its snap connector.
Test the assembly by plugging in the battery and charger before snapping the exterior plastic back into place. This ensures you catch any loose connections before final reassembly.
Frequently Asked Questions
Can I still find genuine replacement parts for the Galaxy S2?
Original OEM parts are rare, but third-party manufacturers still produce replacement batteries, screens, and flex cables. Look for reputable sellers with high customer ratings to avoid low-quality components that fail quickly.
Why does my replacement battery drain so fast?
New-old-stock batteries manufactured years ago often suffer from chemical degradation even if unused. Ensure you purchase recently produced aftermarket cells, and calibrate the battery percentage by letting it charge to full and discharge completely a couple of times.
Is it possible to upgrade the software to run modern apps?
Most modern applications require newer Android operating system versions than the Galaxy S2 supports natively. While custom ROM communities historically provided unofficial updates, current web standards and app security protocols mean basic hardware limitations will restrict modern usability.
What should I do if a screw is stripped?
Use a tiny rubber band placed over the screw head to provide extra grip for your screwdriver, or apply a minimal drop of penetrating oil. Avoid using excessive force that could crack the surrounding plastic housing.



