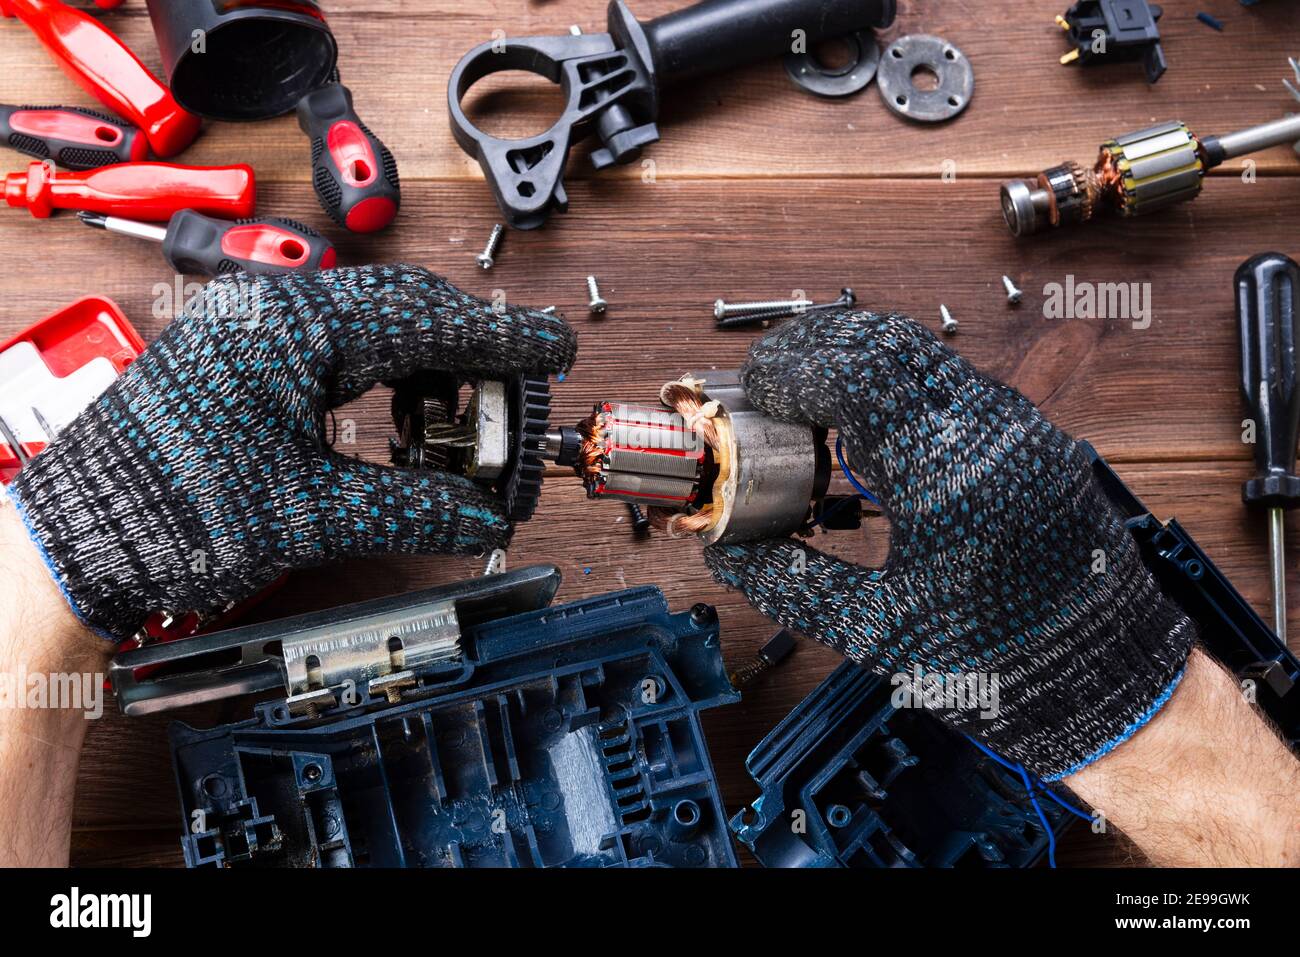
Fixing Nintendo Switch controllers doesn't require buying a brand-new set every time a joystick starts drifting or a trigger stops registering. You can fix most common hardware failures at home with basic tools, patience, and inexpensive replacement parts. Whether you're dealing with the infamous analog drift on a Joy-Con or a sluggish D-pad on a Pro Controller, troubleshooting the issue yourself saves money and cuts down on electronic waste.
Nintendo controllers take a beating. Between frantic button mashing during fast-paced platformers and daily travel in backpacks, internal wear and tear is inevitable. Instead of waiting weeks for manufacturer service or spending upwards of seventy dollars on a replacement pad, you can open up your controller and fix the root cause in under an hour. Let's look at how to diagnose the specific problem and restore your hardware to peak condition.
Diagnosing Your Controller Failure
Before grabbing a screwdriver, you need to know exactly what's failing inside your controller. The Nintendo Switch operating system includes built-in diagnostic tools that make this step easy. Go to your system settings, select Controllers and Sensors, and choose Calibrate Control Sticks or Test Input Devices.
If your character moves on screen without you touching the left stick, you're dealing with analog drift. If pressing a shoulder button produces no on-screen reaction, you have a physical switch or ribbon cable disconnect. Documenting these exact symptoms prevents you from wasting time opening a perfectly fine housing or replacing the wrong component.
For official support options and diagnostic guides, check the Nintendo Support Center. If your hardware is still covered under initial warranties or regional repair policies, official channels might service it for free, though shipping times vary.
Fixing Nintendo Joy-Con Drift
Analog drift ruins gameplay faster than almost any other issue. Dust, debris, and physical friction inside the joystick housing wear down the internal graphite contact pads over time. When these pads lose their conductive coating, they send false electrical signals to the console, telling it that the stick is tilting even when it's centered.
You can fix minor drift temporarily without opening the controller by cleaning underneath the rubber skirt of the joystick using isopropyl alcohol and a cotton swab. Lift the tiny rubber flap gently with tweezers, apply a tiny drop of high-percentage alcohol (90 percent or higher), and rotate the stick in circles. Let it dry completely before turning the console back on.
When cleaning fails, you need to replace the joystick module entirely. Replacement modules cost less than ten dollars online.
- Power down your Nintendo Switch completely.
- Remove the four Y00 tri-wing screws on the back of the Joy-Con shell.
- Pry the housing open slowly like a book, watching out for the fragile battery cable running between the halves.
- Disconnect the battery connector carefully using plastic tweezers.
- Unscrew the small Phillips screw holding the metal bracket over the joystick ribbon cable.
- Lift the latch on the ZIF connector to release the old ribbon cable, unscrew the two Phillips screws holding the joystick module in place, and drop the new module in.
- Reassemble the controller in reverse order, making sure no cables get pinched by the plastic shell.
Replacing Joy-Con Battery and Rails
Batteries degrade over time, leading to Joy-Cons that die rapidly or refuse to charge when attached to the console rails. If your controller turns off immediately upon being unplugged from the Switch, the internal lithium-ion battery has likely reached the end of its lifespan.
Replacing a Joy-Con battery follows a similar path to swapping a joystick. Once you open the rear shell and disconnect the battery, you can peel away the old adhesive pack. Clean the plastic tray and drop a replacement battery into position.
If the controller charges intermittently, the issue might be dirty or bent pins on the external rail. Power off the console, dip a cotton swab in isopropyl alcohol, and scrub the metal contacts inside the Joy-Con rail and the corresponding console rail. Avoid metal tools inside the rail connectors, as you can easily short out the charging circuit or bend the fragile pins permanently.
Pro Controller Troubleshooting and Repair
The Nintendo Switch Pro Controller offers better ergonomics and durability than the standard Joy-Cons, but it's not immune to hardware failure. The most common complaints involve sticky face buttons, unresponsive triggers, or an erratic D-pad that registers false diagonal inputs.
Unlike the sliding rail design of the Joy-Cons, the Pro Controller uses a conventional handheld gamepad layout secured by standard Phillips screws.
- Remove the four exterior screws on the back handles and grips.
- Separate the back cover carefully, keeping track of the two hidden screws located underneath the rubber grip inlays if your model features them.
- Unplug the internal battery connector from the main circuit board.
- Unscrew the circuit board to access the rubber membrane pads underneath the D-pad and face buttons.
Dust and natural oils from your fingers frequently slip past button clearances, forming a sticky residue on the circuit board traces. Clean the carbon contact pads on the rubber membranes and the gold circuit traces using a cotton swab dipped in isopropyl alcohol.
If your D-pad registers accidental diagonal inputs, a popular community fix involves applying a small piece of electrical tape over the center pivot of the D-pad plastic piece to tighten its tolerance. For deeper insights into hardware modifications and community repair standards, read the hardware teardowns on iFixit.
Common Repair Mistakes to Avoid
DIY electronics repair saves money, but rushing the process can ruin your hardware permanently. Keep these common pitfalls in mind before you start turning screws.
- Using the wrong screwdriver size strips screw heads instantly, especially the fragile tri-wing screws on Joy-Cons. Always use matching precision bits.
- Forcing ribbon cables without releasing the locking latch tears the delicate connector traces, rendering that part of the controller useless.
- Working on a powered-on device risks short-circuiting the motherboard. Always disconnect the battery as your very first step after opening the shell.
- Using low-percentage rubbing alcohol leaves moisture behind that causes corrosion. Stick to 90 percent or higher concentrations and wait for total evaporation.
Frequently Asked Questions
Can I upgrade my Joy-Cons to Hall Effect joysticks?
Yes. Hall Effect joystick replacements use magnetic sensors instead of physical contact pads to track movement. Because they never touch physically, they don't suffer from traditional mechanical wear and are completely immune to analog drift.
Why does my controller disconnect randomly while playing?
Wireless interference or a low internal battery usually causes random dropouts. If it happens while attached to the console, clean the terminal rails on both the Joy-Con and the Switch tablet to ensure a solid data connection.
Is it hard to solder inside a Nintendo Switch controller?
Most standard repairs like replacing joysticks, batteries, or buttons require zero soldering. You only need a screwdriver, plastic spudger, and tweezers to plug and unplug modular connectors.
How do I know if my controller battery is swollen?
If the back shell of your Joy-Con or Pro Controller looks warped, or if the controller rocks unevenly on a flat surface, stop using it immediately. A swollen lithium-ion battery represents a fire hazard and requires safe disposal at a local electronic recycling facility.



