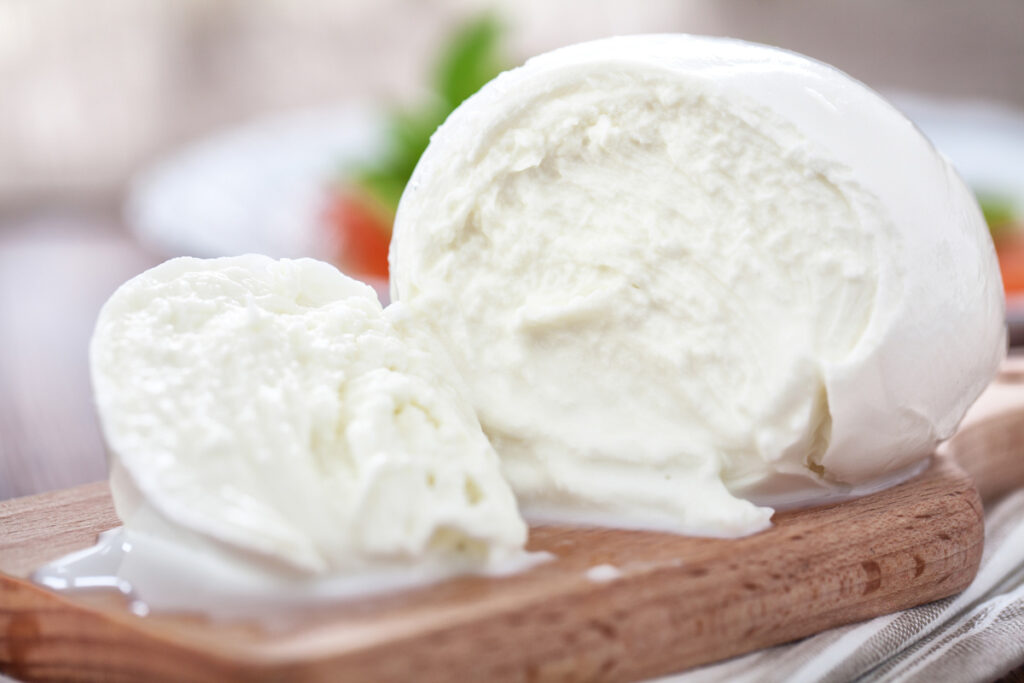
Mozzarella wraps are a viral kitchen trend where solid blocks or shredded piles of mozzarella cheese are melted directly in a pan, crisped into a golden crust, and folded around savory fillings like a traditional tortilla. Unlike flour or corn tortillas loaded with carbohydrates, this high-protein alternative delivers an intensely savory, crunchy outer shell that holds up surprisingly well to heavy fillings. It's a quick, low-carb cooking hack that turns ordinary lunch ingredients into an indulgent, restaurant-style meal in less than ten minutes.
The appeal comes down to texture and simplicity. When you heat low-moisture mozzarella in a non-stick skillet, the fat renders slightly while the proteins firm up, forming a laced, golden-brown frico crust. Once pliable, you can slide fillings right into the center and fold it like a taco or burrito. It satisfies cravings for heavy comfort food without relying on traditional bread products, making it popular among anyone following keto, gluten-free, or high-protein eating habits.
Choosing the Right Cheese and Pan
Success depends almost entirely on the type of cheese you select. Fresh mozzarella packed in water contains far too much moisture, which will release liquid in the pan and prevent a proper crust from forming. Instead, use block low-moisture, part-skim mozzarella and grate it yourself. Pre-bagged shredded cheese often contains cellulose powder to prevent clumping, which interferes with the smooth, even melting required for a solid wrap.
A reliable non-stick skillet or seasoned cast-iron pan is non-negotiable. If your pan has microscopic scratches or poor coating, the melting cheese will fuse to the metal surface and tear apart when you try to lift it. Heat the pan over medium-low heat. High heat will burn the outside of the cheese before the center melts and binds together.
Step-by-Step Cooking Method
Making a clean, sturdy wrap requires precision timing and gentle heat management. Follow these steps to get a crisp exterior that doesn't break under pressure.
- Preheat the pan: Place your non-stick skillet over medium-low heat. Let it warm up for two minutes so the heat distributes evenly across the entire surface.
- Form the cheese base: Spread about one cup of freshly grated low-moisture mozzarella into an even, circular layer roughly the size of a standard tortilla. Leave a small margin around the edges.
- Melt and bubble: Let the cheese sit undisturbed for three to four minutes. You'll see the fats begin to render and small bubbles form across the surface as the edges turn light golden brown.
- Test the edges: Gently slide a thin silicone spatula under the edge of the cheese circle. If it releases cleanly and holds its shape without tearing, it's ready to flip or fill.
- Add fillings and fold: Place your pre-cooked proteins or vegetables down the center line of the circle. Using your spatula, lift one side of the golden cheese shell, fold it over the filling like a taco, and press gently.
- Crisp and serve: Cook for an additional minute on each side until the exterior achieves a deep, uniform golden crunch, then transfer to a plate.
Filling Ideas and Flavor Pairings
Because mozzarella has a mild, milky flavor, it acts as a blank canvas for bold seasonings and savory ingredients. Balancing the richness of the cheese requires crisp textures and acidic elements.
For a classic Italian-inspired version, fill the warm shell with sliced prosciutto, fresh basil leaves, and a drizzle of balsamic glaze. The saltiness of the cured meat cuts right through the rich dairy fats.
If you prefer something heartier, try leftover shredded rotisserie chicken tossed in hot sauce, paired with crisp shredded lettuce and ranch dressing. The heat from the buffalo sauce balances the heavy cheese layer.
Vegetarians can build a filling using roasted bell peppers, sautéed mushrooms, and a spoonful of homemade basil pesto. Adding a handful of peppery arugula right before folding provides a fresh crunch that contrasts nicely with the melted interior.
Common Mistakes to Avoid
Even though the ingredient list is short, a few common errors can ruin the final texture.
Rushing the heat is the most frequent mistake. Cranking the burner up to high will scorch the bottom of the cheese instantly while leaving the top raw and separate. Patience on medium-low heat is what creates a unified, pliable sheet.
Skipping the resting period can also lead to disaster. When you first pull the wrap from the pan, the cheese is molten and fragile. Let it rest on a cutting board for sixty seconds so the fats can set and the crust firms up before you slice into it.
Overloading the wrap makes it impossible to fold cleanly. Stick to a moderate amount of dry fillings so the cheese shell can seal securely around the edges.
Frequently Asked Questions
Can I use pre-shredded mozzarella cheese?
Pre-shredded bags work in a pinch, but they include anti-caking agents that create a patchy, uneven crust. Freshly grating a block yields a much stronger, more cohesive wrap.
Are mozzarella wraps keto-friendly?
Yes. Because the wrap is made entirely of cheese with zero flour or grain, it contains virtually zero carbohydrates and fits well into ketogenic diets.
How do I prevent the cheese from sticking to my pan?
Always use a high-quality, undamaged non-stick skillet or a thoroughly seasoned cast-iron pan. If your pan is worn out, even melted cheese will bond to the exposed metal.
Can I reheat leftovers later?
These wraps are best eaten immediately while the crust is hot and crispy. Reheating them in a microwave will make the cheese rubbery, though you can restore some crunch by tossing them back into a dry skillet for two minutes.