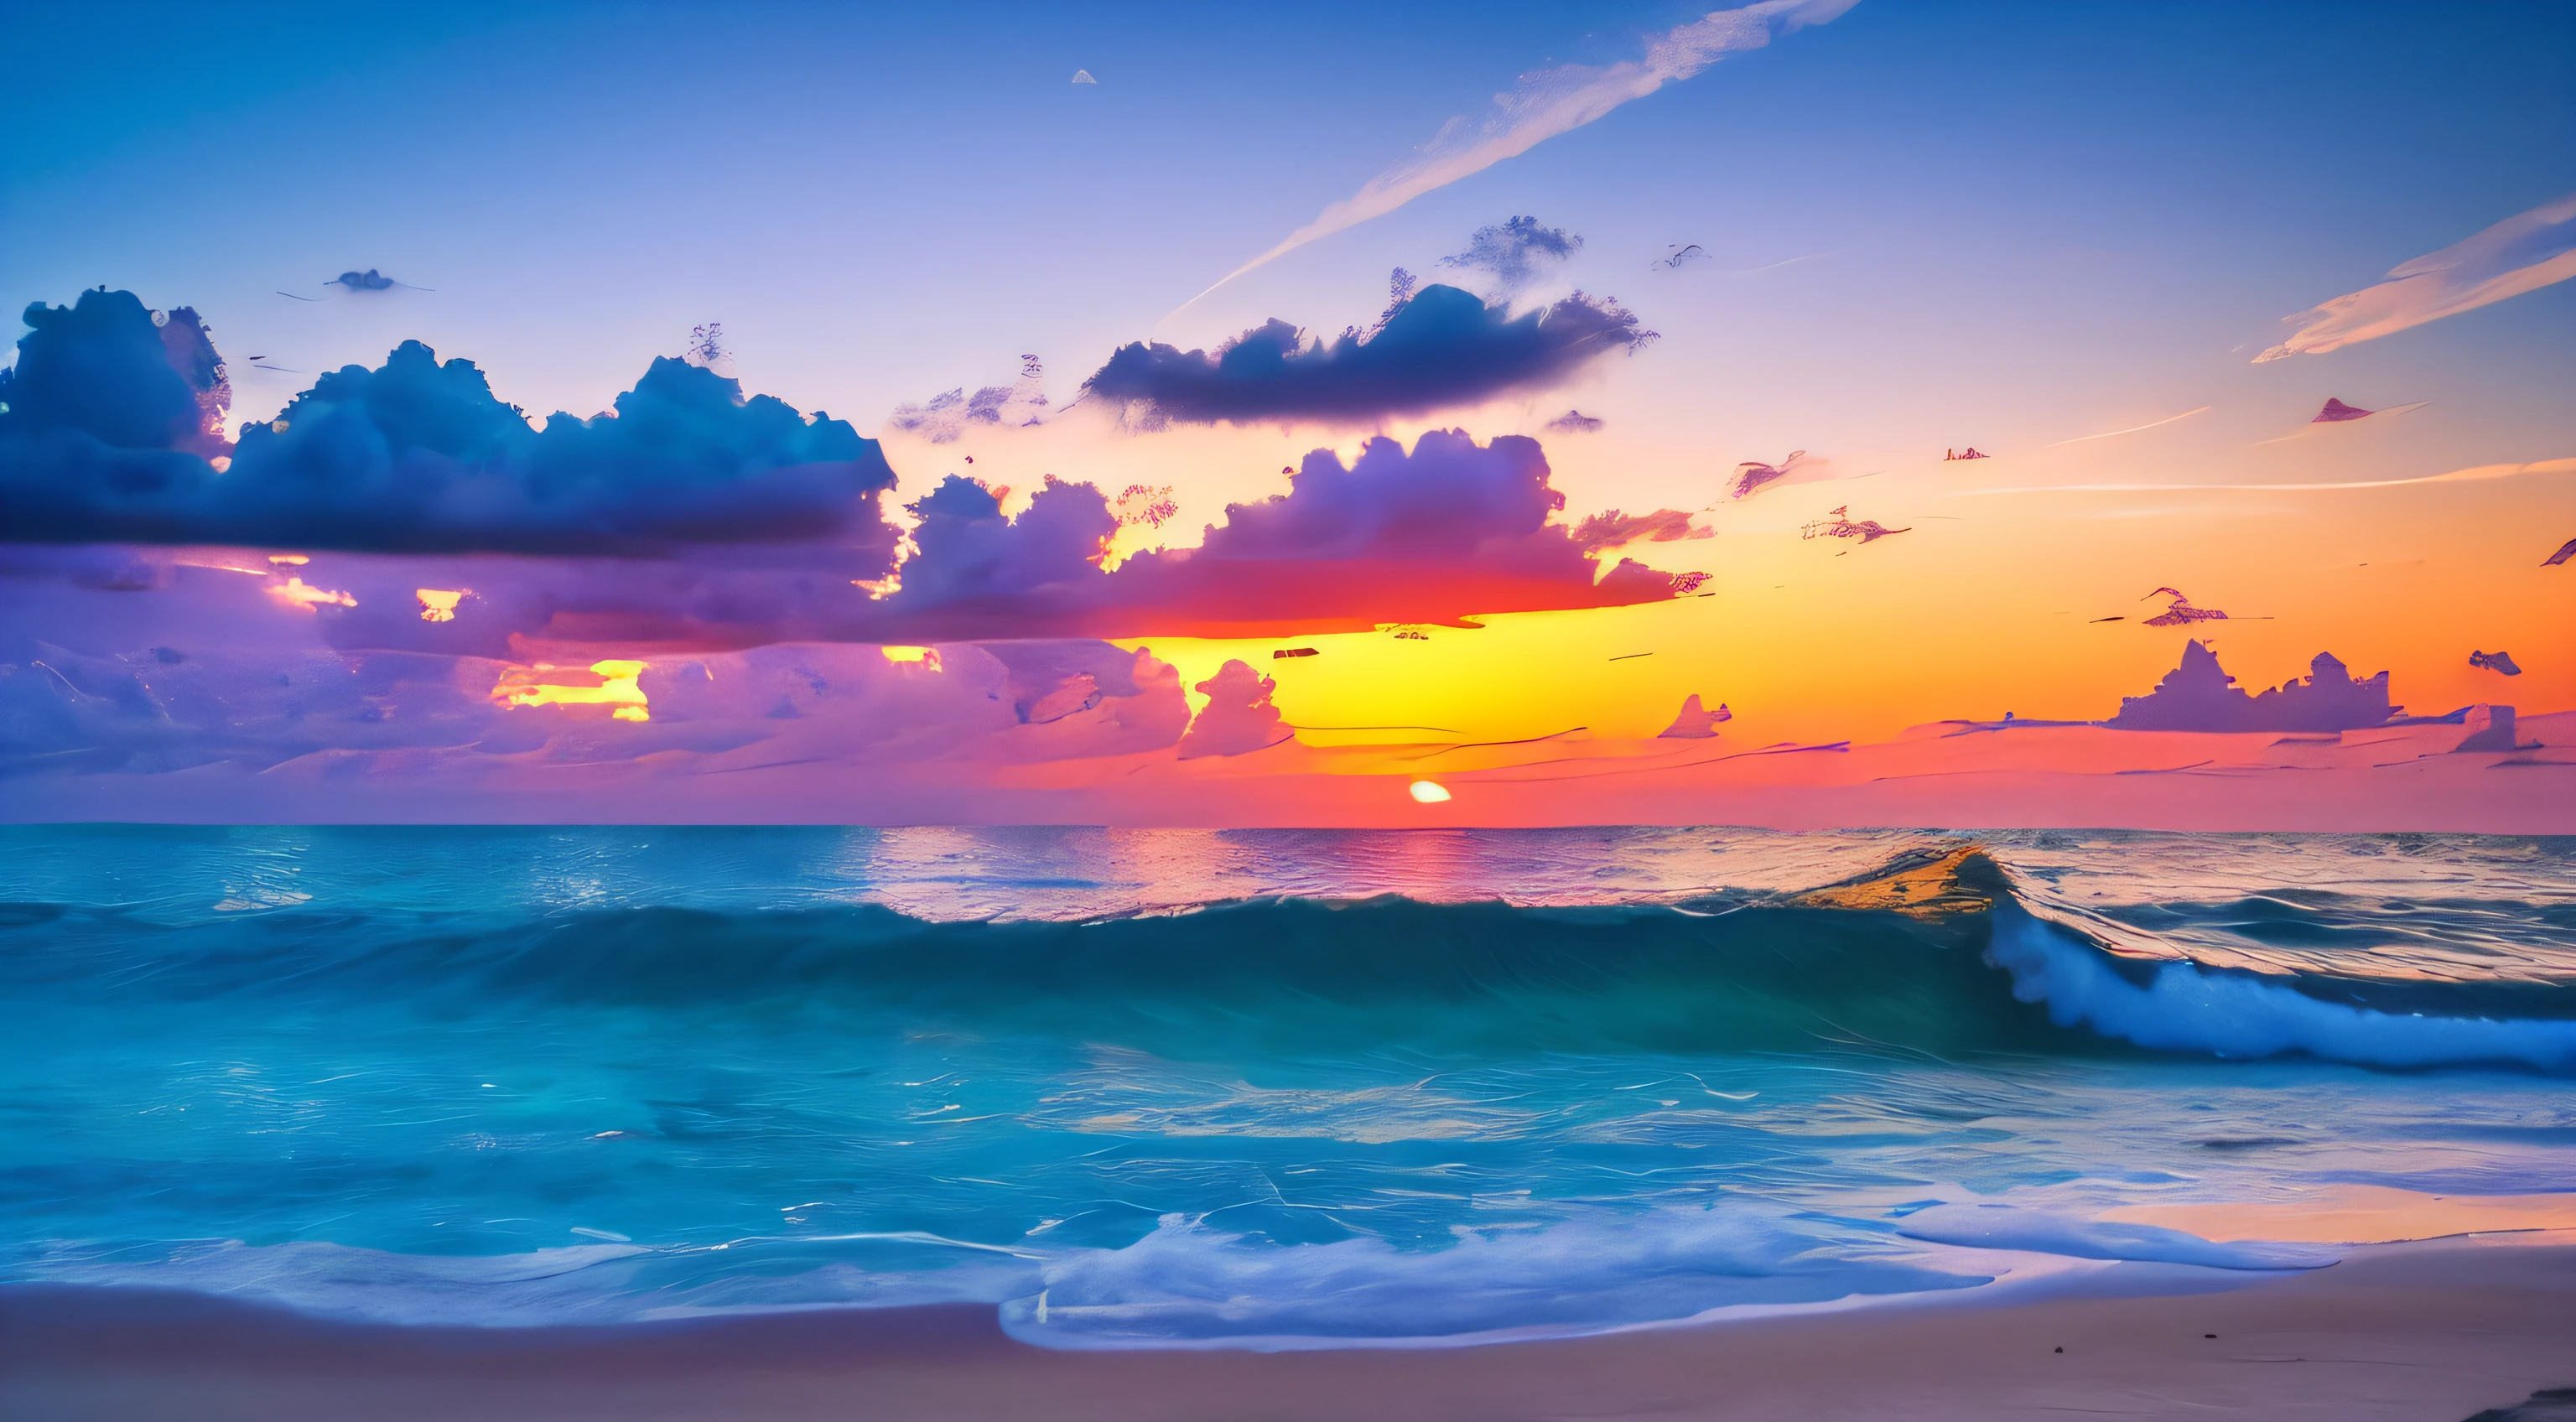
Mastering golden hour photography requires more than just showing up outside right before the sun dips below the horizon. That fleeting window of warm, directional light transforms ordinary scenes into striking images, but the light shifts faster than most photographers expect. If you want to capture clean skin tones, sharp subjects, and rich colors, you need a deliberate strategy for timing, positioning, and camera settings.
Success during golden hour comes down to understanding how light interacts with your subject and environment. While direct midday sun creates harsh shadows and blown-out highlights, low-angle sunlight wraps around your subject with natural diffusion. By planning your compositions ahead of time and dialing in your exposures manually, you can stop guessing and start capturing consistent, high-impact images.
Understanding the Golden Hour Timeline
The term golden hour is slightly misleading because the best light rarely lasts a full sixty minutes. Depending on your latitude and the time of year, this window can shrink to thirty or forty minutes. Breaking your shoot down into distinct phases helps you maximize every minute without feeling rushed.
Arrive at your location sixty to ninety minutes before sunset. This early phase gives you time to scout backgrounds, test compositions, and shoot with soft, even light that works well for wide landscapes or group portraits. As the sun drops closer to thirty minutes before sunset, the light intensifies, turning warm and golden. This is peak shooting time, where shadows lengthen and contrast increases.
Once the sun dips below the horizon, don't pack up your gear immediately. You enter the blue hour, which offers a cool, moody color palette of deep blues and purples that creates a completely different emotional tone for portraits and cityscapes.
Positioning Your Subject for Maximum Impact
Where you place your subject relative to the sun dictates the mood of your photograph. Instead of shooting blindly, choose your angles based on the look you want to achieve:
- Backlighting: Position the sun directly behind your subject to create a bright halo effect and soft hair light. You'll need to spot-meter for your subject's face rather than the bright sky to avoid turning them into a silhouette.
- Sidelight: Place the sun off to the left or right of your frame. Sidelighting emphasizes texture, highlights facial structure, and adds a strong sense of three-dimensional depth to your images.
- Front light: Let the warm rays fall squarely onto the front of your subject. While front lighting can sometimes look flat during midday, the low angle of the golden hour provides a flattering, warm glow without harsh squinting.
If you want to isolate your subject from a busy background, look for open shade near the edge of direct sunlight. The reflected ambient light from nearby surfaces provides soft illumination while keeping highlights controlled.
Optimal Camera Settings for Sunset Shoots
Manual control is essential when the light changes by the minute. Leaving your camera on auto modes during a sunset often results in inconsistent exposures as the meter tries to compensate for the rapidly darkening landscape against a bright sky.
- Aperture: Shoot with a wide aperture, such as f/1.8, f/2.8, or f/4, if you want a soft, blurred background that makes your subject pop.
- ISO: Keep your ISO as low as possible (typically 100 or 200) to maintain a clean image free of digital noise.
- Shutter Speed: Adjust your shutter speed to balance your exposure. If you drop your shutter speed too low to compensate for fading light, mount your camera on a tripod to prevent motion blur.
Autofocus systems often struggle when bright light streams directly into the lens. If your lens starts hunting for focus, cup your hand over the front of the lens like a small sun hat to block the glare, lock your focus, and remove your hand before pressing the shutter. For more technical guidance on camera sensors and exposure values, check the Adobe Photography Learning Center.
Common Mistakes to Avoid
Even experienced photographers fall into a few recurring traps during golden hour sessions. Recognizing these pitfalls keeps your workflow smooth:
- Starting too late: Rushing to your location five minutes before peak light leads to poor compositions and missed shots.
- Ignoring changing weather: High winds cause hair and clothing chaos, while thick cloud cover can kill the warm tones entirely. Check local forecasts through resources like the AEMET Official Weather Agency before heading out.
- Overexposing highlights: It's easy to blow out the brightest parts of the sky while trying to brighten a dark subject. Shoot in RAW format so you can recover shadow and highlight detail later in post-processing.
- Failing to check white balance: Leaving your camera on auto white balance can neutralize the warm tones you drove out to capture. Switch to a daylight, cloudy, or shade preset to preserve the natural warmth of the scene.
Frequently Asked Questions
Is golden hour photography possible on a cloudy day?
Yes, but the quality of light changes significantly. Heavy, overcast clouds diffuse the light completely, eliminating harsh shadows while also removing those bright, fiery orange and yellow tones. Thin, scattered clouds often yield the best results because they catch the colorful light and create dynamic skies.
How do I prevent my portrait subjects from squinting?
Position your subjects with their backs to the sun so they aren't staring into direct light. This keeps them comfortable, relaxes their facial expressions, and gives you that desirable backlit glow.
Should I use filters for sunset photography?
A graduated neutral density filter helps balance the extreme contrast between a bright sky and a darker foreground without requiring heavy digital blending. A polarizing filter can also reduce unwanted glare on water surfaces and deepen blue tones in the opposite side of the sky.
Why do my golden hour skin tones look too orange?
Direct, low-angle sunlight can sometimes saturate skin tones excessively. You can fix this by moving your subject into open shade, shifting to a backlit angle, or adjusting the orange luminance and saturation sliders in your editing software's HSL panel.



