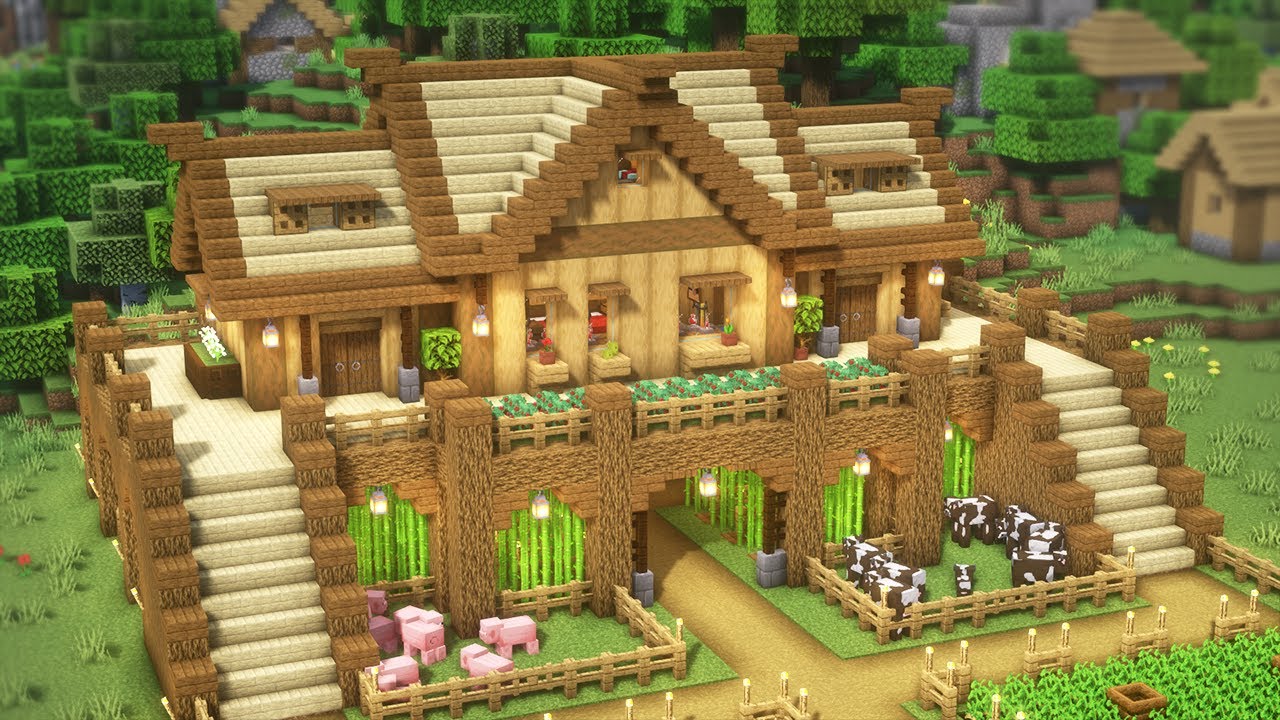
Getting into Minecraft on a Windows PC starts with the official Minecraft Launcher, the central hub for installing, updating, and managing both Java and Bedrock editions. If you're tired of confusing installation loops or broken third-party setups, getting the official client running takes less than five minutes when you follow the right steps.
The official launcher connects your Microsoft account to your game library, handles automatic updates, and lets you manage game versions or mods from a single dashboard. Whether you're setting up the game for the first time or moving from mobile or console to PC, here is how to get everything downloaded, installed, and launched without friction.
System Requirements and Preparation
Before downloading any software, make sure your computer meets the hardware specifications required to run Minecraft smoothly. While the game scales well on older hardware, modern updates require specific operating systems and hardware components.
- Operating System: Windows 10 or Windows 11 (64-bit). Older versions like Windows 7 or 8.1 are no longer officially supported by current launcher updates.
- Processor (CPU): Intel Core i3-3210 or AMD A8-7600 APU (or equivalent).
- Memory (RAM): At least 4 GB of RAM, though 8 GB or higher is recommended if you plan to install resource packs or mods.
- Graphics (GPU): Intel HD Graphics 4000 or AMD Radeon R5 series; DirectX 11 compliant.
- Storage: 4 GB available space minimum (SSD strongly recommended for faster chunk loading).
Make sure your Windows operating system is fully updated via Windows Update, as missing runtime libraries or outdated graphics drivers can prevent the launcher from installing correctly.
Downloading the Official Minecraft Launcher
Always download software directly from the official source to avoid malicious modified installers. Head to the Minecraft Official Website to grab the installer.
- Navigate to the official download page and select the version for Windows.
- The installer file (
MinecraftInstaller.exe) will download to your default downloads folder. - If you use the Microsoft Store app instead, search for "Minecraft Launcher" and click Get or Install. Both methods deploy the exact same core application.
Once the installer file lands on your disk, double-click it to begin the setup wizard. Grant administrative permissions if Windows prompts you to verify changes to your device.
Installation Steps on Windows
The installation wizard automates dependency checks, environment setup, and shortcut creation.
- Launch the
MinecraftInstaller.exefile. - Read through the terms of service and click the checkbox to accept the license agreement.
- Choose your installation directory (the default path
C:\Program Files (x86)\Minecraft Launcherworks best for most users). - Click Install and wait about 30 to 60 seconds for the progress bar to complete.
- Once finished, check the box to launch the application immediately, then click Finish.
Logging In and Connecting Your Account
Modern Minecraft versions require a Microsoft account for authentication, cross-play, and ownership verification.
- Open the Minecraft Launcher.
- Click the Log In button in the top right corner.
- Enter the email address and password associated with your Microsoft account (or Xbox profile).
- If you have two-factor authentication enabled, approve the login prompt via your authenticator app or SMS code.
- Once authenticated, choose or confirm your Xbox Gamertag and avatar. This profile name will appear in-game and on multiplayer servers.
Choosing Your Edition: Java vs. Bedrock
When you open the launcher dashboard, you will see options for different editions depending on what your purchase includes. Purchasing Minecraft on PC typically grants access to both major versions under a single bundle.
- Java Edition: The original PC version. It offers advanced modding support via tools like Forge or Fabric, massive community-made servers, and custom skins. It runs exclusively on PC (Windows, macOS, Linux).
- Bedrock Edition: The cross-play edition built on C++. It lets you play seamlessly with friends on Xbox, PlayStation, Nintendo Switch, iOS, and Android devices.
Select your preferred edition from the left-hand menu of the launcher interface.
Launching and Updating the Game
With your edition selected, starting your first session takes a single click.
- Click on Java Edition or Bedrock Edition in the left sidebar.
- Look at the large green button at the bottom center of the window. If an update is available, it might say Update; otherwise, it will display Play.
- Click Play. The launcher will automatically fetch any necessary game assets, verify file integrity, and boot up the title screen within seconds.
For Java Edition players, you can manage specific game versions, snapshots, or modded profiles by clicking the Installations tab at the top of the launcher dashboard. This lets you switch between the latest release, older historical versions, or experimental pre-releases safely without overwriting your main world saves.
Common Installation Mistakes and Troubleshooting
Even with a streamlined installer, minor environmental issues can block the launch process. Here are common pitfalls and how to fix them:
- Outdated Graphics Drivers: If the game crashes immediately upon launching with a pixel format or OpenGL error, visit the official website of your GPU manufacturer (Nvidia, AMD, or Intel) to download the latest display drivers.
- Xbox Services Missing: Bedrock Edition relies heavily on Xbox Live background services. If login fails, open the Windows Services app, locate "Xbox Accessory Management Service" and "Xbox Live Auth Manager", and ensure their startup type is set to Automatic.
- Antivirus False Positives: Occasionally, strict third-party antivirus suites quarantine installer components. Add an exception for the Minecraft installation directory in your security software settings if files fail to extract.
Frequently Asked Questions
Can I play Minecraft on PC without an internet connection?
Yes. Once you download the game and log into the launcher at least once while online, you can play Java Edition in offline mode. However, multiplayer servers and cloud saves require an active internet connection.
Where are my Minecraft world saves stored on Windows?
For Java Edition, your worlds are located in the C:\Users\YourUsername\AppData\Roaming\.minecraft\saves folder. For Bedrock Edition, they are stored in the local package application data folder managed by Windows.
Do I need to pay twice for Java and Bedrock editions?
No. Mojang and Microsoft bundle Java and Bedrock together for PC players. If you own one, you automatically own access to download both through the unified launcher.
Can I install mods directly through the official launcher?
The official launcher supports custom profiles, version directories, and resource pack management, but complex mod loaders like Forge or Fabric require running their own dedicated installation executables to integrate smoothly with the game files.



