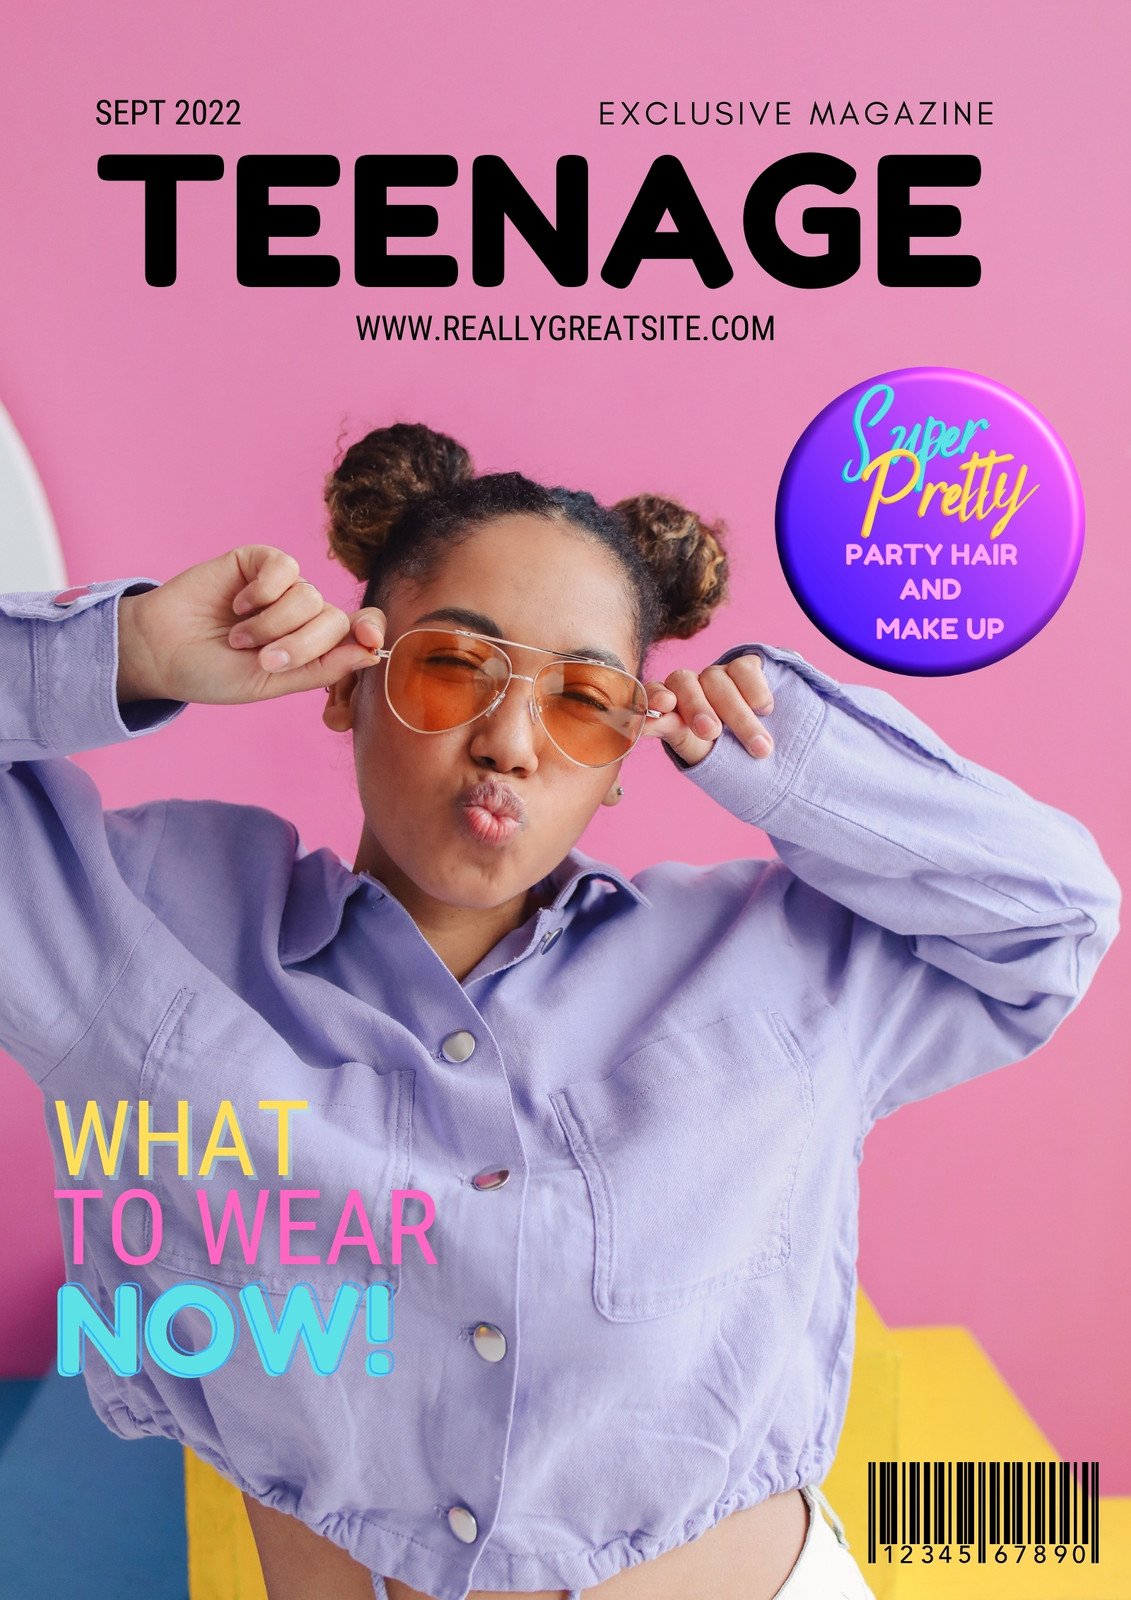
A magazine photoshoot requires rigorous pre-production, precise technical execution, and disciplined collaboration. It is not just about pointing a high-end camera at a model; it is a complex production where lighting, wardrobe, moodboards, and crew coordination intersect to build a compelling visual narrative. Whether you're producing for print or digital editorial spreads, bridging the gap between creative vision and technical reality determines whether your images captivate audiences or fall flat.
This guide breaks down the exact framework required to execute an unforgettable editorial shoot. You'll learn how to build actionable moodboards, master studio and location lighting, manage fast-paced sets, and refine your work in post-production without losing authenticity.
Pre-Production: Building the Visual Blueprint
The success of any editorial shoot is decided long before shutter clicks. Skipping or rushing pre-production guarantees disjointed results, wasted budgets, and frustrated talent. A solid foundation aligns your team on a single creative direction.
Developing Concept and Moodboards
Start by defining the core editorial theme. Are you shooting a high-fashion conceptual spread, a raw lifestyle portrait series, or a detailed product feature? Once the concept is clear, build a comprehensive moodboard.
- Visual References: Collect tear sheets, screenshots, or campaign images that capture the desired lighting contrast and color palette.
- Texture and Tone: Include physical swatches, fabric textures, or graphic typography references to establish tactile depth.
- Color Grading Direction: Limit your palette to three or four primary tones to maintain cohesion across the final layout.
Crafting the Shot List and Production Schedule
Vague ideas lead to missed opportunities on set. Create a granular shot list organized by scene, angle, model look, and lens choice. Pair this with a strict timeline that assigns specific windows for hair, makeup, wardrobe changes, and shooting blocks.
Always build a 15-minute buffer into every hour of your schedule. Editorial sets run behind schedule due to wardrobe adjustments or lighting tweaks; a flexible timeline keeps the crew's energy high and prevents rushed frames.
Assembling the Right Team
An editorial production is only as strong as its collaborators. Look for professionals whose portfolios complement your aesthetic goals.
- Stylist: Secures wardrobe pieces that reinforce the narrative without overpowering the subject.
- Hair and Makeup Artist (HMUA): Understands how cosmetics react under studio flashes versus harsh natural daylight.
- First Assistant: Manages tethering, battery swaps, and equipment safety so the lead creator can focus entirely on the model.
Technical Execution: Lighting and Composition
Technical competence separates amateur snapshots from professional editorial spreads. Controlling your environment requires deliberate gear selection and precise light placement.
Sculpting Light and Shadow
Lighting is the primary tool for emotional resonance. Avoid flat, direct overhead lighting unless you're intentionally aiming for a stark, clinical aesthetic.
- Directionality: Side lighting emphasizes bone structure and fabric texture, while front lighting flattens features and minimizes blemishes.
- Modification: Use large softboxes to wrap light gently around a subject, or grid-fitted strips to isolate light onto specific elements of the frame.
- Layering: Combine a primary key light with a subtle fill or rim light to separate your subject from the background.
For real-world guidance on professional studio workflows and lighting standards, consult resources from the Professional Photographers of America.
Framing for Narrative Impact
Composition should guide the viewer's eye intentionally through the image. Relying solely on centered portraits gets monotonous quickly.
Use dynamic angles, leading lines, and environmental context to tell a richer story. Lower your camera angle to project power and scale, or shoot from overhead for graphic, architectural precision. Leave intentional negative space if the magazine layout requires room for text headers or pull quotes.
Gear Selection and Calibration
Match your equipment to the demands of the location and concept. While medium format or high-megapixel full-frame sensors capture incredible detail, lenses often dictate the emotional weight of an image. Fast prime lenses (such as an 85mm f/1.4 or 50mm f/1.2) create a shallow depth of field that isolates your subject against busy backgrounds.
Always calibrate your monitors before heading into post-production. Consistent color management ensures the skin tones you see on set match the final printed page or digital screen.
Directing Talent and Managing On-Set Flow
Even with perfect lighting and wardrobe, stiff or disconnected talent will ruin an editorial image. Directing human expression is an active, communicative process.
Communication and Micro-Expressions
Models aren't mind readers. Instead of shouting vague instructions like "give me more energy," use physical cues and scenario prompts. Ask the model to shift their weight, drop their shoulders, or imagine a specific narrative moment.
Capture bursts of frames between formal poses. The candid micro-expressions that happen as a model laughs or resets often contain the most authentic emotion.
Real-Time Review and Course Correction
Use tethered shooting so that every frame appears instantly on a laptop or on-set monitor. Review images collaboratively with your art director and stylist between setups. Spotting a stray hair, an awkward fold in a garment, or a shadow on the jawline immediately saves hours of frustrating clean-up in post-production.
Post-Production and Editorial Polish
Editing is where raw captures become polished visual assets. The goal of post-production is enhancement, not complete reconstruction.
Maintaining Skin Integrity and Texture
Over-retouching strips life out of a portrait, turning humans into plastic mannequins. When working in software like Adobe Photoshop, use frequency separation or subtle dodging and burning rather than aggressive smoothing plugins. Preserve natural skin pores, fine lines, and subtle texture to keep the image grounded in reality.
Color Grading for Cohesion
Apply a unified color grade across the entire series to ensure the spreads look like a singular collection. Adjust hue, saturation, and luminance (HSL) curves to harmonize clothing colors with background tones, ensuring nothing clashes unpleasantly.
Frequently Asked Questions
How do I budget for a professional magazine photoshoot?
Break your budget into four core categories: talent fees (models, hair, makeup, styling), location or studio rentals, equipment insurance and rentals, and post-production or licensing costs. Always allocate 15% of your total budget for unexpected expenses.
What is the best lens focal length for fashion and editorial work?
While personal style varies, focal lengths between 85mm and 135mm are industry standards for portraits. They compress facial features naturally and create pleasing background separation without geometric distortion.
How do I pitch my photoshoot to magazines?
Create a polished digital lookbook featuring completed test shots, a clear moodboard, and a brief pitch letter explaining why your visual narrative fits their specific target readership and upcoming editorial calendar themes.
Should I shoot tethered on location?
Yes, whenever logistically possible. Tethering allows the entire creative team to check focus, lighting accuracy, and styling details immediately, preventing costly mistakes that can't be fixed after wrapping the shoot.



