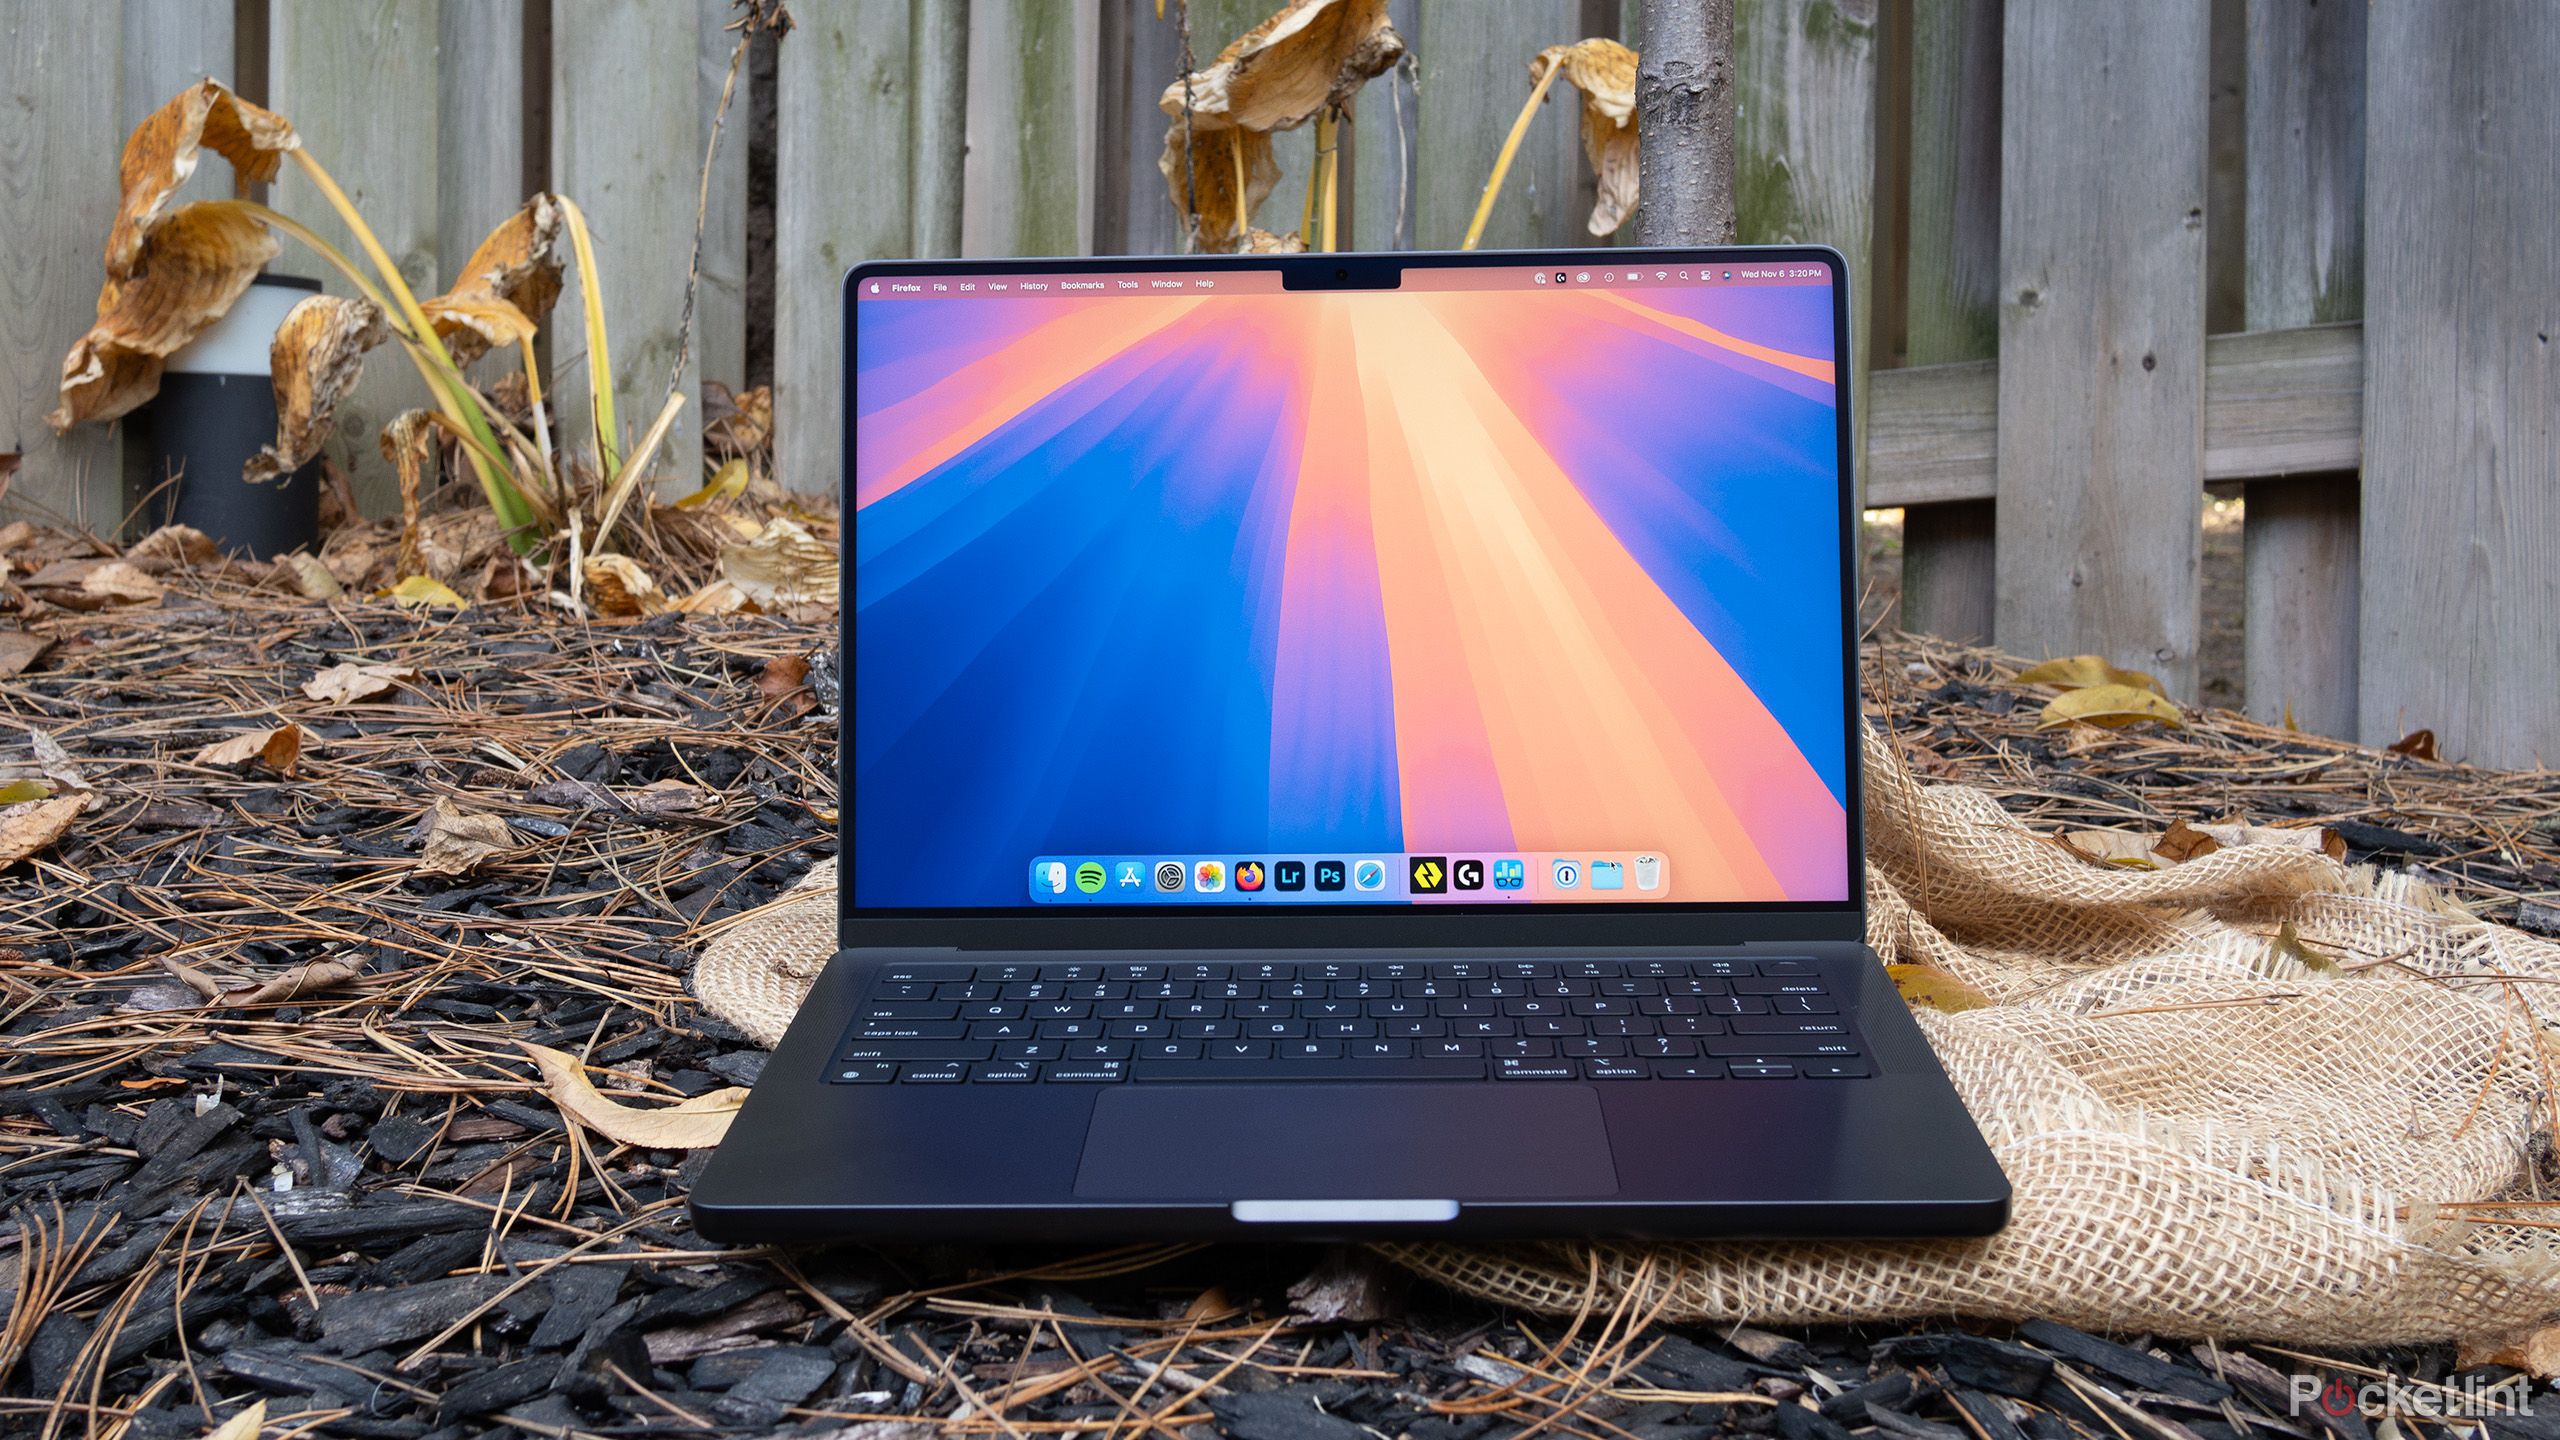
When a MacBook slows down or stops responding, every minute counts toward lost productivity. Diagnosing the issue accurately before opening the case or paying for a service center prevents unnecessary expenses and data loss. This guide details how to read hardware and software symptoms, execute reliable diagnostic routines, and maintain your device for peak longevity.
Modern MacBooks integrate tight hardware-software architecture, meaning a single bottleneck—such as a failing background service or thermal throttling—can mimic a major hardware failure. By following a structured troubleshooting sequence, you can quickly identify the root cause, fix what's within your control, and decide when professional repair is truly necessary.
Pinpointing the Problem: Hardware vs. Software Symptoms
Before taking any corrective action, isolate whether your issue stems from physical hardware components or macOS processes.
Recognizing Hardware Warnings
- Thermal distress: Excessive fan noise or a hot casing during light tasks indicates blocked airflow, failing fan bearings, or degraded thermal paste.
- Peripheral failures: Unresponsive USB-C/Thunderbolt ports or intermittent charging usually point to port debris, internal controller faults, or damaged charging cables rather than macOS bugs.
- Display and keyboard anomalies: Flickering lines, permanent dead pixels, or sticky keys require direct physical inspection, whereas software glitches rarely cause isolated hardware input failures.
Recognizing Software Bottlenecks
- Memory pressure spikes: If your Mac suddenly freezes or beach-balls while opening multiple browser tabs, RAM exhaustion or a rogue background daemon is likely the culprit.
- Kernel panics: Unexpected shutdowns accompanied by a multi-language crash report upon reboot typically signal conflicting third-party kernel extensions or corrupted system files.
- Storage degradation: Operating systems slow down drastically when internal solid-state drives approach 95% capacity because macOS lacks the necessary breathing room for virtual memory swap files.
Practical Diagnostic Steps You Can Run Today
Before visiting a repair shop, utilize built-in Apple diagnostic tools to gather precise error codes.
Running Apple Diagnostics
Shut down your Mac completely, disconnect all external accessories except the power cable, and turn it back on while holding down the D key (or the power button on Apple Silicon models until startup options load). The system will scan internal components and output a specific reference code. For example, a code starting with PPT usually flags a battery anomaly, while memory board errors display distinct alphanumeric codes that guide technicians straight to the failing module.
Inspecting System Logs via Terminal or Console
Open the Console app via Spotlight to monitor live system events. Filter for terms like fault or crash during the exact timeframe your MacBook experienced an issue. This isolates third-party applications or outdated drivers that trigger system instability.
Checking SSD Health and Storage Trim
Solid-state drives wear down over time based on write volume. Open System Information, navigate to Storage, and verify that your drive's SMART status reads "Verified." If your drive is nearing its maximum terabytes written (TBW) threshold, prepare an immediate backup before sudden read/write lockouts occur.
When to Attempt DIY Repair Versus Professional Service
While Apple's modular design makes certain fixes straightforward, modern MacBooks demand extreme precision.
Safe DIY Interventions
- Deep cleaning: Using compressed air to clear lint from hinge vents and keyboard switches resolves minor thermal throttling issues.
- Software reinstallation: Creating a bootable macOS installer on a USB flash drive and wiping the drive clean resolves persistent software corruption.
- Battery replacement on older models: On vintage Retina and pre-Retina models where batteries are screwed or lightly adhered in place, DIY replacement is viable with proper anti-static precautions and correct pentalobe tools, detailed step-by-step on platforms like iFixit.
When Professional Service is Mandatory
Apple Silicon models (M1, M2, M3, and M4 series) integrate the CPU, GPU, and unified memory onto a single system-on-chip package soldered directly to the logic board. Component-level repairs require advanced microsoldering equipment. For cracked displays, liquid damage, or failed logic boards, rely on certified technicians through official Apple Support or authorized service providers who possess proprietary calibration tools required for True Tone and biometric sensor pairing.
Proactive Maintenance to Extend Performance
Preventing failures is far cheaper than fixing them. Implement these habits to maximize your MacBook's lifespan.
- Maintain thermal clearance: Always use your laptop on flat, hard desks rather than soft fabrics like beds or couches that trap heat against the lower aluminum chassis.
- Manage charge cycles: Modern macOS includes Optimized Battery Charging to delay charging past 80% when plugged in continuously, reducing chemical aging. Avoid letting lithium-ion batteries drop to zero percent for extended periods.
- Enforce a backup routine: Set up automated hourly or daily backups using Apple Time Machine paired with an external solid-state drive.
Frequently Asked Questions
How do I know if my MacBook battery needs replacement?
Check your battery health by navigating to System Settings, selecting Battery, and clicking the info icon next to Battery Health. If the maximum capacity has dropped below 80 percent or displays a "Service Recommended" warning, runtime will degrade rapidly under load.
Can I upgrade the RAM or storage on an M-series MacBook?
No. Apple Silicon MacBooks feature unified memory and storage soldered directly onto the logic board architecture. All specifications are permanent at the time of purchase, making it essential to choose adequate configuration tiers initially.
What should I do immediately if I spill liquid on my MacBook?
Power down the device instantly by holding the power button for five seconds. Disconnect the power adapter and all peripherals. Do not attempt to turn it back on or use a hair dryer, as airflow pushes moisture deeper. Place the laptop upside down in a tent formation and seek professional repair immediately.



