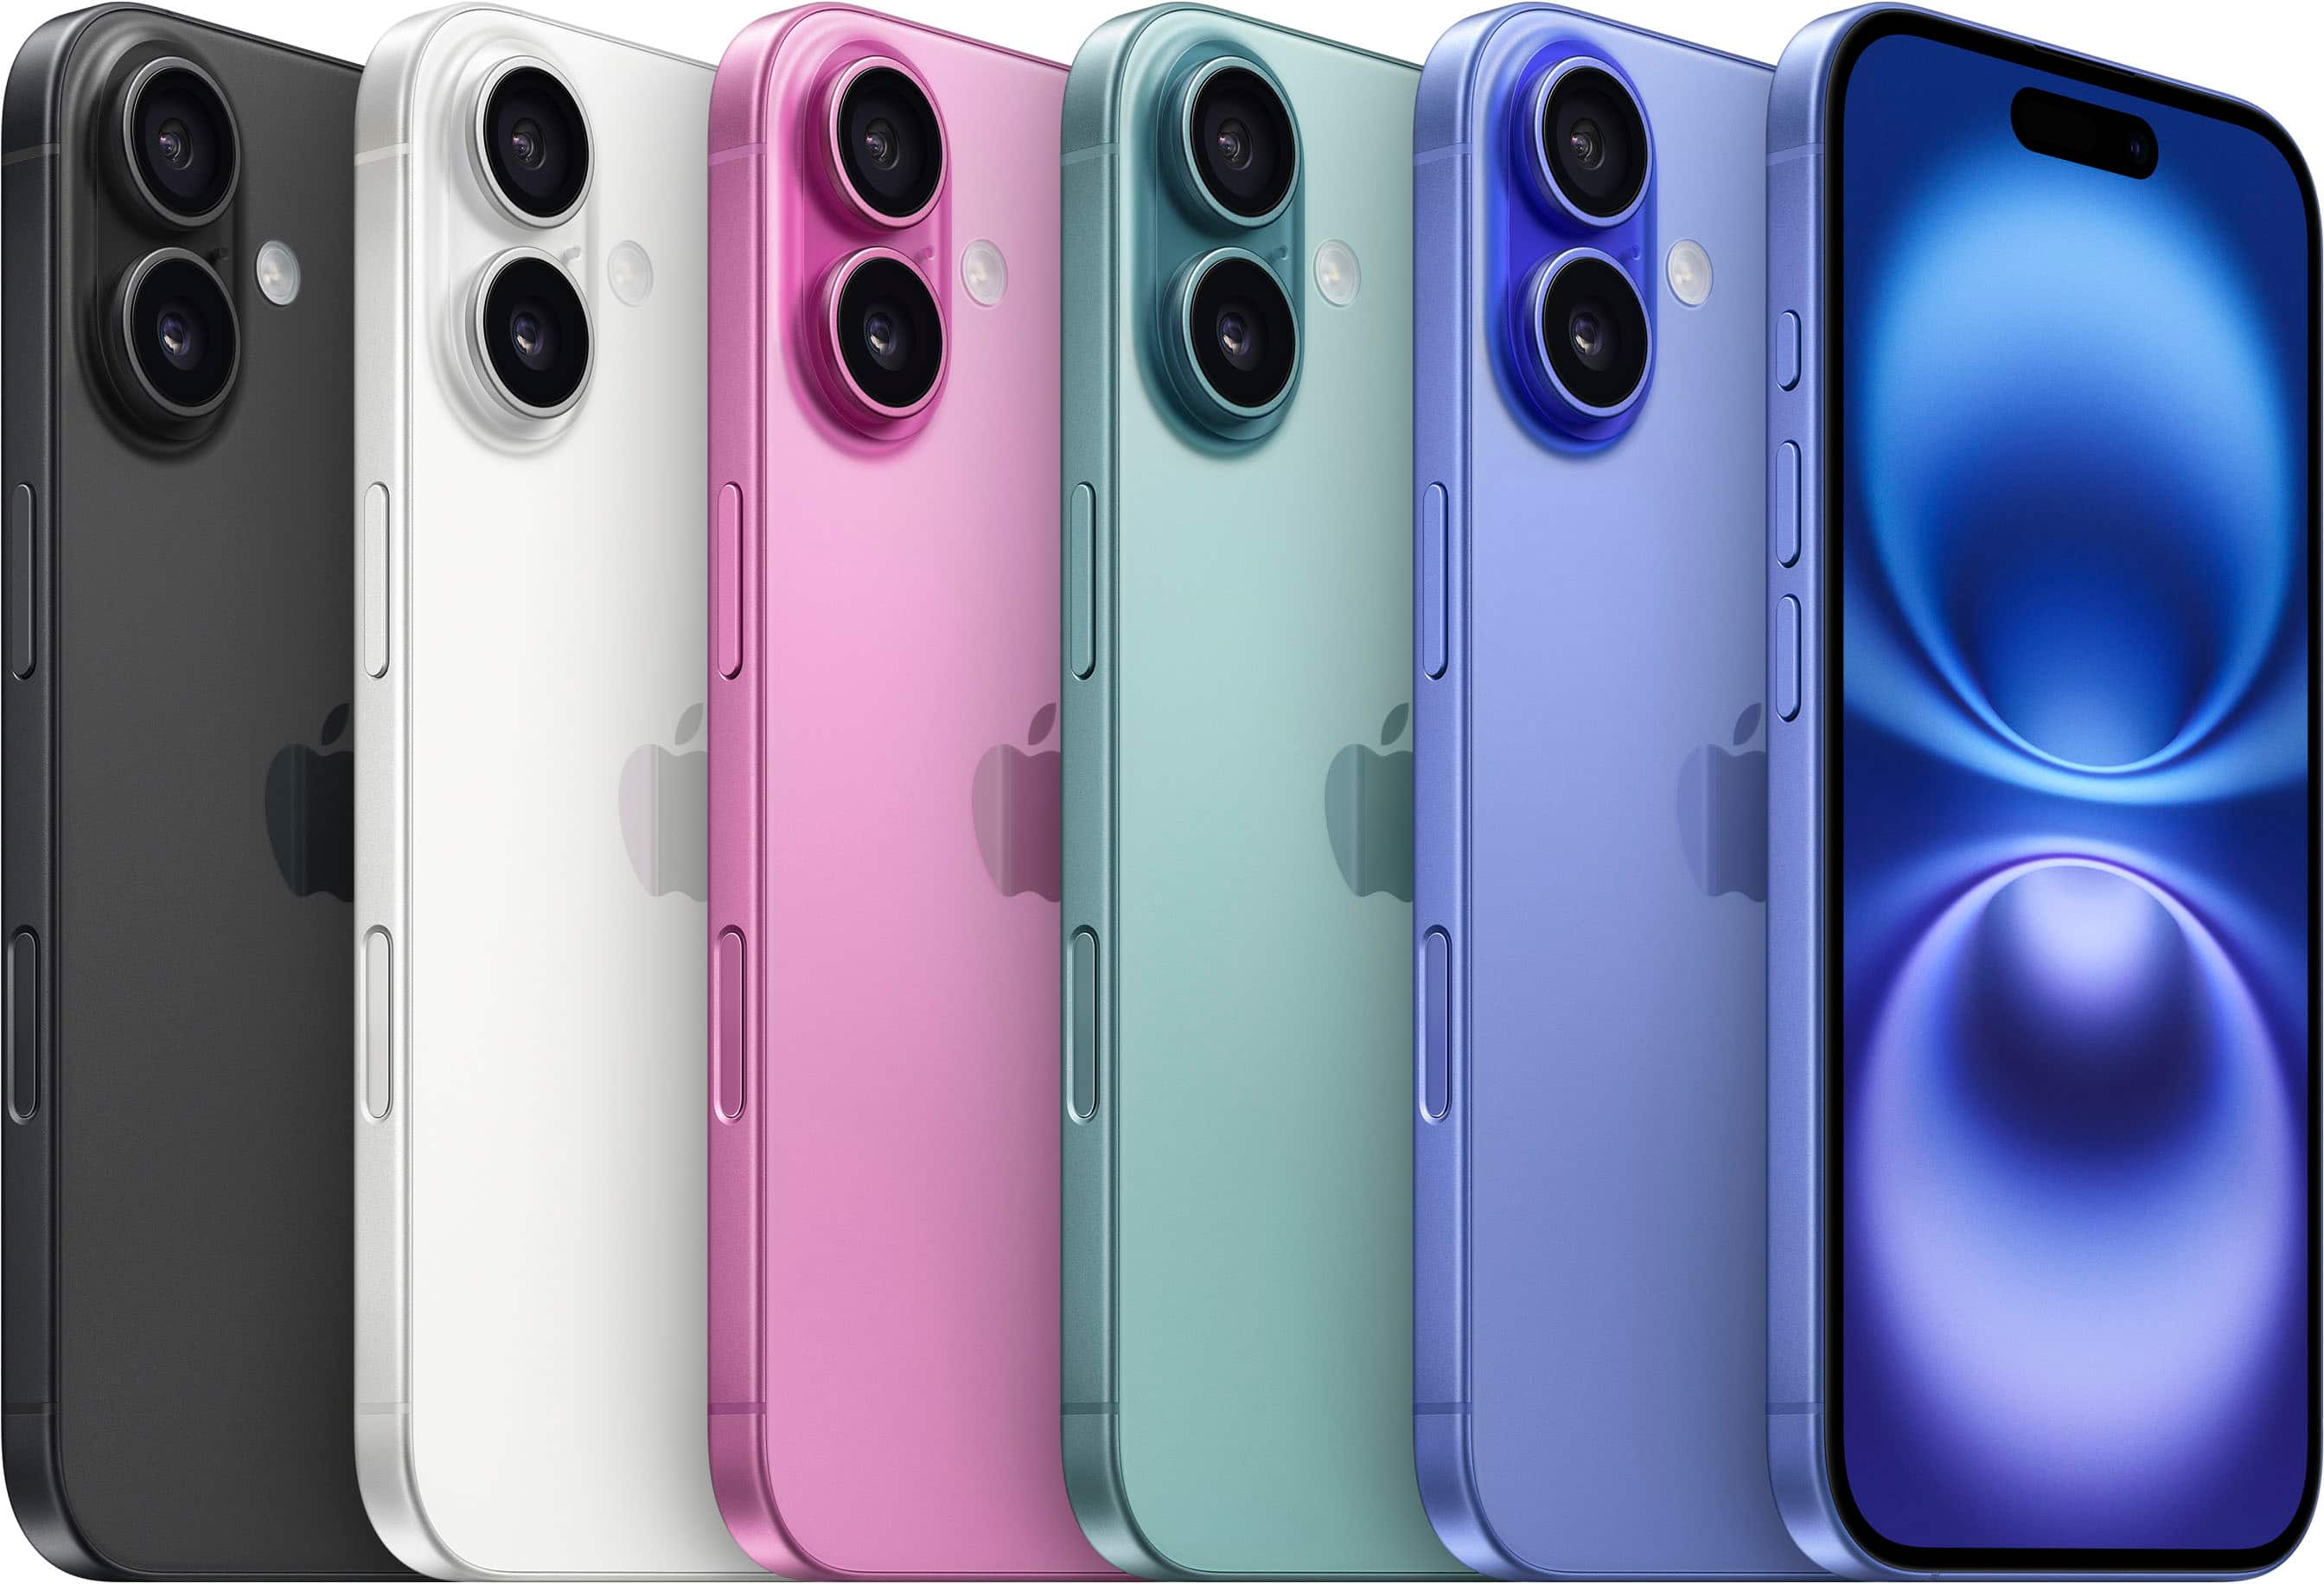
Fixing a shattered display on Apple's oversized flagship requires patience, precise thermal management, and steady hands. When you drop your phone and fracture the OLED panel, paying for official out-of-warranty service can strain your wallet. Performing an iPhone 14 Pro Max screen replacement yourself saves significant money, provided you respect the internal ribbon cables and waterproof adhesive seals.
This guide walks you through the teardown, component transfer, and reassembly process without missing the critical safety steps. If you rush or force a component, you risk permanently damaging the Face ID sensor assembly or severing the delicate display flex cables.
Tools and Workspace Preparation
Before opening the device, gather specialized equipment. Standard household screwdrivers will strip the microscopic hardware inside modern Apple electronics.
- Pentalobe P2 screwdriver (0.8 mm) for the exterior bottom screws.
- Tri-point Y000 screwdriver for the internal logic board shields.
- Phillips PH000 screwdriver for securing tiny brackets.
- Suction cup handle or an anti-clamp opening tool to lift the front glass.
- Plastic opening picks marked securely with permanent marker at the 3 mm threshold.
- Heat gun or hot plate capable of reaching 80 degrees Celsius to soften industrial adhesive.
- High-purity isopropyl alcohol (90% or higher) to dissolve stubborn glue lines.
- Replacement OLED assembly and fresh perimeter waterproof adhesive gasket.
Clear a brightly lit workspace, lay down an anti-static mat, and power down your phone completely before picking up a tool.
Step 1: Removing Bottom Screws and Heating the Adhesive
Power off your device. Locate the two 6.8 mm pentalobe screws flanking the Lightning charging port at the bottom edge. Unscrew them carefully and store them in a magnetic parts tray; mixing up screw lengths during an iPhone repair causes logic board punctures.
The screen is held firmly to the aluminum chassis by a waterproof urethane gasket. Turn on your heat gun or hot plate, setting it to a moderate temperature. Run the heat source evenly around the outer edges of the screen for roughly two to three minutes. The glass should feel hot to the touch, but not scorching. This thermal step softens the adhesive bond, making separation possible without shattering the glass further. If your display features deep fractures, lay strips of clear packing tape across the glass surface to catch loose shards and provide traction for your suction tool.
Step 2: Opening the Display Assembly
Attach your suction cup near the lower edge of the screen, just above the charging port. Pull upward firmly on the suction handle while simultaneously sliding a thin plastic pick into the narrow seam between the glass plastic bezel and the metal housing.
- Crucial Depth Warning: Never insert your pick deeper than 3 mm. The display flex cables and structural fragile components run directly along the right and left margins. Push too deep, and you will sever the display lines, turning a simple glass swap into an expensive motherboard repair.
Slide the pick gently around the bottom corners to slice through the softened adhesive. Once the bottom and sides release, hinge the screen open carefully toward the right side, just like opening the cover of a book. Do not yank or pull the display away, because fragile ribbon cables still anchor it to the logic board on the left edge. Prop the display upright against a stable object to relieve tension.
Step 3: Disconnecting Power and Display Cables
Before touching any internal connectors, you must cut off electrical current to prevent short circuits.
Unscrew the metal shield protecting the logic board connectors using your tri-point Y000 screwdriver. Keep track of each screw's exact position, as their lengths vary from 1.3 mm to 1.9 mm. Lift the metal shield out with fine tweezers.
Use the pointed tip of a nylon spudger to pop up the battery press connector first. Once the battery power is cut, proceed to unclip the primary display flex connectors right next to it. Lift the old screen assembly completely away from the phone body and set it down on a clean workbench.
Step 4: Transferring the Earpiece and Sensor Assembly
Your replacement screen will not include the front earpiece speaker and sensor module. If you discard the old screen with these parts attached, you will permanently lose Face ID functionality, auto-brightness, and proximity detection.
Unscrew the small Phillips bracket securing the sensor assembly at the top edge of the old screen. Apply a small amount of heat using your heat gun for roughly 60 seconds to soften the adhesive holding the ambient light and proximity sensors. Slide a fine plastic opening pick or the wide end of a spudger underneath the flex cable, peeling it slowly away from the glass surface. A drop of high-purity isopropyl alcohol can help dissolve persistent adhesive residue without chemical damage. Transfer this exact sensor module into the matching slots on your new replacement screen and secure the bracket back down.
Step 5: Preparing the Frame and Reassembling
Clean all remaining old black adhesive from the perimeter of the phone housing using a cotton swab dipped in isopropyl alcohol. Any leftover glue lumps will prevent the new waterproof gasket from sealing evenly, letting moisture and dust inside.
Peel the protective backing off the new custom waterproof adhesive strip. Align it carefully with the upper edge of the metal frame and press it down along all four sides. Peel away the final top liner film.
Plug the display and sensor cables into the logic board sockets, ensuring they click into place cleanly. Reconnect the battery cable last to prevent accidental electrical sparks. Screw the metal connector shields back into their precise original positions.
Before snapping the display down permanently, power on the phone to test touch response, display clarity, and front camera features. Once verified, lower the top edge of the screen into the alignment clips on the housing frame, press down gently around the perimeter, and reinstall the two bottom pentalobe screws.
Common Mistakes to Avoid
- Forgetting True Tone: Swapping a screen often disables True Tone functionality unless you program the display serial data using a specialized third-party screen programmer.
- Mixing Up Screws: Inserting a long screw into a short socket on the logic board can pierce underlying traces, rendering the phone completely dead. Always map your hardware.
- Skipping the Battery Disconnect: Leaving the battery plugged in while prying connectors risks short-circuiting the display backlight fuse.
Frequently Asked Questions
Will Face ID still work after a screen replacement?
Face ID will continue to function only if you successfully transfer the original front earpiece and sensor flex cable assembly to the new screen without damaging the microscopic chips attached to it. Apple pairs these components securely at the factory.
Do I need to replace the waterproof seal?
Yes. Opening the phone destroys the factory adhesive seal. Installing a fresh adhesive gasket is essential to protect your device from accidental liquid splashes and everyday dust accumulation.
Why is my screen showing a warning message after replacement?
Apple includes hardware notification checks in modern iOS versions. When you install a replacement screen, a genuine parts notification may appear in your settings app, though touch sensitivity and display performance will operate normally. You can read more about Apple's service guidelines on the Apple Support portal or check parts verification standards via iFixit.
Can I fix a broken screen if only the top glass is cracked?
Modern iPhone displays utilize fused OLED panel assemblies. Even if only the outer glass layer is shattered, the digitizer and display panel form a single bonded unit, requiring a complete screen module replacement.



