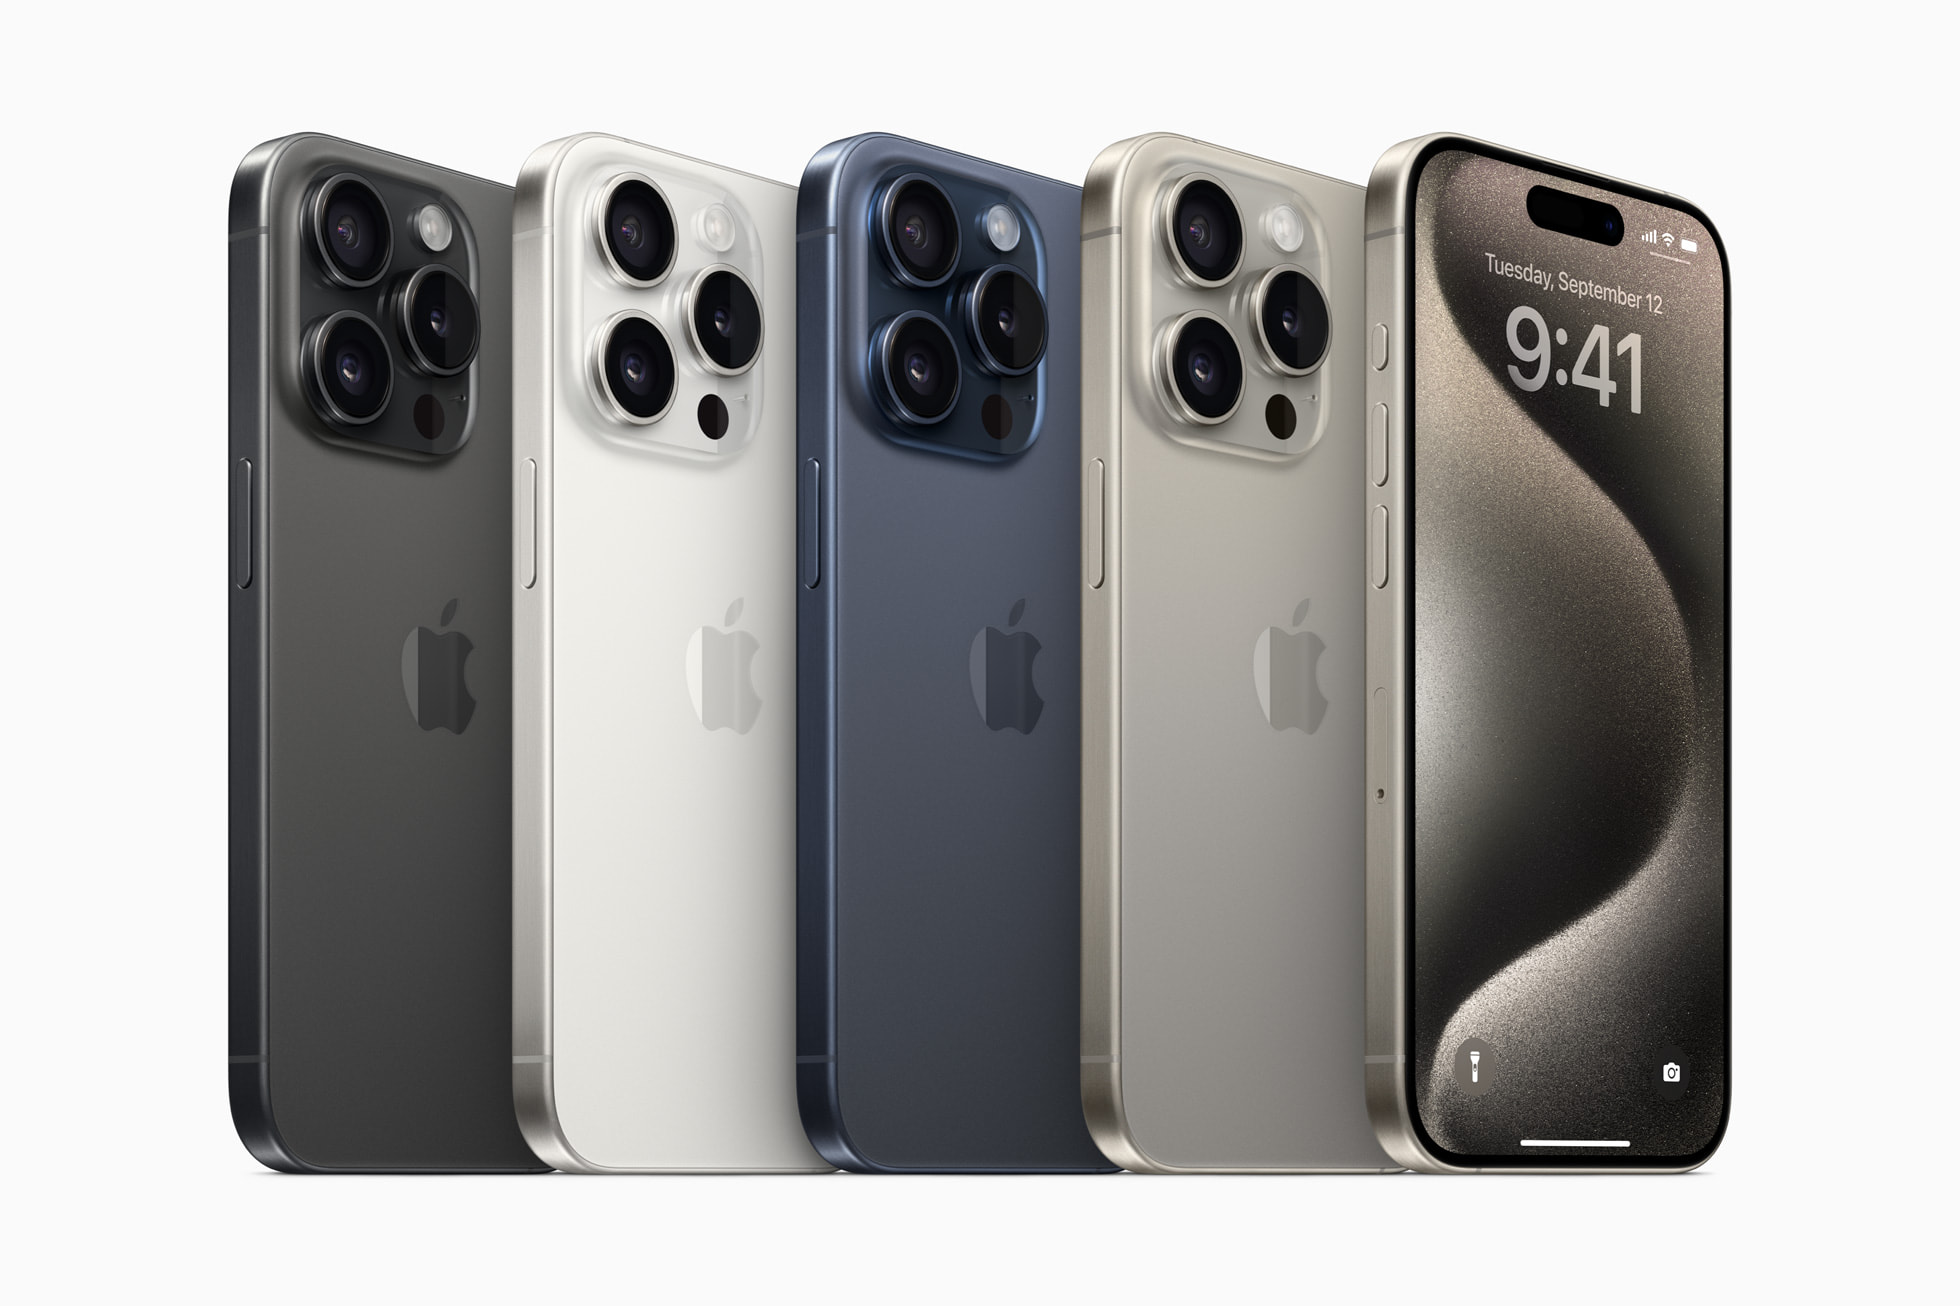
Shattering your glass sucks. When your display turns into a spiderweb of green lines or stops responding to touch, you need a fix fast. Fixing a shattered display on Apple's oversized flagship requires knowing your exact options, component quirks, and cost breakdowns before you hand over your device or pick up a screwdriver.
Whether you're looking into official service centers, independent shops, or a DIY parts kit, replacing the glass on this model comes with specific hardware hurdles. Let's break down everything you need to know about pricing, part pairing warnings, and the actual replacement process.
Understanding Your Repair Routes
You have three distinct ways to handle a broken display, each with unique trade-offs regarding cost, time, and functionality.
Apple Authorized Service Providers
Going straight to Apple or an authorized shop guarantees OEM parts and proper calibration. However, it's usually the priciest option unless you carry AppleCare+ coverage, which drops the accidental damage fee significantly.
- Pros: Genuine parts, retained water-resistance seals (when properly pressed), and official display calibration tools.
- Cons: Higher out-of-pocket costs without insurance; appointments required.
Independent Repair Shops
Local fix shops offer a middle ground. Many use high-grade third-party OLED panels or pulled OEM screens at a lower price point than Apple stores.
- Pros: Faster turnaround times, often same-day service, and flexible pricing on aftermarket screens.
- Cons: Quality varies wildly between shops; cheap panels might lack peak brightness or true color accuracy.
Self-Service and DIY Kits
If you've got steady hands and proper tools, ordering a replacement screen kit lets you fix it at your desk. Apple's Self Service Repair program also rents professional tooling if you want official parts.
- Pros: Cheapest path upfront; you control the process.
- Cons: High risk of damaging Face ID components or ribbon cables; requires specialized screwdrivers and heat.
The True Cost Breakdown
Prices fluctuate based on your location and the quality of the glass, but realistic figures help set expectations.
- Apple Store (Out of Warranty): Expect to pay roughly $329 USD for an official display assembly replacement.
- Third-Party Shops: Usually range from $150 to $250 USD depending on whether they install a soft OLED, hard OLED, or standard LCD.
- DIY Parts: Quality replacement screens cost between $60 and $130 USD online.
Keep in mind that Apple uses hardware pairing. If you swap a display yourself using a non-genuine panel, you'll see an "Important Display Message" in your settings, and True Tone might stop working unless you transfer specific microchips using a programmer.
Step-by-Step DIY Replacement Overview
If you choose the DIY route, preparation matters. Working on modern devices requires patience to avoid permanent hardware failure.
- Discharge the Battery: Power down your phone and make sure the charge sits below 25 percent. A charged lithium-ion battery can ignite or explode if accidentally punctured by a tool.
- Remove Pentalobe Screws: Unscrew the two 6.7 mm pentalobe screws flanking the Lightning port on the bottom edge using a P2 screwdriver.
- Heat and Open the Display: Apply gentle heat to soften the waterproof adhesive seal. Use a suction cup or an anti-clamp tool to lift the screen slightly, then insert a plastic pick no deeper than 3 mm to slice the adhesive along the sides. Swing the display open to the right like a book—never pull it straight off, because the display cables run along the left edge.
- Disconnect Power and Screen: Unscrew the metal shield protecting the battery and display connectors. Always disconnect the battery first to cut power to the board before unplugging the display ribbons.
- Transfer the Sensor Assembly: Carefully unscrew and lift out the earpiece speaker and sensor assembly from the back of the broken screen. This module houses the flood illuminator and proximity sensor linked to Face ID. If you damage this cable, Face ID stops working permanently.
- Reassemble and Seal: Install a fresh waterproof adhesive gasket onto the housing frame. Connect your new screen, secure the metal brackets, snap the display down, and reinstall the bottom pentalobe screws.
For official documentation and safety guidelines, consult the Apple Support Repair Manual. You can also review detailed teardowns on iFixit.
Common Mistakes to Avoid
DIY repairs often fail because of simple oversights. Watch out for these pitfalls during the process:
- Mixing up screw lengths: Putting a long screw into a short motherboard standoff can puncture traces and permanently kill the logic board. Always map your screws on a magnetic sorting mat.
- Damaging Face ID: Tearing the delicate flex cables attached to the earpiece speaker assembly destroys biometric login capabilities. Take your time separating glued components.
- Skipping the new adhesive gasket: Reusing old, dried adhesive leaves your phone vulnerable to dust, sweat, and moisture damage the next time it rains.
Frequently Asked Questions
Will my phone still be water-resistant after a screen repair?
Only if a fresh adhesive seal is installed correctly and pressed down with proper tooling. Even then, third-party repairs cannot guarantee factory-grade water resistance ratings. Avoid exposing the device to liquids after any screen replacement.
Why is my screen displaying an unknown part message?
Apple serializes its display panels. When a new screen is connected without official server-side software configuration through Apple's diagnostic system, the phone displays a notification letting you know the part isn't verified. This doesn't affect touch functionality, but it can be annoying.
Can I fix just the outer glass without replacing the OLED?
Technically yes, via glass-only lamination refurbishments, but it requires industrial laser separation machines and a sterile cleanroom environment. For home repair or standard shop service, the entire display assembly is swapped as a single unit.
How do I keep True Tone working after a swap?
True Tone relies on ambient light data tied to the original screen's serial number. Independent technicians use an EEPROM programmer tool to copy the serial data from your broken screen and flash it onto the replacement screen's chip before installation.



