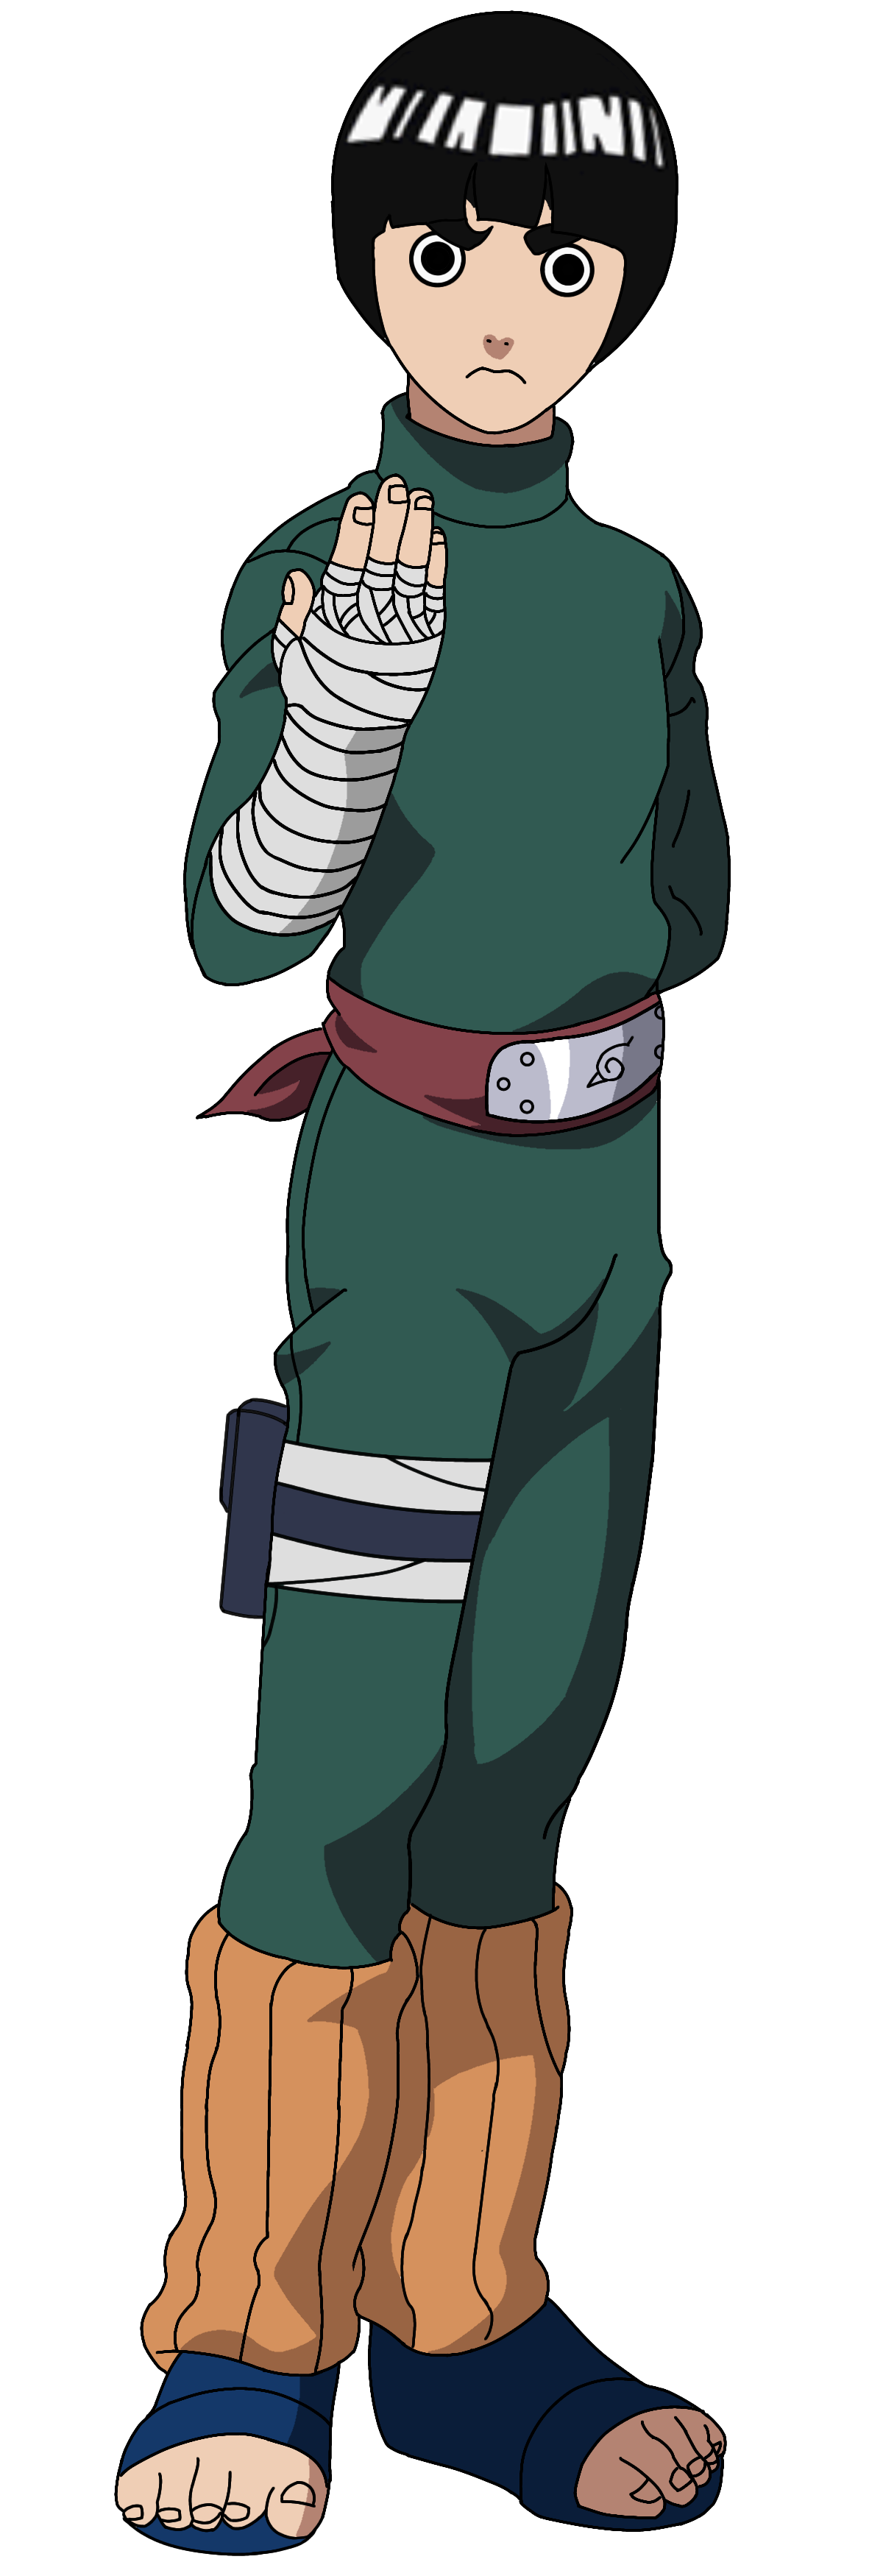
Bringing an animated project from a loose notebook scribble to a finished digital screen requires a disciplined pipeline. Independent creators don't have infinite studio budgets or hundreds of artists to fix mistakes late in the cycle. Every misstep during layout or rough animation cascades into expensive rework. Mastering indie animation production means balancing creative ambition with strict technical pipelines, clear milestones, and realistic software allocation.
This guide breaks down the complete lifecycle of independent animation production. You'll learn how to structure your pre-production phase, manage asset creation without burning out, handle blocking and cleanup efficiently, and mix sound for a professional finish.
Phase 1: Concept, Scriptwriting, and Visual Development
Every successful animated short or series starts long before any drawing software opens. Independent creators often stumble by jumping straight into detailed character design without locking down the structural foundation.
Writing and Script Breakdown
Your script serves as the structural blueprint. For animation, writing must be visual rather than dialogue-heavy. Describe actions, environmental shifts, and emotional cues clearly. A standard rule of thumb in indie production is that one page of properly formatted script equals roughly one minute of screen time, though fast-paced action sequences can consume far more visual frames. Additional information into this topic are detailed by Associated Press.
Once the script is locked, run a thorough script breakdown. Catalog every required element scene by scene:
- Characters: Which cast members appear in each shot, and what costumes or expressions do they wear?
- Props: What objects do characters interact with, such as a coffee mug, a weapon, or a vehicle?
- Backgrounds: What distinct locations or lighting setups are required?
Organizing these elements early prevents you from designing redundant assets mid-production. Independent studios often use open tools like Celtx for script formatting or Notion for asset tracking.
Visual Development and Concept Art
With your script broken down, explore the visual tone of your world. Concept art establishes color palettes, lighting moods, and character silhouettes. Keep your designs practical for animation. Complex textures, excessive clothing folds, and overly intricate patterns multiply your drawing workload exponentially across every frame.
Create definitive character turnarounds displaying front, three-quarter, profile, and back views. These turnarounds act as the visual law for your team, ensuring that proportions remain consistent whether a character is running, talking, or turning their head.
Phase 2: Storyboarding and the Animatic Blueprint
The storyboard translates script paragraphs into sequential visual panels. This phase determines camera angles, composition, framing, and pacing before you commit to expensive motion work.
Panel Layout and Shot Design
Draw your storyboard panels with clear focal points. Use standard cinematic framing—wide establishing shots, medium character interactions, and tight close-ups—to guide the viewer's eye. If an action happens off-screen, indicate the sound cue or character reaction clearly on the panel notes.
Building the Animatic
An animatic takes your static storyboard panels, places them onto a timeline, and syncs them with temporary voice recordings and scratch audio effects. This step reveals timing issues immediately. If a comedic beat drags or an action sequence feels rushed, you fix it here by trimming frames or adding pauses before drawing clean lines.
Free and open-source tools like Blender or video editors like DaVinci Resolve allow you to sequence animatics efficiently, testing the timing against rhythm and pacing before entering production.
Phase 3: Asset Creation and Rigging
With the animatic locked, you have your exact shot lengths and layout requirements. Now, build the reusable assets that populate your digital canvas.
Background Painting
Paint your backgrounds on separate layers from your animated characters. Establish a foreground, midground, and background separation to create spatial depth. Maintain consistent light sources across all background plates within a sequence. If a scene takes place at sunset, ensure your color keys reflect warm directional highlights and deep shadows.
Character Rigging and Model Sheets
Depending on your workflow style, you'll either prepare vector assets for cutout animation, skeletal rigs for 3D or 2D puppet systems, or traditional keyframe sheets for frame-by-frame drawing. For indie teams working under tight constraints, smart modular design—such as separating hands, mouths, and eyes onto distinct sub-layers—saves hundreds of hours during the actual animation phase.
Phase 4: Animation Production (Blocking, Roughs, and Cleanup)
Animation production is the most time-consuming phase of the pipeline. To stay on schedule, break your project into manageable chunks and tackle scenes sequentially or by difficulty.
Keyframing and Blocking
Start by animating the key poses—the extreme positions that define an action, such as the peak of a jump or the start of a punch. Once your key poses look solid, add breakdown poses that define the arc of motion. Animating straight ahead from frame one to the end often leads to proportion drift and timing errors, so blocking keyframes first is essential.
Cleanup and Line Art
Once your rough animation passes timing checks, create the clean line art layer over your rough sketches. Maintain consistent line weight unless you are intentionally varying it for depth or emphasis. Ensure that line endings lock together cleanly if you plan to use digital fill bucket tools later, preventing stray pixel gaps during coloring.
Coloring and Shading
Apply flat base colors using your established character color palettes. Add shadow and highlight layers using multiply or screen blend modes, locking them to your color masks. Keep lighting styles consistent across shots to avoid visual dissonance when cutting between angles.
Phase 5: Compositing, Sound Design, and Post-Production
The final phase fuses your animation layers, special effects, and audio tracks into a cohesive cinematic experience.
Layer Compositing
Import your rendered character sequences, background paintings, and effect layers into compositing software. Add camera moves, depth-of-field blurs, grain overlays, and color grading adjustments. Compositing turns flat digital layers into a unified scene with atmospheric depth.
Sound Design and Audio Mixing
Audio dictates half of an animation's emotional impact. Record crisp dialogue with clean acoustics, avoiding room echo by recording in a treated space or closet if professional studio access isn't available. Layer in custom sound effects, Foley footsteps, and background ambience. Balance your audio levels carefully so dialogue remains clear against musical scores.
Common Indie Animation Mistakes to Avoid
Independent creators frequently encounter avoidable pitfalls that derail timelines and inflate budgets. Watch out for these traps:
- Scope Creep: Expanding the story or adding complex visual effects midway through production breaks schedules. Lock your script and storyboard down completely before entering production.
- Overly Complex Character Designs: Designing characters with intricate clothing patterns or hair physics makes frame-by-frame cleanup an endless chore. Simplify designs for efficiency.
- Skipping the Animatic Phase: Jumping straight from storyboards to animation without timing tests guarantees awkward pacing and wasted rendering hours.
- Neglecting Audio Early On: Leaving sound design until the very end often forces you to re-cut animation frames to match dialogue timing awkwardly.
Frequently Asked Questions
What software do indie animators use?
Most independent creators rely on free or open-source software to keep overhead low. Krita and OpenToonz serve as powerful tools for 2D frame-by-frame animation, while Blender handles 3D modeling, rigging, and grease-pencil 2D workflows.
How long does an indie animation take to make?
Production timelines vary widely based on team size, style complexity, and shot length. A high-quality two-minute 2D animated short often takes a solo creator anywhere from six months to a full year of part-time work.
Do I need expensive hardware for animation?
You don't need a top-tier enterprise workstation to start indie animation. A reliable mid-range computer with a dedicated graphics card and a pressure-sensitive drawing tablet is enough to run standard 2D and low-poly 3D production pipelines smoothly.
How do indie animators fund their projects?
Independent creators typically fund their work through personal savings, crowdfunding platforms like Kickstarter, grant programs from arts councils, or pre-selling merchandise and digital art books to built-up online communities.