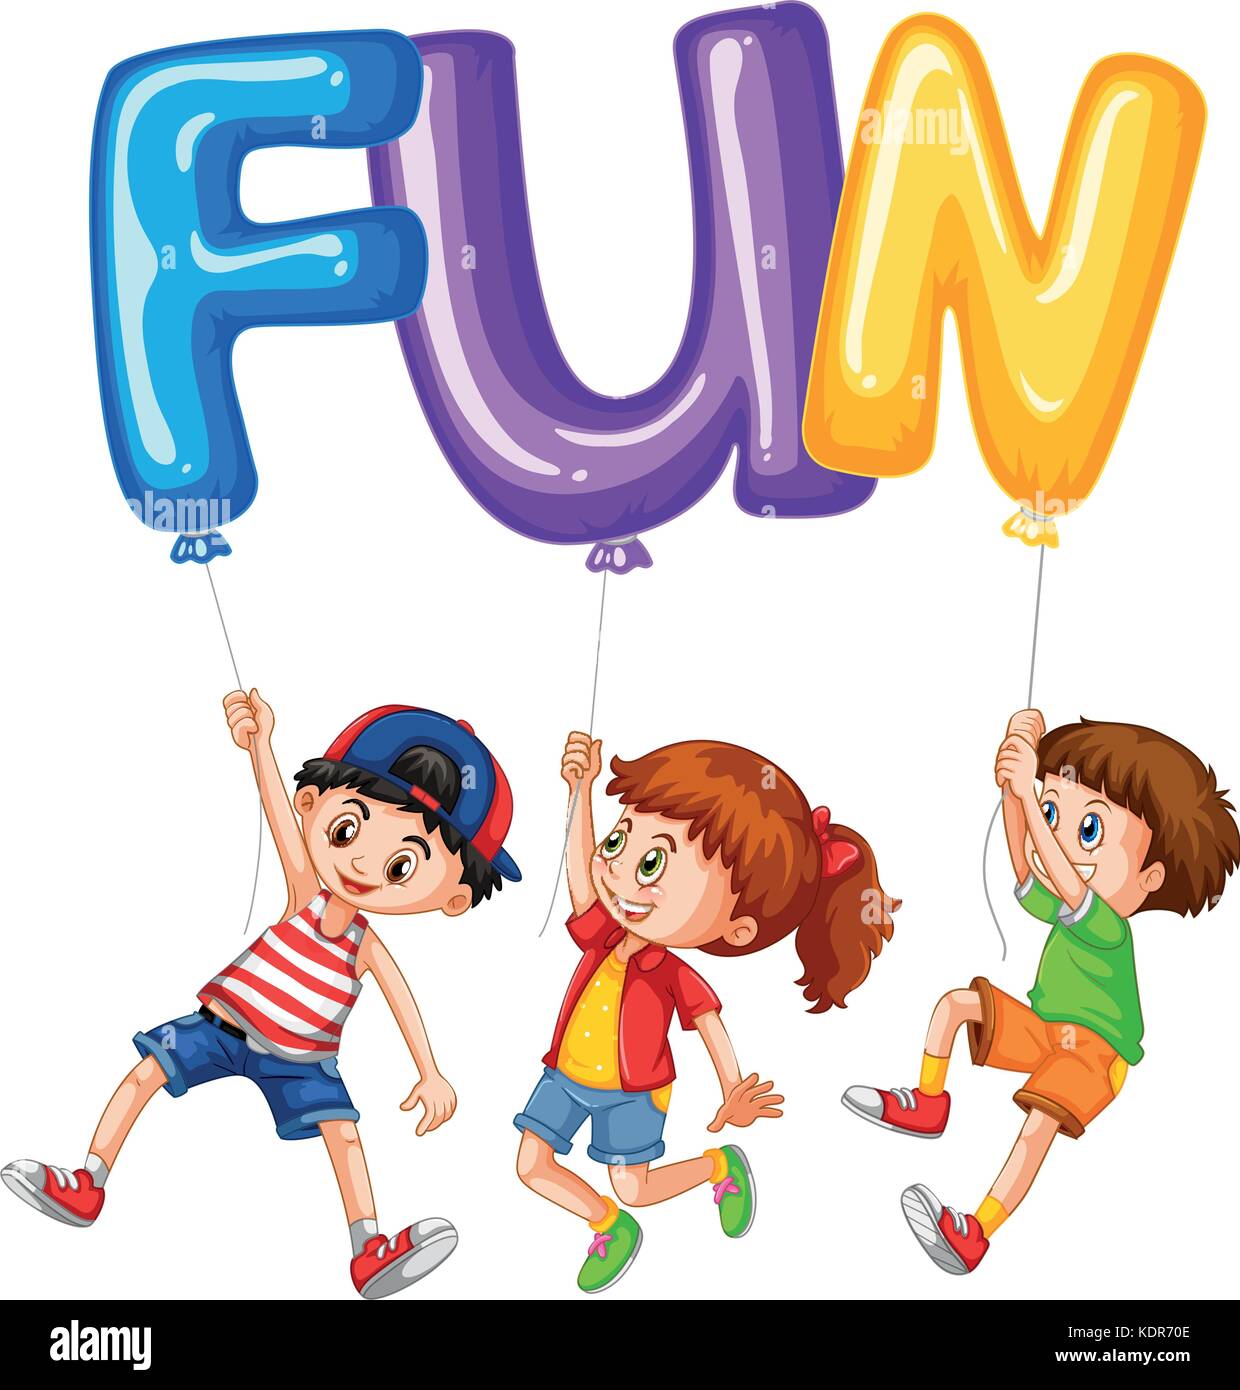
Learning how to draw bubble letters transforms ordinary handwriting into bold, eye-catching art. Whether you're designing a birthday card, making a poster, or personalizing your sketchbook, rounded puffy lettering adds instant personality and fun to any creative project.
Bubble lettering relies on simple bone structures wrapped in thick, inflated outlines. You don't need expensive art supplies or years of drawing experience to master it. All you need is a pencil, an eraser, a marker, and a willingness to embrace playful proportions. Let's break down the process from basic strokes to finished, shaded masterpieces.
The Anatomy of Bubble Writing
Before drawing random curves, understand what makes a bubble letter work. Every bubble letter starts with a standard, blocky skeleton letter. The bubble style is simply a puffy pillow wrapped tightly around that hidden skeleton.
Think of each letter as a balloon. If you blow air into a skeletal letter drawn with wire, the edges puff outward, turning sharp 90-degree corners into smooth, rolling curves. This fundamental rule applies to every single letter of the alphabet. If your underlying structure is crooked or disproportionate, the final bubble shape will look lopsided.
Another key element is negative space. The holes inside letters like 'A', 'B', 'D', 'O', 'P', and 'Q' are known as counters. In bubble lettering, these counters often shrink to tiny, circular dots or disappear entirely for a more exaggerated, cartoonish look. Keeping counters consistent across your word ensures the final design reads clearly from a distance.
Essential Tools and Materials
You don't need a professional art studio to create great typography. Starting with the right basic tools keeps the process frustration-free.
- Pencils: Use an HB or 2B graphite pencil. You'll need to draw light guidelines and skeleton letters that get erased later, so avoid heavy pressing.
- Erasers: A soft polymer eraser or a kneaded eraser works best. Kneaded erasers lift graphite without damaging paper fibers or leaving pink smudges.
- Paper: Standard copy paper works for practice, but heavier cardstock or mixed media paper prevents bleeding if you use wet markers.
- Inking Pens: Fine-line permanent markers or dual-tip brush pens work well for clean outlines.
- Coloring Mediums: Alcohol markers, colored pencils, or watercolor paints can fill your letters once the line art is set.
Step-by-Step: Drawing Your First Bubble Word
Let's walk through drawing a short, friendly word like "FUN" using the skeleton method.
Step 1: Draw the Light Skeleton
Grab your pencil and sketch the word "FUN" in plain, straight block letters or simple capital letters. Keep your lines very faint. Leave plenty of breathing room between the letters so they don't crash into each other later. If the letters touch, your bubble outlines will merge into an unreadable blob.
Step 2: Add the Puffy Outline
Imagine tracing around your skeleton letters with a thick magic marker, keeping a wide, uniform distance away from the pencil lines everywhere except the corners. Let your lines bulge outward. For the letter 'F', curve the sharp corners of the top and middle bars into soft, rounded pillows. Do the same for the upright stem and the bottom curve of the 'U'.
Step 3: Refine and Erase
Once you're happy with the outer puffy contour, take your eraser and completely wipe away the inner pencil skeleton. Now you're left with hollow, inflated bubble outlines. Check your proportions. If one side of a letter looks too skinny, sketch another layer of curve to match the other side.
Step 4: Ink and Define
Trace over your final pencil outlines with a black marker or fine-liner. Let the ink dry completely for a minute so it doesn't smear, then gently brush away any remaining graphite crumbs with your eraser.
Advanced Techniques: Overlaps, Shadows, and Highlights
Once you master single flat bubble letters, take your designs to the next level with three-dimensional effects and color layering.
Creating Overlaps and Interlocking Letters
To make words look like a unified graffiti piece, let your letters overlap. When letter 'A' sits in front of letter 'B', draw the outline of 'A' completely. When you draw 'B', let its outline stop abruptly where it hits 'A', then pick it back up on the other side. This simple trick pushes 'A' forward in space and pushes 'B' backward.
Adding Drop Shadows
A simple drop shadow turns flat cartoon letters into pop-out typography. Pick a consistent light source direction, such as the top-left. That means light hits the top and left edges of your letters, while shadows fall on the bottom and right sides.
Draw a duplicate outline offset slightly to the bottom right of each letter. Fill that offset space with a solid dark grey, black, or a contrasting color. This instant depth makes your lettering jump off the page.
Adding Glossy Highlights
To give your bubbles a shiny, inflated plastic look, leave small white shapes blank near the top-left of each letter stroke. These crescent-shaped or rectangular highlights mimic light reflecting off a glossy surface. Fill the rest of the letter with bright, saturated colors like hot pink, lime green, or electric blue.
Common Beginner Mistakes to Avoid
Even experienced sketchers make mistakes when translating standard alphabets into puffy balloon shapes. Watch out for these common pitfalls:
- Inconsistent thickness: If the top half of your letter 'S' is massive and the bottom half is pencil-thin, the letter looks unstable. Keep your padding distance roughly equal all the way around.
- Forgetting the baseline: Writing letters that bounce wildly up and down makes words hard to read. Lightly pencil in a bottom guideline to keep your letters standing straight.
- Crowding: Drawing letters too close together turns negative space into a muddy mess. Give every letter room to puff out independently.
Frequently Asked Questions
What is the easiest letter of the alphabet to draw in bubble style?
Letters with simple, curved geometries like 'O', 'C', and 'S' transition into bubble style the easiest because their natural shapes are already rounded. Straight-lined letters like 'M', 'W', and 'A' take a bit more practice to keep balanced.
What markers work best for coloring bubble letters?
Alcohol-based markers deliver smooth, streak-free color coverage and blend easily. If you use heavy alcohol markers, place a thick scrap paper underneath your drawing page because they tend to bleed right through standard printer paper.
Can I do bubble lettering digitally on a tablet?
Yes. Vector apps and drawing software like Procreate or Adobe Fresco let you sketch skeleton letters on one layer and build your bubble outlines on a separate layer, making adjustments and color fills much faster.
How do I make my bubble letters look like graffiti art?
To transition from cute bubble writing to street-style graffiti throw-ups, add "force fields" or outer clouds around your words, incorporate drips hanging from the bottom of the letters, and use high-contrast color combinations like yellow on black.



