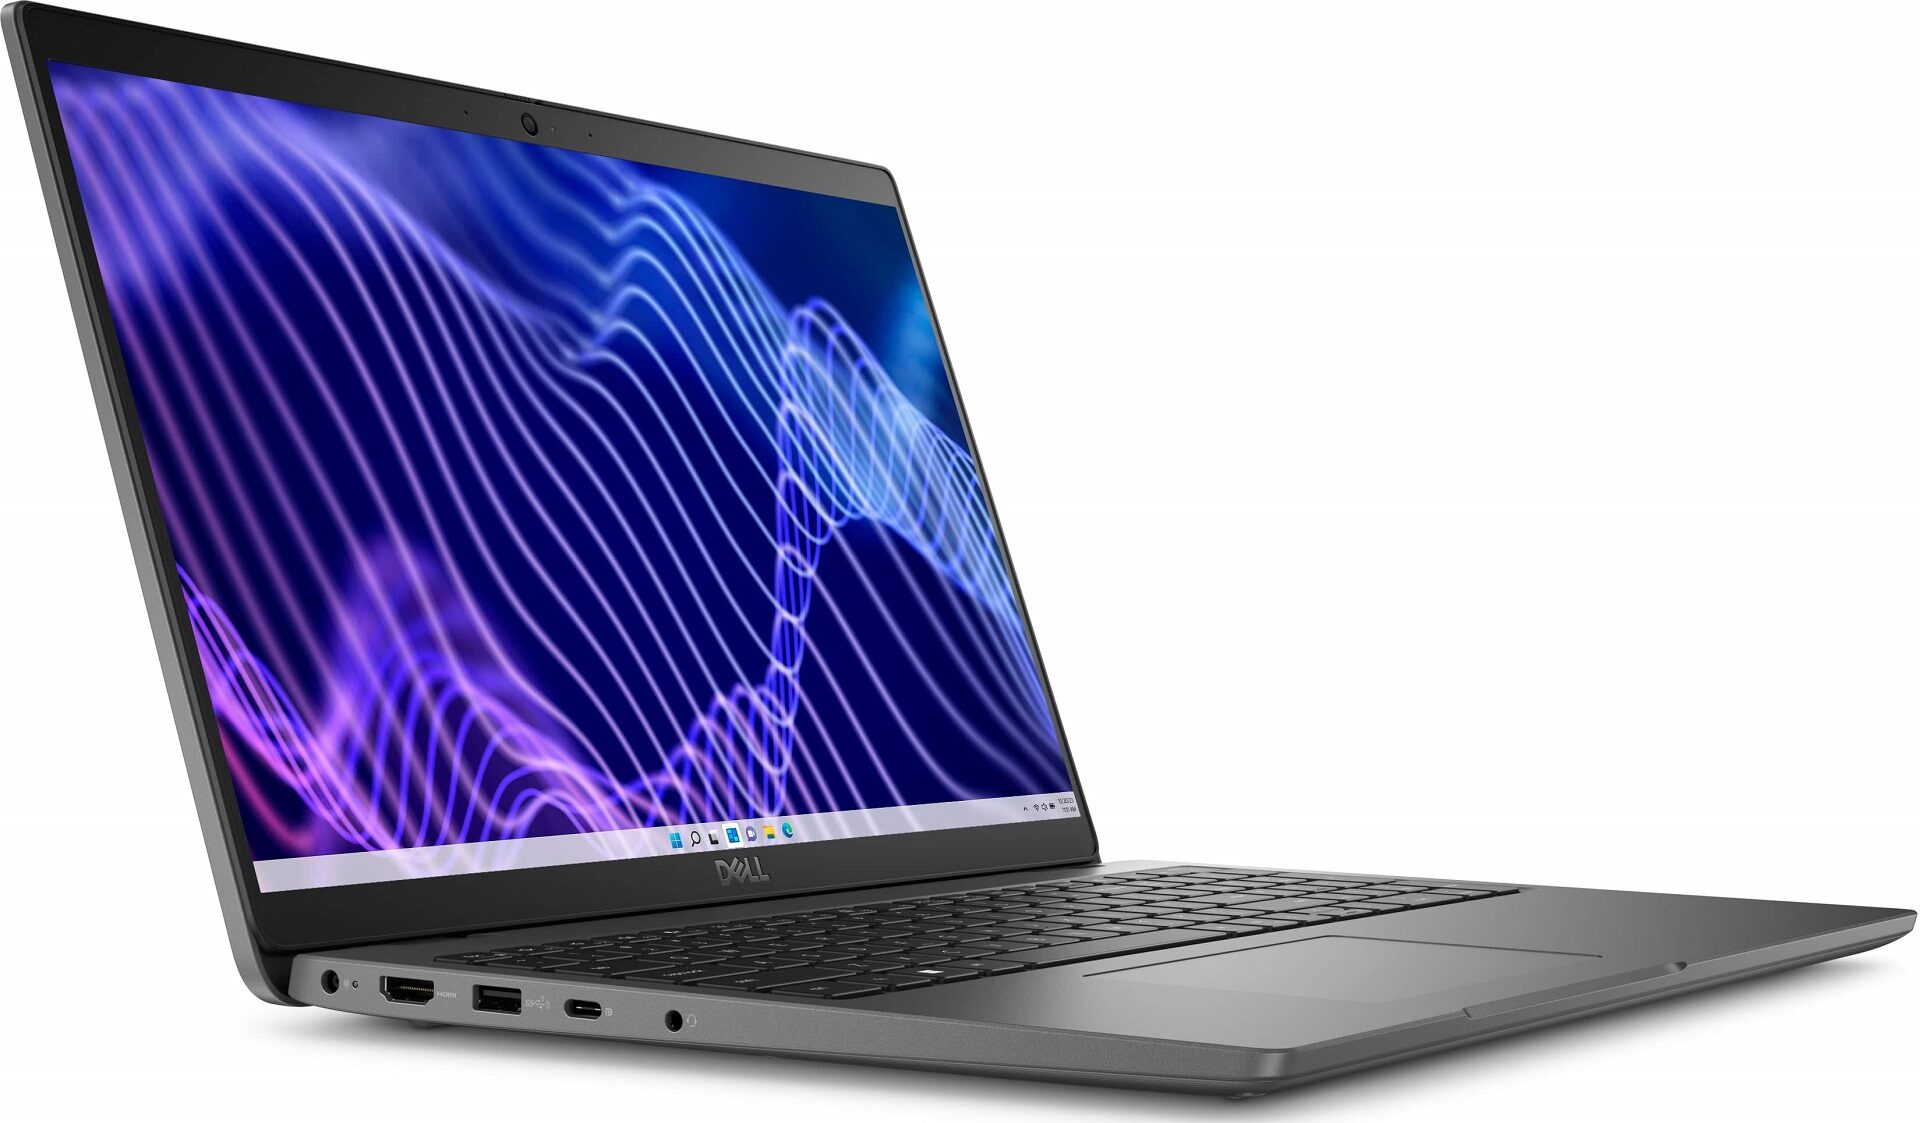
Dell SupportAssist is pre-installed on most modern Dell laptops and desktops, functioning as an automated maintenance hub. It scans your hardware, fetches critical driver updates, cleans temporary files, and detects potential failures before they crash your operating system. Yet, when the application freezes on startup, fails to complete a scan, or throws persistent installation errors, it quickly transforms from a helpful diagnostic tool into an annoying bottleneck.
Fixing SupportAssist requires understanding how its background services communicate with Windows. Whether you're dealing with endless loading circles, missing driver updates, or broken hardware checks, this guide details how to troubleshoot, repair, or completely reset the application so your system runs smoothly again.
Understanding Core SupportAssist Features
Before troubleshooting, it helps to know what SupportAssist actually manages behind the scenes. The application splits its functionality into specific maintenance categories designed to reduce manual upkeep.
- Automated Driver and BIOS Updates: It monitors manufacturer releases, pulling critical BIOS flashes, chipset patches, and graphics updates directly from Dell Support without requiring you to manually check service tags.
- Hardware Diagnostics: It executes routine stress and health checks on your physical components, including solid-state drives, RAM sticks, battery capacity, and cooling fans.
- Performance Tuning: The utility clears unnecessary clutter, optimizes network connectivity settings, and fine-tunes system memory allocation to maintain baseline responsiveness.
- Proactive Alerting: Higher-tier service plans leverage telemetry data to predict hardware failures—such as battery degradation or storage wear—before data loss occurs.
Fixing Common SupportAssist Startup and Launch Failures
If clicking the application icon yields nothing, or if the program opens to a permanent loading screen, the issue usually stems from stalled background services or corrupted temporary files.
Restarting Core Background Services
Windows relies on specific background processes to run SupportAssist. If these services stop responding, the user interface cannot communicate with your hardware.
- Press the Windows key + R to open the Run dialog box.
- Type
services.mscand press Enter. - Scroll down to locate Dell SupportAssist, Dell Client Management Service, and Dell TechHub.
- Right-click each service individually and select Restart. If any service is stopped, select Start.
- Right-click each service again, select Properties, change the startup type to Automatic (Delayed Start), click Apply, and close the window.
Clearing Corrupted Cache Directories
If restarting services fails, residual configuration files from a previous update might be blocking the application launch.
- Stop the Dell SupportAssist and Dell Client Management Service through the Services window outlined above.
- Open File Explorer and navigate to
C:\ProgramData\Dell. - Locate the
UpdateServicefolder and delete it. - Navigate to
C:\Program Files (x86)\Delland check if anUpdateServicefolder exists there as well; delete it if present. - Reopen the Windows Services menu and start both services back up.
Resolving Driver Scan and Hardware Check Errors
When SupportAssist launches successfully but crashes midway through a hardware scan or fails to install pending driver updates, file corruption or permission conflicts are usually to blame.
Performing a Clean Reinstallation
Standard uninstallation via Windows Settings often leaves behind broken registry keys and leftover directories. A clean removal ensures a fresh state.
- Restart your computer first to clear any active binary files from memory.
- Open the Control Panel and navigate to Programs and Features.
- Uninstall all associated Dell components in this specific order: Dell SupportAssist OS Recovery Plugin, Dell SupportAssist Remediation, and finally Dell SupportAssist.
- Restart your computer again. Do not skip this reboot, as it allows Windows to release locked file paths.
- Download the latest installer directly from the Dell SupportAssist for Home PCs page.
- Run the setup utility with administrative privileges and complete the initial registration.
Handling Stubborn Uninstallation Loops
If Windows blocks the removal process or throws an error code during uninstallation, you can use external utility frameworks to force the cleanup.
- Download the official Microsoft Program Install and Uninstall Troubleshooter.
- Run the tool, select Uninstalling, and choose SupportAssist from the populated software inventory.
- Let the troubleshooter clear the broken registry flags, then reboot your machine before running a fresh installation.
Frequently Asked Questions
Can I safely uninstall Dell SupportAssist if I do not use it?
Yes. SupportAssist is an optional management utility. If you prefer updating your drivers manually through the official Microsoft Update Catalog or the Dell driver portal, removing SupportAssist will not impact core operating system functions.
Why does SupportAssist keep reinstalling OS Recovery Tools after every restart?
This loop usually occurs when a background update task is interrupted before completion. Letting the installation finish entirely during a stable internet session typically resolves the trigger. If the behavior persists, performing a clean uninstall of both SupportAssist and its remediation plugins will break the loop.
What should I do if SupportAssist reports a hardware failure code?
Software diagnostics can occasionally throw false positives due to outdated application logic. If SupportAssist flags a hardware component like your hard drive or memory, verify the error by running the built-in ePSA hardware diagnostics outside of Windows—accessed by tapping F12 repeatedly during a cold boot.
Why is my hardware scan failing to complete?
This problem is almost always tied to a stopped background process named Dell TechHub. Navigating to Windows Services, setting Dell TechHub to automatic startup, and restarting it will restore proper communication between the scanner and your system hardware.



