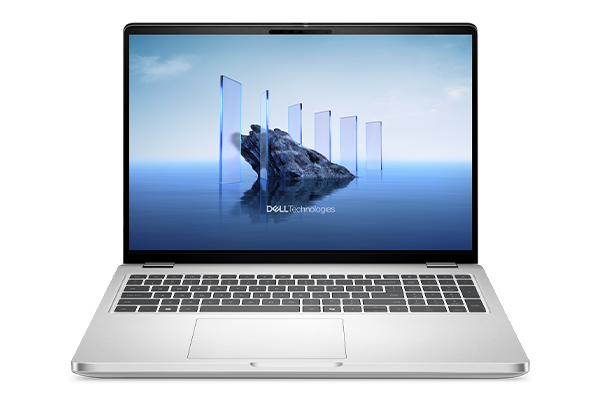
Reviving an enterprise-grade laptop like the Dell Latitude E7470 is one of the most cost-effective ways to secure a reliable, durable daily driver without paying for a modern machine. Built with a robust magnesium alloy chassis, this 14-inch workhorse offers modular internal components that modern thin-and-light laptops abandon. Whether your machine suffers from sluggish boot times, a depleted battery, or a cracked screen, targeted hardware interventions can extend its operational lifespan by several years.
Understanding Hardware Limits and Specifications
Before cracking open the case, you need to know the architectural boundaries of the platform. The E7470 runs on 6th generation Intel Skylake processors (typically the Core i5-6200U, i5-6300U, or i7-6600U) paired with DDR4 memory. Knowing these specs prevents you from buying incompatible parts that waste time and money.
- Processor: Soldered Intel Core i6th Gen (cannot be upgraded).
- Memory Slots: Two SODIMM slots supporting up to 16GB of DDR4 RAM clocked at 2133MHz.
- Storage Interface: Single M.2 2280 slot supporting SATA or faster NVMe PCIe SSDs.
- Display Options: Ranging from basic HD (1366x768) panels to Full HD (1920x1080) IPS displays.
If your device currently boots slowly or crawls under heavy multitasking loads, your bottlenecks almost certainly stem from low RAM capacity or an aging SATA storage drive. Upgrading these components requires basic hand tools and a clean workspace.
Step-by-Step RAM and SSD Upgrades
Upgrading internal storage and memory transforms how the laptop handles modern operating systems. Gather a precision Phillips #0 screwdriver, a plastic opening pick, and an anti-static wrist strap before you begin.
- Power down the laptop completely, unplug the power adapter, and disconnect all external peripherals.
- Remove the eight captive Phillips screws securing the lower base cover. Note that these screws remain attached to the cover panel.
- Insert a plastic opening pick near the dock connector cutout at the rear, then gently pry around the perimeter to release the plastic clips. Lift the base cover away.
- Unplug the internal lithium-ion battery cable from the system board immediately to prevent electrical shorts during subsequent steps.
- To upgrade memory, push outward on the metal retaining clips flanking the existing SODIMM stick. The module will pop up at a 30-degree angle. Slide it out and insert your new DDR4 module firmly into the slot before pressing down until the clips snap into place.
- To replace the storage drive, locate the M.2 2280 slot situated near the lower right corner. Remove the single fastening screw, slide the old drive out at a shallow angle, and slide the replacement NVMe or SATA M.2 drive into position. Secure it with the screw.
- Reconnect the battery cable, snap the base cover back into place, and tighten the eight exterior screws.
For official hardware documentation and parts reference, consult the Dell Support Manuals.
Addressing Common Repairs: Battery and Thermal Maintenance
Over years of service, internal components degrade. Thermal paste dries out, leading to fan noise and thermal throttling, while lithium-ion batteries lose their charge capacity. Swapping these parts preserves system performance and user safety.
Replacing the Degraded Battery
If your machine shuts down abruptly when unplugged, the internal 4-cell or 3-cell battery needs replacement. After removing the base cover and disconnecting the battery connector, unscrew the few small fasteners anchoring the battery pack to the palmrest assembly. Lift the old pack out, drop the fresh replacement unit into the cavity, secure the screws, and plug the header back into the motherboard.
Clearing Dust and Reapplying Thermal Paste
If the cooling fan runs constantly or the chassis feels excessively hot during routine browsing, the heatsink assembly likely requires maintenance.
- Unplug the fan header from the system board.
- Unscrew the sequence of captive screws on the copper heatsink covering the CPU in numerical order.
- Lift the heatsink away and clean the dried gray paste from both the CPU die and the copper block using high-purity isopropyl alcohol and a lint-free cloth.
- Apply a pea-sized drop of fresh thermal compound onto the center of the processor die and remount the heatsink, tightening the screws evenly in a diagonal pattern.
For community-driven repair insights and teardown photography, check out the iFixit Repair Guides.
Software Optimization and OS Lifespan
Upgrading hardware means little if your operating system bogs down background processes. Because Microsoft enforces strict CPU requirements for newer Windows iterations, running recent operating systems on 6th generation hardware requires careful tuning. Strip out manufacturer bloatware, disable non-essential startup applications through the task manager, and ensure all chipset and BIOS updates are installed from the Microsoft Update Catalog to maintain security patching and driver stability.
Frequently Asked Questions
Can I upgrade the processor on a Dell Latitude E7470?
No. The CPU is permanently soldered directly onto the motherboard, meaning processing power is capped at whatever tier your specific motherboard configuration shipped with.
What is the maximum RAM the E7470 can handle?
The laptop features two physical memory slots and officially supports a maximum ceiling of 16GB DDR4 RAM (configured as two 8GB sticks).
Does the M.2 slot support NVMe drives or only SATA?
The M.2 slot accommodates high-speed PCIe NVMe drives as well as legacy SATA M.2 drives, though NVMe options provide noticeably faster read and write speeds during data transfers and boot sequences.
Why won't my laptop recognize the new M.2 SSD after installation?
If the BIOS storage controller mode is configured incorrectly or secure boot blocks the hardware signature, the drive might not show up. Enter the BIOS setup utility during startup by pressing F2, verify that the drive appears under system information, and ensure the boot sequence matches your installation media.