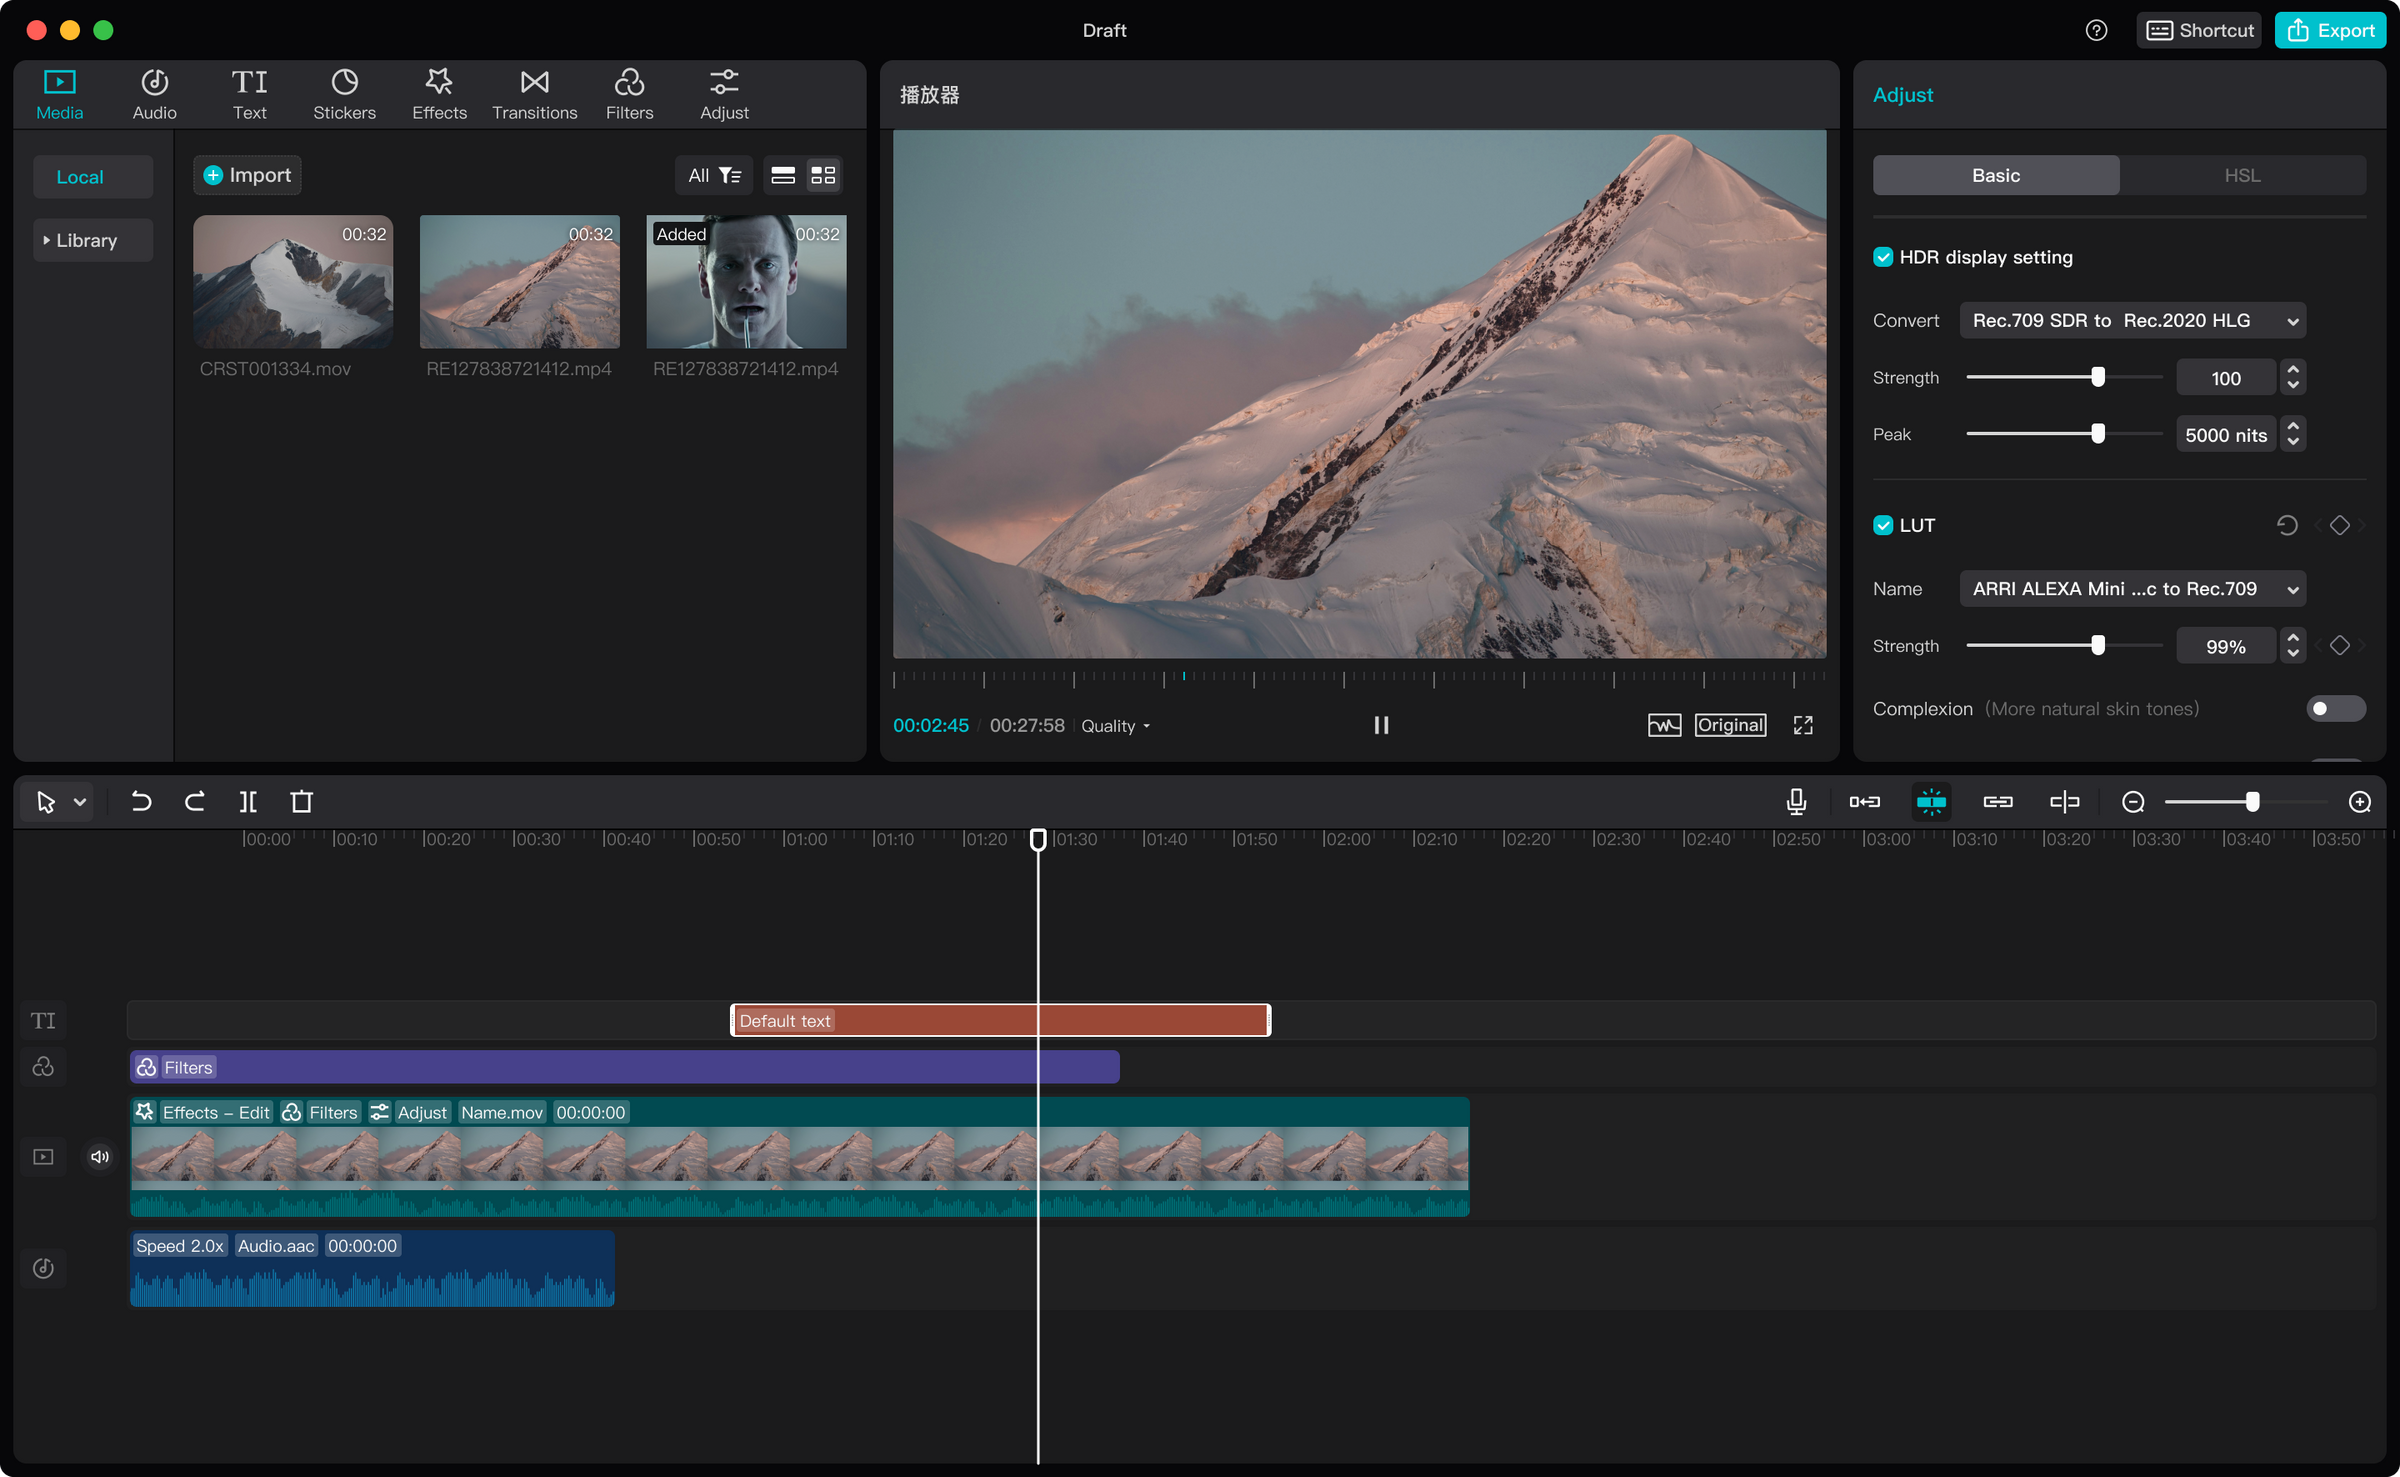
Making professional-looking short-form videos used to demand hours of manual timeline slicing, audio matching, and keyframing. Today, creator workflows rely heavily on pre-built assets to skip the tedious assembly phase. Capcut video editing templates automate the hardest parts of production by bundling transitions, effects, and beat-synced cuts into reusable frameworks. You simply drop your own raw clips into the placeholder slots, and the software handles the pacing.
Understanding how to source, adapt, and troubleshoot these files helps you maintain a consistent publishing schedule without sacrificing visual quality. Whether you're producing content for TikTok or managing updates on Instagram, utilizing these presets effectively saves hours of manual work.
What Are CapCut Templates and How Do They Work?
At its core, a template is a pre-programmed project file created by independent editors, influencers, or the CapCut platform itself. Every template dictates three core elements:
- Media Slots: Fixed placeholders defining how many clips or photos you need, down to the exact duration of each segment.
- Timed Transitions: Hard cuts, wipes, or zoom effects locked precisely to a specific audio track's beat.
- Dynamic Overlays: Built-in text placeholders, color grading filters, and motion graphics that execute automatically upon export.
Unlike starting from a blank timeline where you adjust every keyframe, templates invert the workflow. The structure exists first; your media adapts to fit the constraints. This makes them ideal for riding viral audio trends where publication speed dictates algorithmic reach.
Step-by-Step Guide to Using Templates Across Devices
Finding and applying these frameworks varies slightly depending on whether you operate from a smartphone, a web browser, or a desktop computer.
Mobile Execution
- Open the mobile app and navigate to the bottom navigation bar, then tap the Templates tab.
- Browse categories or tap a template directly from a supported social media link.
- Tap Use Template to open your device's media gallery.
- Select your clips or photos in the exact order requested by the slot counter.
- Tap Preview to watch how the software maps your footage onto the timeline, then tap Export to save or share.
Desktop and Web Workflows
- Launch the desktop application or sign into the web workspace.
- Locate the Templates section in the sidebar or launcher catalog.
- Filter options by orientation, clip count, or duration to match your project requirements.
- Click Use template and upload the requested media files into the corresponding asset blocks.
- Review individual segment crops and text nodes before rendering your final file.
Advanced Customization and Overcoming Limitations
Relying entirely on out-of-the-box presets can make your channel look generic. True efficiency comes from knowing how to break the mold without starting over.
Swapping Out Audio Tracks
Many templates lock their visual cuts tightly to specific music tracks. If you swap the audio inside a rigid template, the hard cuts may land awkwardly between beats. To fix this, export the initial auto-edited video without background music, pull that exported file into a fresh project, and layer your preferred audio track manually while trimming mismatched frames.
Adjusting Framing and Crops
Automated slot filling often cuts off heads or important focal points. Tap an individual segment inside your preview timeline, select the crop tool, and pinch-zoom or reposition the frame manually. This ensures your primary subject stays centered despite the automated container size.
Overriding Baked-In Text
Some templates feature text elements rendered permanently into the visual layers, while others expose editable text blocks. Always look for text nodes that highlight when tapped; replacing generic captions with your own brand messaging prevents your content from looking like an unedited copycat post.
Common Mistakes to Avoid
- Ignoring Slot Duration Requirements: Dropping a 10-second clip into a 2-second slot forces an aggressive crop that ruins pacing. Match your raw footage length roughly to the template's requirements before importing.
- Overusing Visible Watermarks: Ensure you export projects correctly to avoid leaving unwanted platform branding on commercial client deliverables.
- Chasing Every Trend Blindly: Selecting a high-velocity template that clashes with your niche confuses viewers and hurts long-term audience retention.
Frequently Asked Questions
Can I use CapCut templates for commercial business videos?
Many templates are free for general use, but commercial licensing depends on the original creator's terms. For branded corporate campaigns or monetized channels, check whether the audio track requires copyright clearance or switch to royalty-free tracks.
Why won't a TikTok template open inside my app?
Version mismatches cause most link failures. Updating both your mobile operating system and the editing application to the latest version usually resolves broken deep links.
How do I remove the default ending clip?
CapCut automatically appends a branded outro clip to exported projects. You can tap this final segment directly on your timeline and delete it before hitting export.
Are desktop templates identical to mobile templates?
No. The mobile ecosystem features a massive community-driven library accessible via social apps, whereas the desktop and web catalogs lean toward structured corporate, tutorial, and cinematic layouts.



