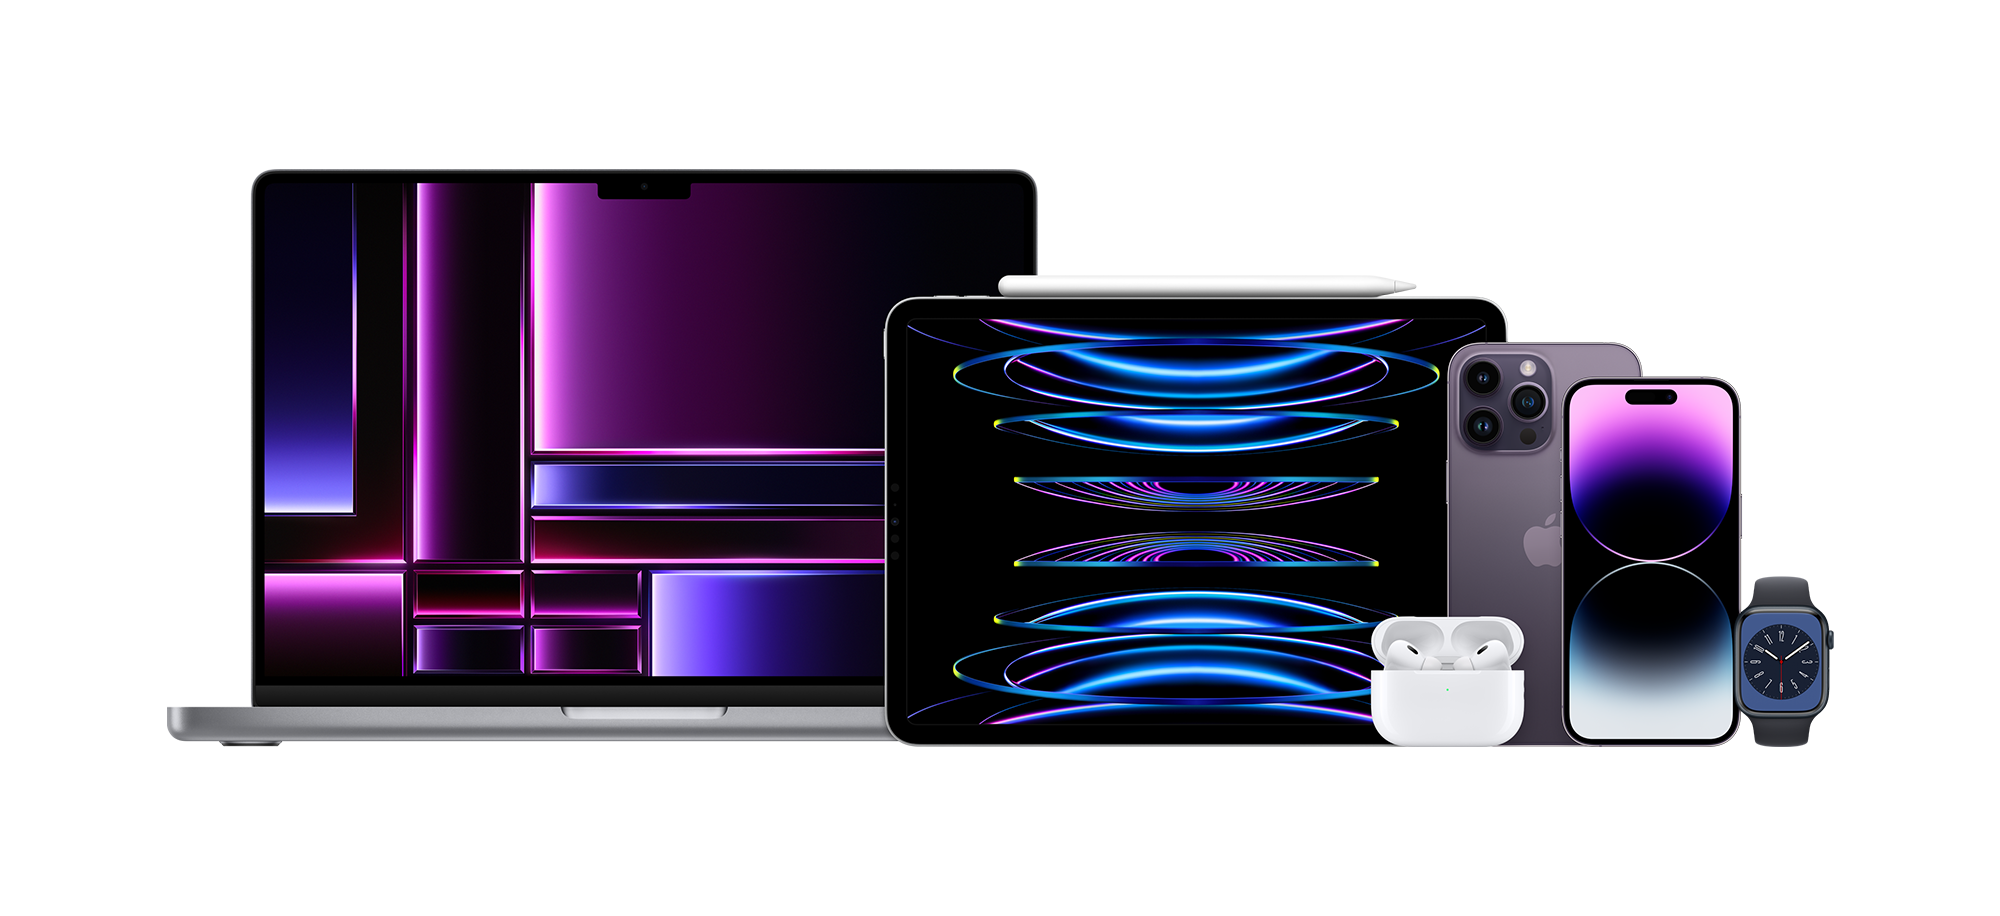
Getting locked out of your digital life happens in seconds, but signing back in shouldn't feel like a puzzle. Your Apple ID login is the master key to everything Apple makes, from syncing your photos across an iPhone and a MacBook to buying apps and backing up your personal files. If you can't get past the sign-in screen, your entire ecosystem grinds to a halt.
This guide breaks down how to handle your Apple ID login smoothly, secure your account against lockouts, and troubleshoot the weird error messages that pop up when things go wrong.
What Your Apple ID Actually Controls
Your Apple ID is more than just a username and password. It's the unique identifier that ties your hardware to Apple's online servers. When you sign in, you establish trust between your device and Apple's network.
Core Services Tied to Your Account
- iCloud: Automatically backs up your device settings, photos, messages, and app data so you don't lose your life if you drop your phone in a puddle.
- App Store and iTunes: Tracks your digital purchases, subscriptions, and family sharing groups.
- Messages and FaceTime: Routes your phone numbers and email addresses so you can text or video call from any Apple device you own.
- Find My: Tracks lost or stolen hardware using location data from nearby Apple devices.
When your login fails, you lose access to these services all at once. That's why keeping your recovery information up to date matters just as much as remembering your password.
Step-by-Step: How to Sign In
Depending on whether you're setting up a brand-new device or signing into a web browser, the process looks a little different. Here's how to do it without getting tripped up by security prompts.
Signing In on an iPhone or iPad
- Open the Settings app on your device.
- Tap Sign in to your iPhone at the top of the screen.
- Enter your Apple ID email address or phone number, then tap Next.
- Type in your password.
- If prompted, enter the six-digit verification code sent to your trusted devices or phone number.
Signing In on a Mac
- Click the Apple menu in the top-left corner of your screen.
- Open System Settings (or System Preferences on older software versions).
- Click Sign in with your Apple ID at the top of the sidebar.
- Enter your credentials and complete the two-factor authentication prompt.
Signing In on the Web
If you need to access your account from a Windows PC or a library computer, go to the official Apple ID account page. Once you enter your login credentials and verify your identity, you can manage your trusted devices, payment methods, and personal info from any browser.
Securing Your Account Properly
A secure account stops unauthorized users from wiping your devices or accessing your personal photos. Apple uses modern security standards to keep intruders out, but you have to configure them correctly.
Two-Factor Authentication
Two-factor authentication (2FA) is mandatory for modern Apple accounts. It means that even if someone guesses your password, they can't log in unless they also control one of your trusted devices or phone numbers.
Never ignore the prompt to update your trusted phone number if you switch carriers or get a new mobile line. If you lose access to that number and don't have a secondary trusted device, recovering your account takes days of identity verification.
Passkeys and Recovery Contacts
Apple now supports passkeys, which let you sign in using Touch ID or Face ID instead of typing a password. This eliminates the risk of typing your password into a phishing site.
You can also set up Recovery Contacts. These are trusted friends or family members who can generate a recovery code for you if you get locked out. They don't get access to your data; they just hold a digital key to help you back in. You can designate recovery contacts directly inside your iCloud account settings.
Common Login Errors and How to Fix Them
Even with everything set up right, errors happen. Here's what the most common error messages mean and how to clear them.
"Verification Failed"
This generic error usually points to a temporary network glitch or a mismatch in your device time settings.
- Check your Wi-Fi or cellular connection.
- Go to Settings > General > Date & Time and make sure Set Automatically is turned on. A wrong clock messes up the secure handshake between your phone and Apple's servers.
"Your Apple ID Has Been Locked for Security Reasons"
Apple locks accounts automatically if someone enters the wrong password too many times or if suspicious activity is detected from an unusual location.
- Don't panic. Go to Apple iForgot to unlock your account.
- You'll need to verify your identity using your trusted phone number or recovery key.
"Cannot Connect to Server"
This typically happens when Apple's online services are experiencing an outage. Before you waste an hour changing your password, check the official Apple System Status page to see if iCloud or the App Store is currently down for maintenance.
Frequently Asked Questions
Can I use a different email address for my Apple ID?
Yes. You can change the primary email address associated with your account by logging into the Apple ID account page and editing your account details. Just make sure the new email isn't already tied to a separate Apple ID.
What happens to my purchases if I change my Apple ID?
Purchases are permanently tied to the account that bought them. If you create a brand-new Apple ID, you cannot merge it with your old one or transfer past app and music purchases over. It's almost always better to update the email on your existing account rather than starting fresh.
Why do I keep getting random sign-in prompts on my Mac?
This usually happens when a background app or service—like an old email account or a shared calendar—is trying to sync with iCloud using outdated credentials. Check your internet accounts in your system settings and remove any old or unused profiles.
What is a recovery key and do I need one?
A recovery key is a random 28-character code you can generate for extra security. If you turn it on, Apple's support staff cannot help you reset your password if you lose it. It's a high-security option meant for people who want absolute control over their account recovery without relying on Apple's standard verification workflows.