The 180 degree haircut is a classic hair styling technique used by professionals to create maximum layers, volume, and movement throughout the entire head of hair. By elevating the hair straight out from the scalp at a 180-degree angle (directly upward from the crown), stylists cut the hair to a uniform length relative to a stationary or traveling guide, resulting in a dramatic, graduated finish.
If you've ever wondered how hairdressers achieve that bouncy, heavily layered look with plenty of height at the top and blended ends throughout, this technique is the core mechanism. Whether you're a cosmetology student studying the geometry of hair design or someone curious about how advanced cutting angles work, understanding this blueprint helps you visualize how elevation dictates shape.
Understanding Haircutting Elevation and Angles
Haircutting relies heavily on angles and head geometry. Elevation refers to the angle at which the hair is held away from the head when it's cut. When you change the elevation, you fundamentally change how the layers fall once the hair returns to its natural resting position.
- 0 Degrees: The hair is combed flat against the head. Cutting at this angle creates a solid, one-length line with zero graduation or layers.
- 45 Degrees: A medium elevation that creates a wedge or stacked bob effect, building weight near the bottom edge.
- 90 Degrees: A uniform layer where the hair is pulled straight out perpendicular to the curve of the head, resulting in equal length all over.
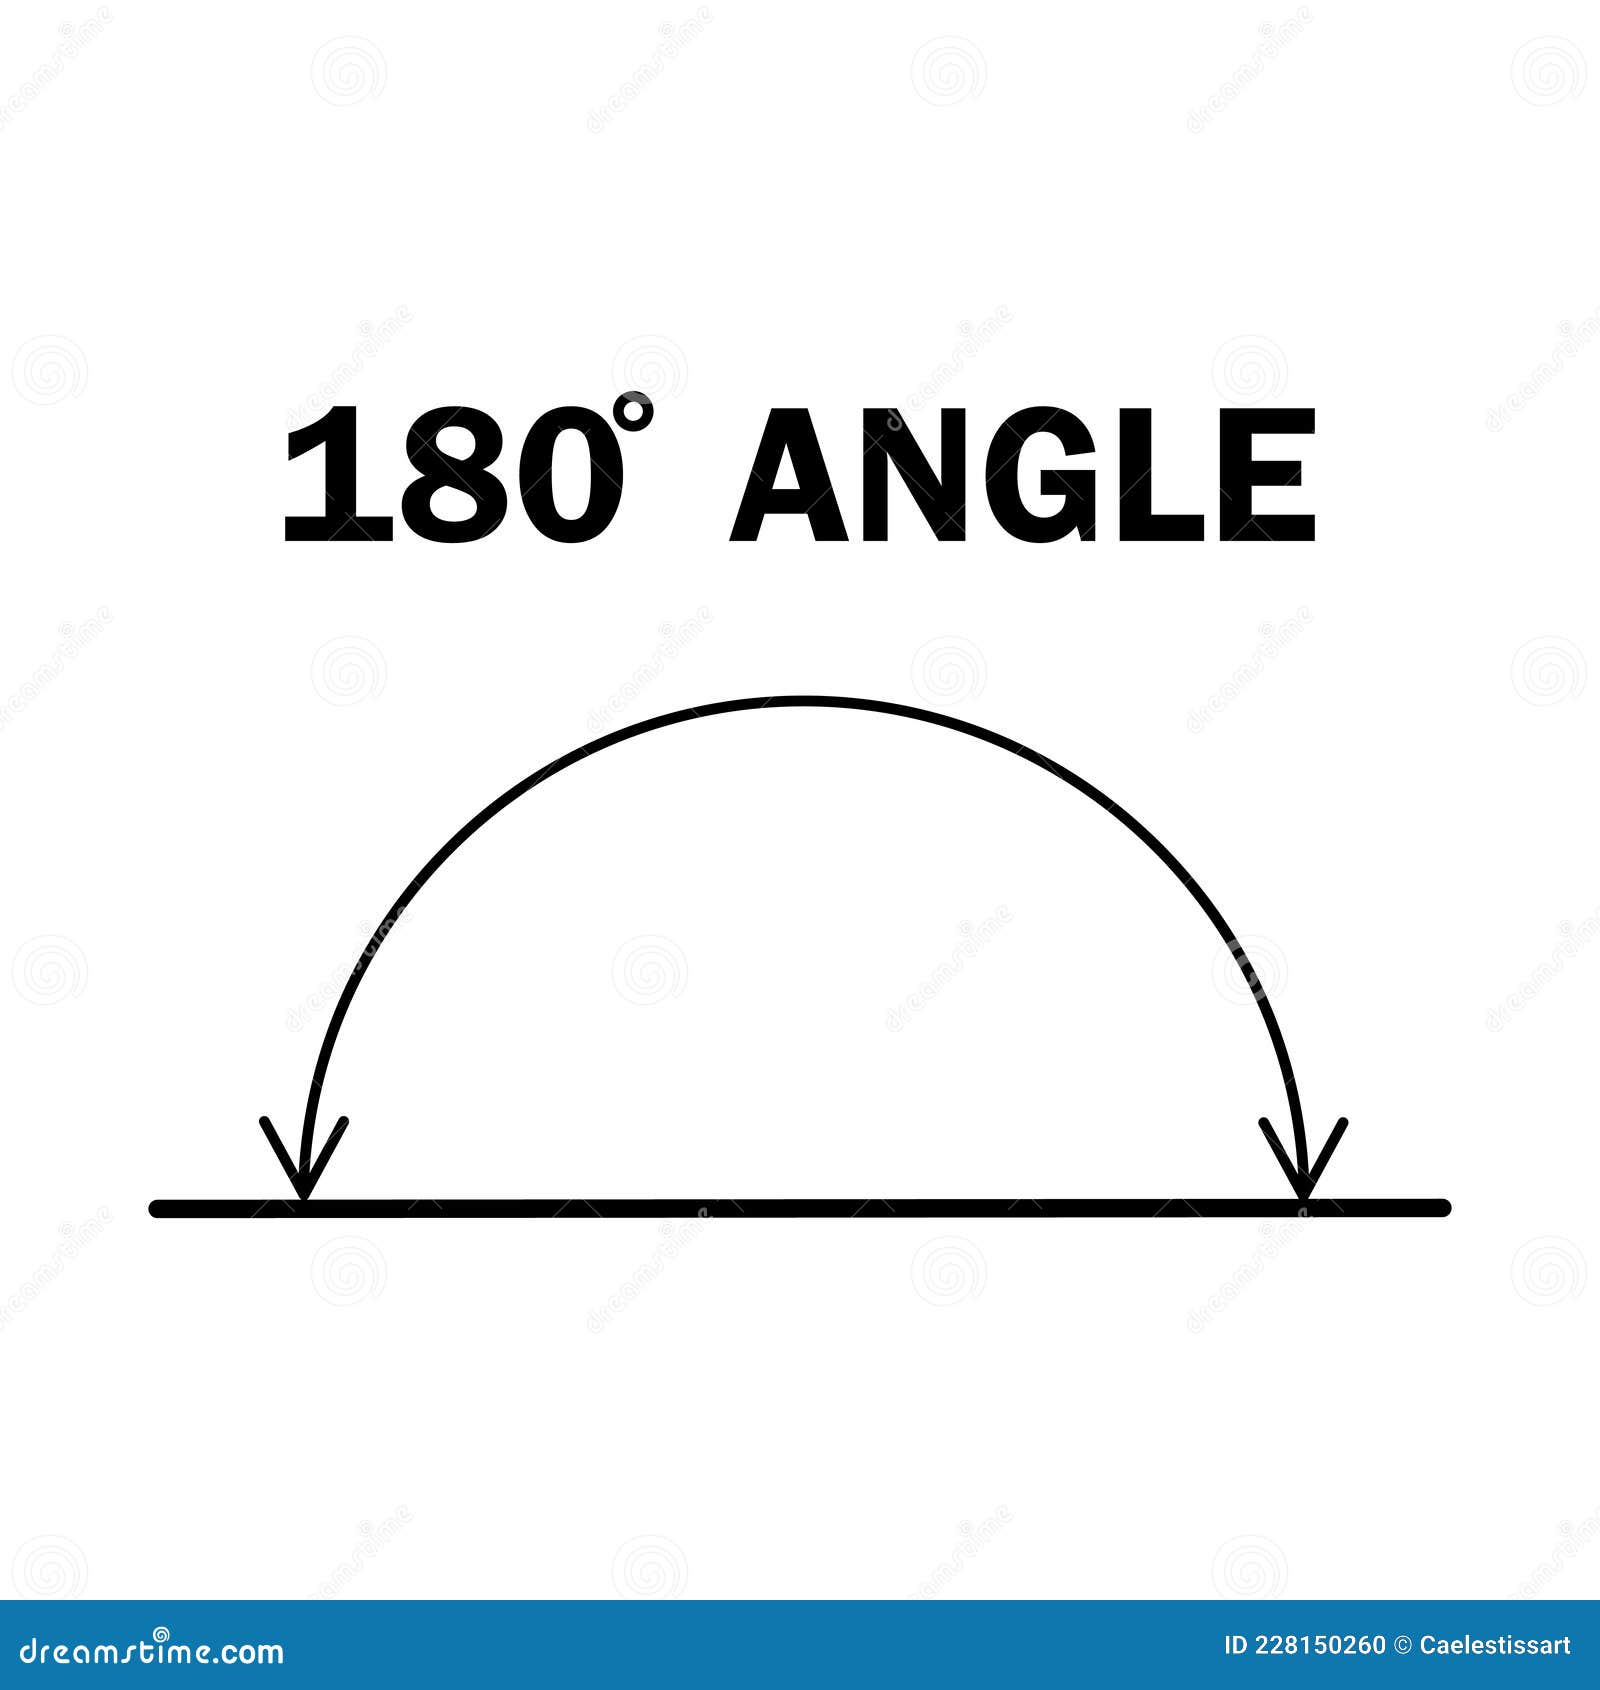
- 180 Degrees: The hair is elevated straight up from the head shape, well past the 90-degree mark, creating extreme layers where the shortest lengths sit at the top and longer lengths cascade downward.
When you lift hair to 180 degrees, you are essentially cutting against the natural fall of the hair. Once released, gravity pulls the hair down, causing the shorter top sections to blend seamlessly into the longer interior and exterior lengths. This creates an inverted graduation effect where weight is removed from the interior, leaving light, airy ends.
The Geometry of the 180 Degree Cut
To grasp why the 180 degree cut works, think of the head as a sphere. At a 180-degree elevation, you are pulling sections toward the uppermost apex of the head, regardless of where on the head the section originates.
Because the distance from the scalp to the shears is longest when pulled straight up, cutting a straight line across this elevated section means that when the hair falls back down, the hair originating from the lower nape or sides has to travel a much greater distance to reach its resting point. This creates a high degree of travel, resulting in long layers at the bottom and short layers at the crown.
Stylists often use a central guideline taken from the crown or top of the head. As you work your way around the head, every subsequent section is brought up to meet that same central elevation point. This technique is known as overdirection combined with high elevation. It preserves length around the perimeter while drastically reducing bulk through the crown and sides.
Step-by-Step Execution of a 180 Degree Haircut
Executing this cut requires precision, clean sectioning, and strict adherence to tension and elevation. Here is how professionals approach the process:
- Preparation and Sectioning: Start with clean, damp hair. Detangle thoroughly. Section the hair into standard parting zones, typically dividing the head into a top horseshoe section around the crown and four lower quadrants if working with a combined structure, or pull all hair upward toward a central apex guideline.
- Establishing the Guide: Take a small vertical or horizontal section at the crown or top of the head. Cut this hair to your desired short length. This piece becomes your stationary or traveling guideline.
- Elevating and Cutting: Take subsequent subsections of hair from the surrounding areas. Pull each subsection straight up to meet the 180-degree elevation point relative to the head shape. Match the length of the new section to your established guide.
- Checking Consistency: Cross-check your work by taking perpendicular partings. Ensure that the layers blend smoothly without sudden ledges or choppy drop-offs. Adjust any stray hairs while maintaining the overall elevation angle.
- Drying and Texturizing: Blow-dry the hair using a round brush to enhance the volume created by the layers. Assess the finished shape and use point-cutting techniques on dry hair if extra softness is needed at the ends.
For more detailed educational breakdowns on cosmetology fundamentals and cutting angles, you can consult resources provided by organizations like the Milady Standard Cosmetology curriculum overview.
Common Mistakes and How to Avoid Them
Working with high elevations leaves little room for error. Small miscalculations in hand position or hair tension can lead to uneven results.
- Inconsistent Elevation: If your fingers drop below 180 degrees midway through a section, you'll accidentally cut the hair too long, creating an unwanted heavy shelf of weight. Always verify your elevation before closing your shears.
- Over-tensioning Curly Hair: Pulling curly or tightly textured hair taut while elevating it can cause severe shrinkage once the hair dries. Adjust your tension or cut slightly longer if you're working with curl patterns that spring back significantly.
- Ignoring Head Shape: The head isn't a flat surface. Bumps, crowns, and flat spots can throw off a strict 180-degree pull. Always look at the hair in the mirror from multiple angles to ensure the silhouette looks balanced.
- Forgetting the Perimeter: While a 180-degree cut removes tons of weight from the top and interior, failing to protect the bottom baseline can result in a wispy, overly thin perimeter that lacks density.
Frequently Asked Questions
What hair types benefit most from a 180 degree haircut?
Thick, dense, or coarse hair types benefit enormously from this cut because the extreme layers remove excess bulk and weight, making the hair lighter and easier to manage. Fine hair can also benefit if styled correctly, though care must be taken not to make the ends look too sparse.
How does a 180 degree cut differ from a 90 degree cut?
A 90-degree cut creates uniform layers where the hair length is roughly the same all over the head, following the head's curvature. A 180-degree cut pulls everything upward past the 90-degree mark, resulting in much shorter layers at the top and significantly longer lengths dropping down toward the ends.
Can you do a 180 degree haircut on short hair?
Yes, this technique is frequently used in shorter shag styles, pixie variations, and textured crops to build height and volume at the top of the head while keeping the nape and sides closely cropped or graduated.
How often do high-layer haircuts need maintenance?
Because the shortest layers sit right at the crown, they tend to grow out and lose their distinct shape faster than one-length cuts. Expect to visit the salon every six to eight weeks to maintain the crispness of the layers and keep split ends at bay. Professional hair care guidance can be found through styling references like Vogue Beauty.